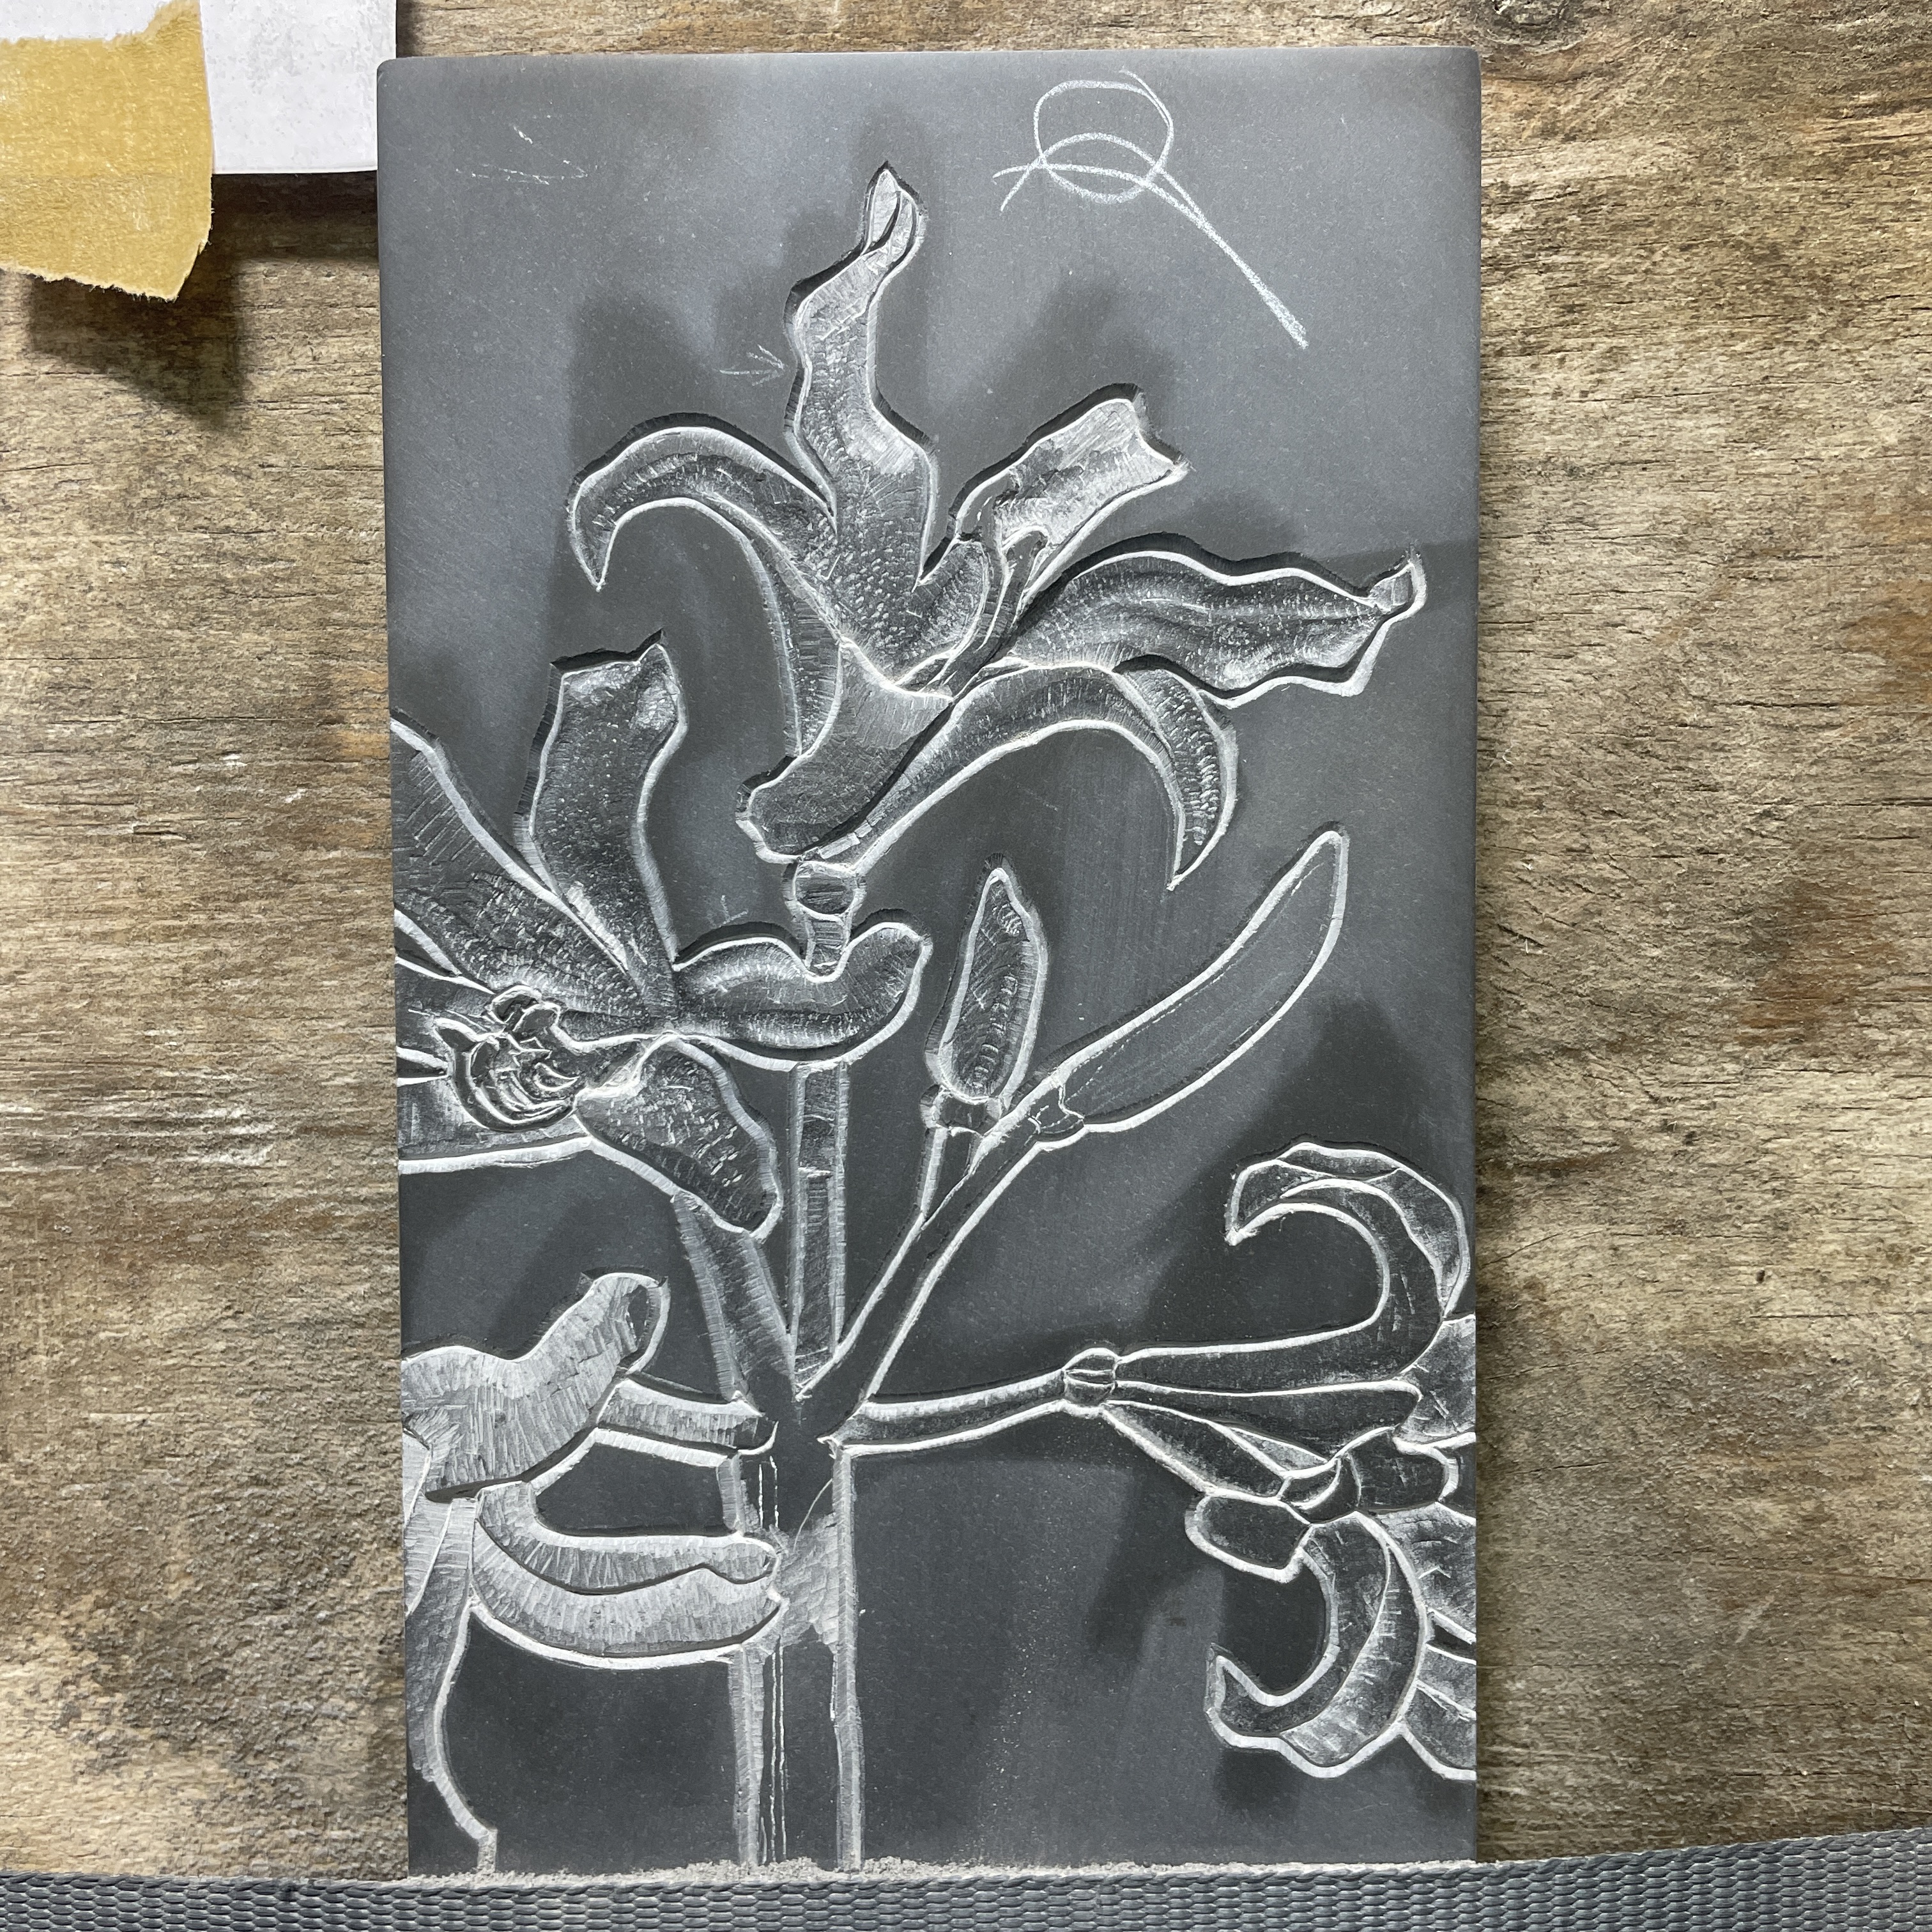
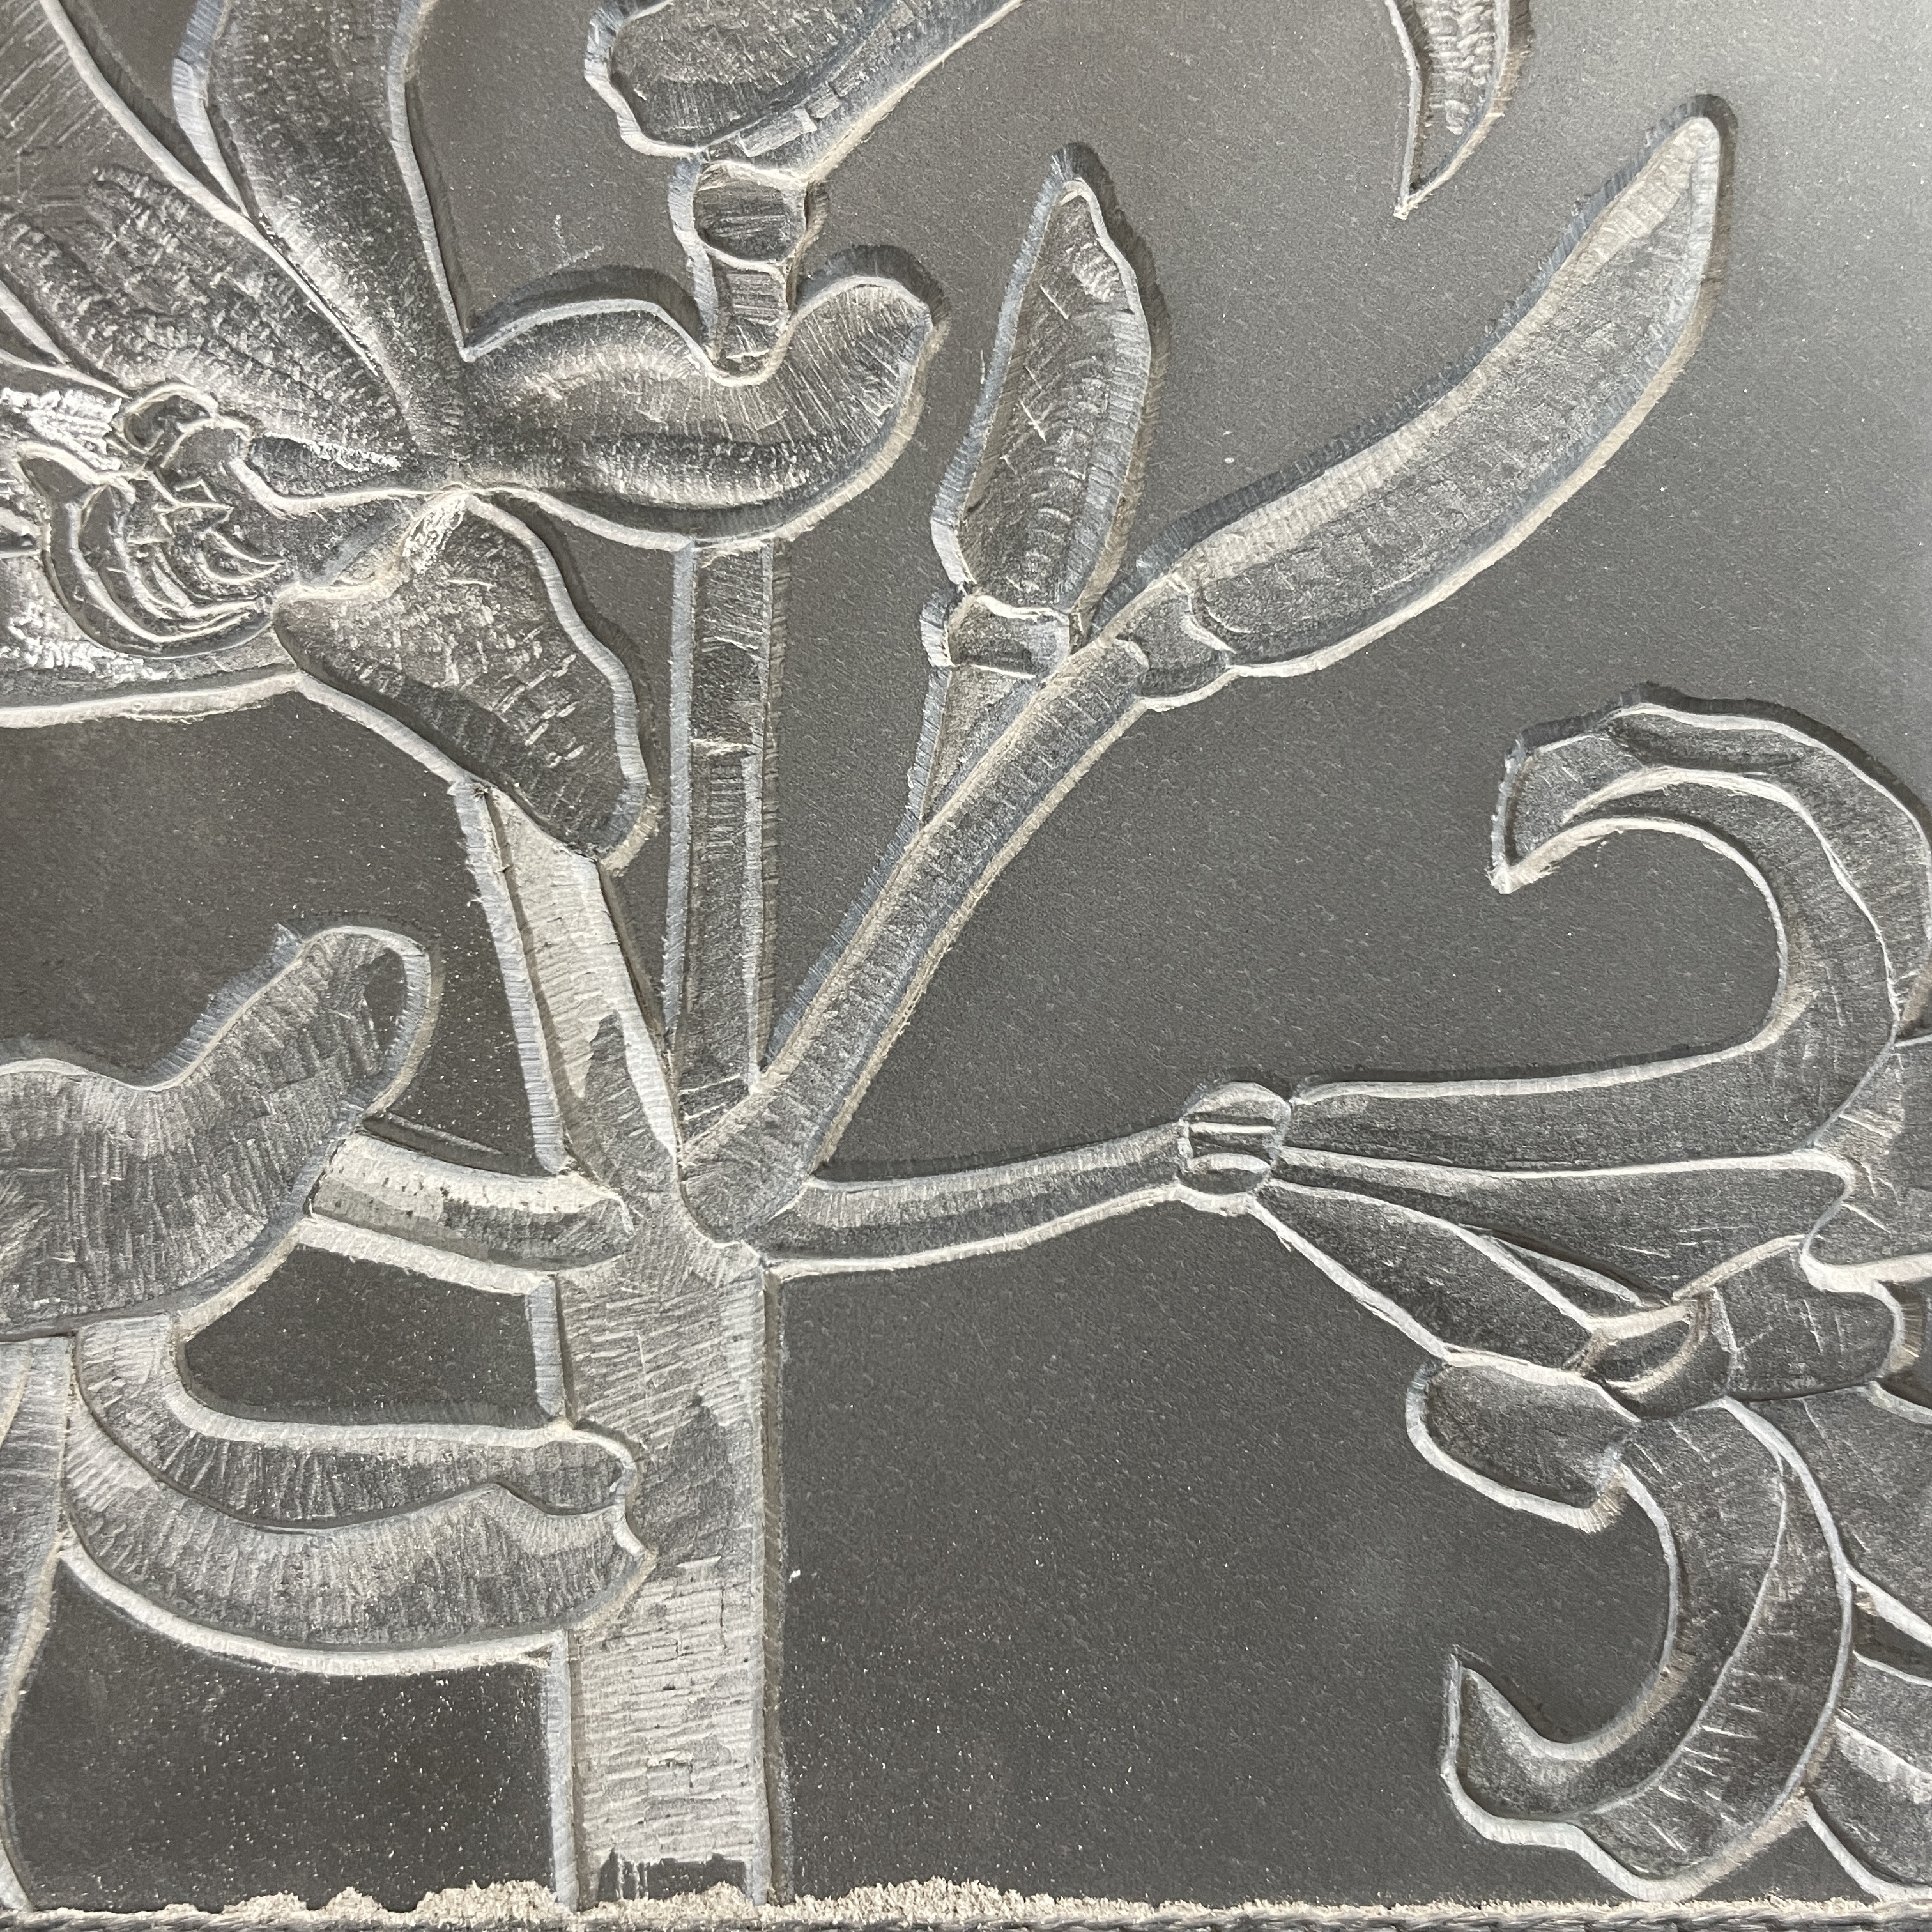
Maia Gaffney-Hyde

My Lettering Arts Trust Apprenticeship started on the 10th January 2023, with master carver Charlotte Howarth in West Acre, Norfolk. My apprenticeship will last 2 years, the first 9 months on a part-time basis. I am the 10th LCAT apprentice. 

Lettering Arts Trust Apprentice 2023-24


11. Low Relief 


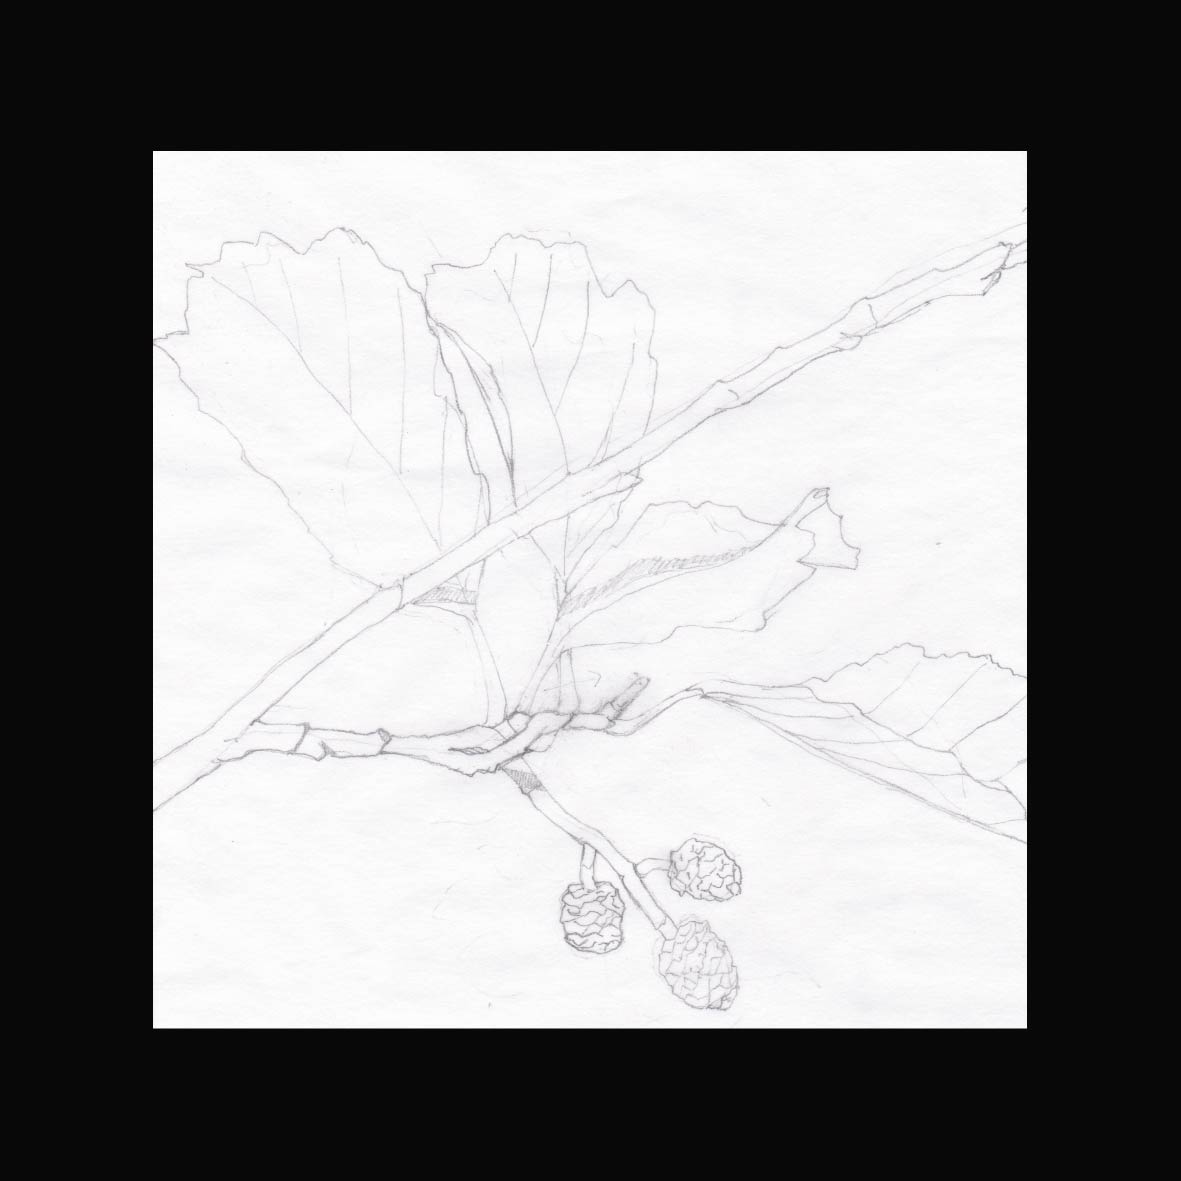
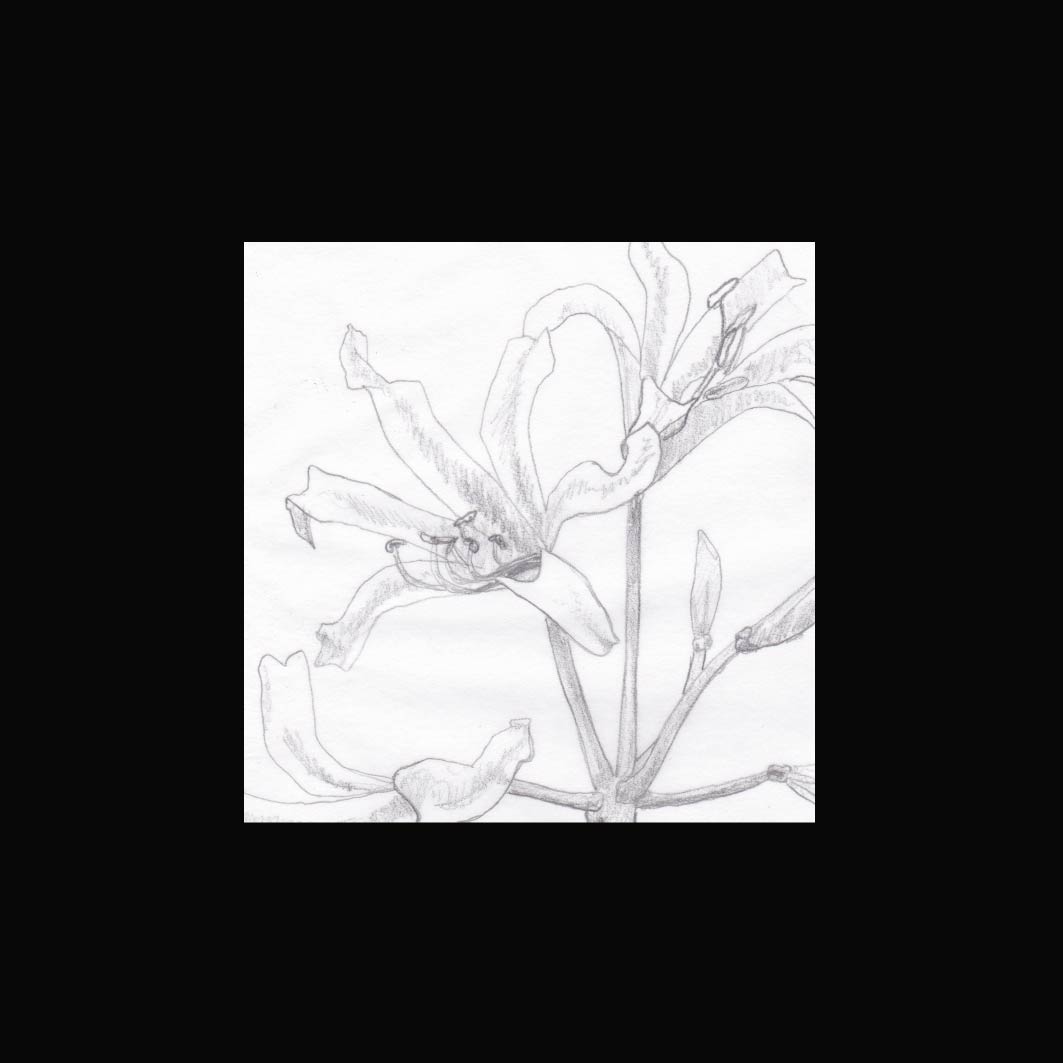
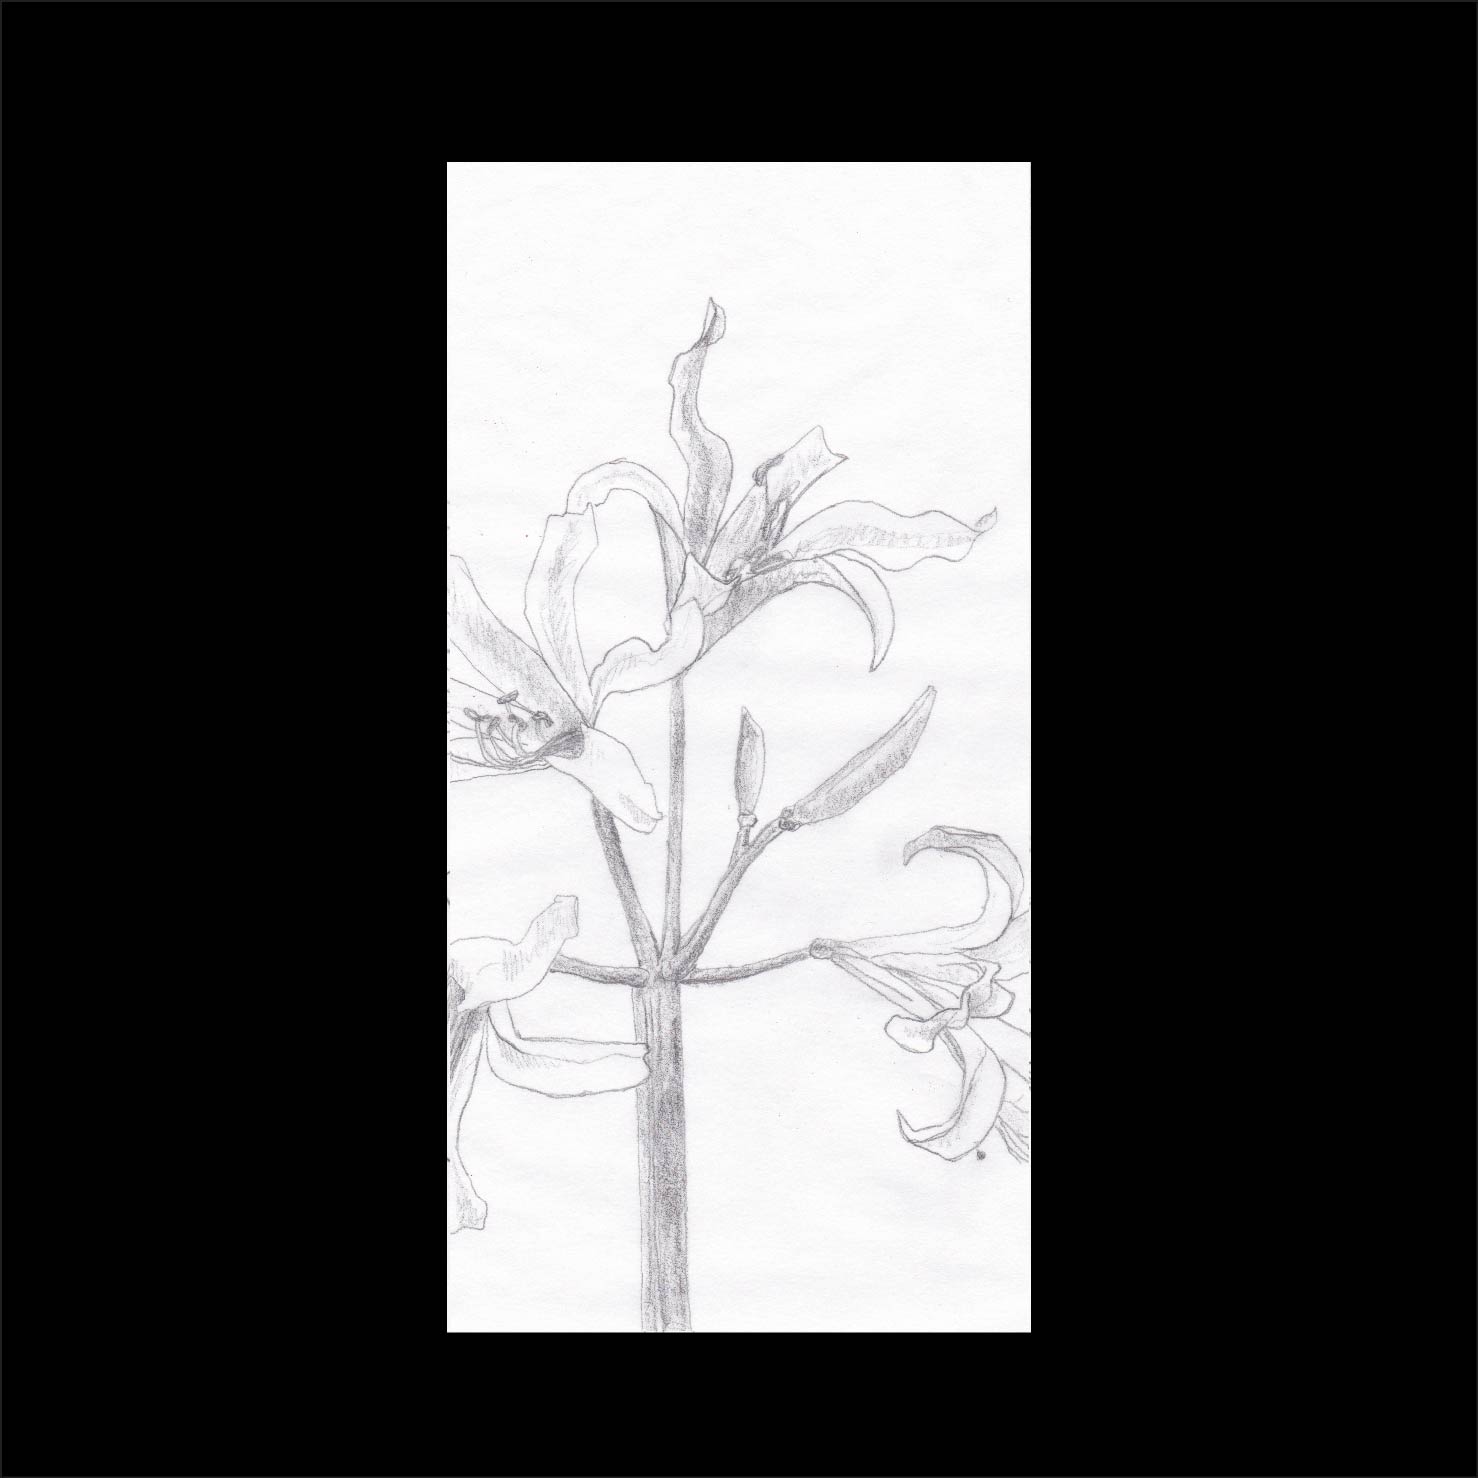
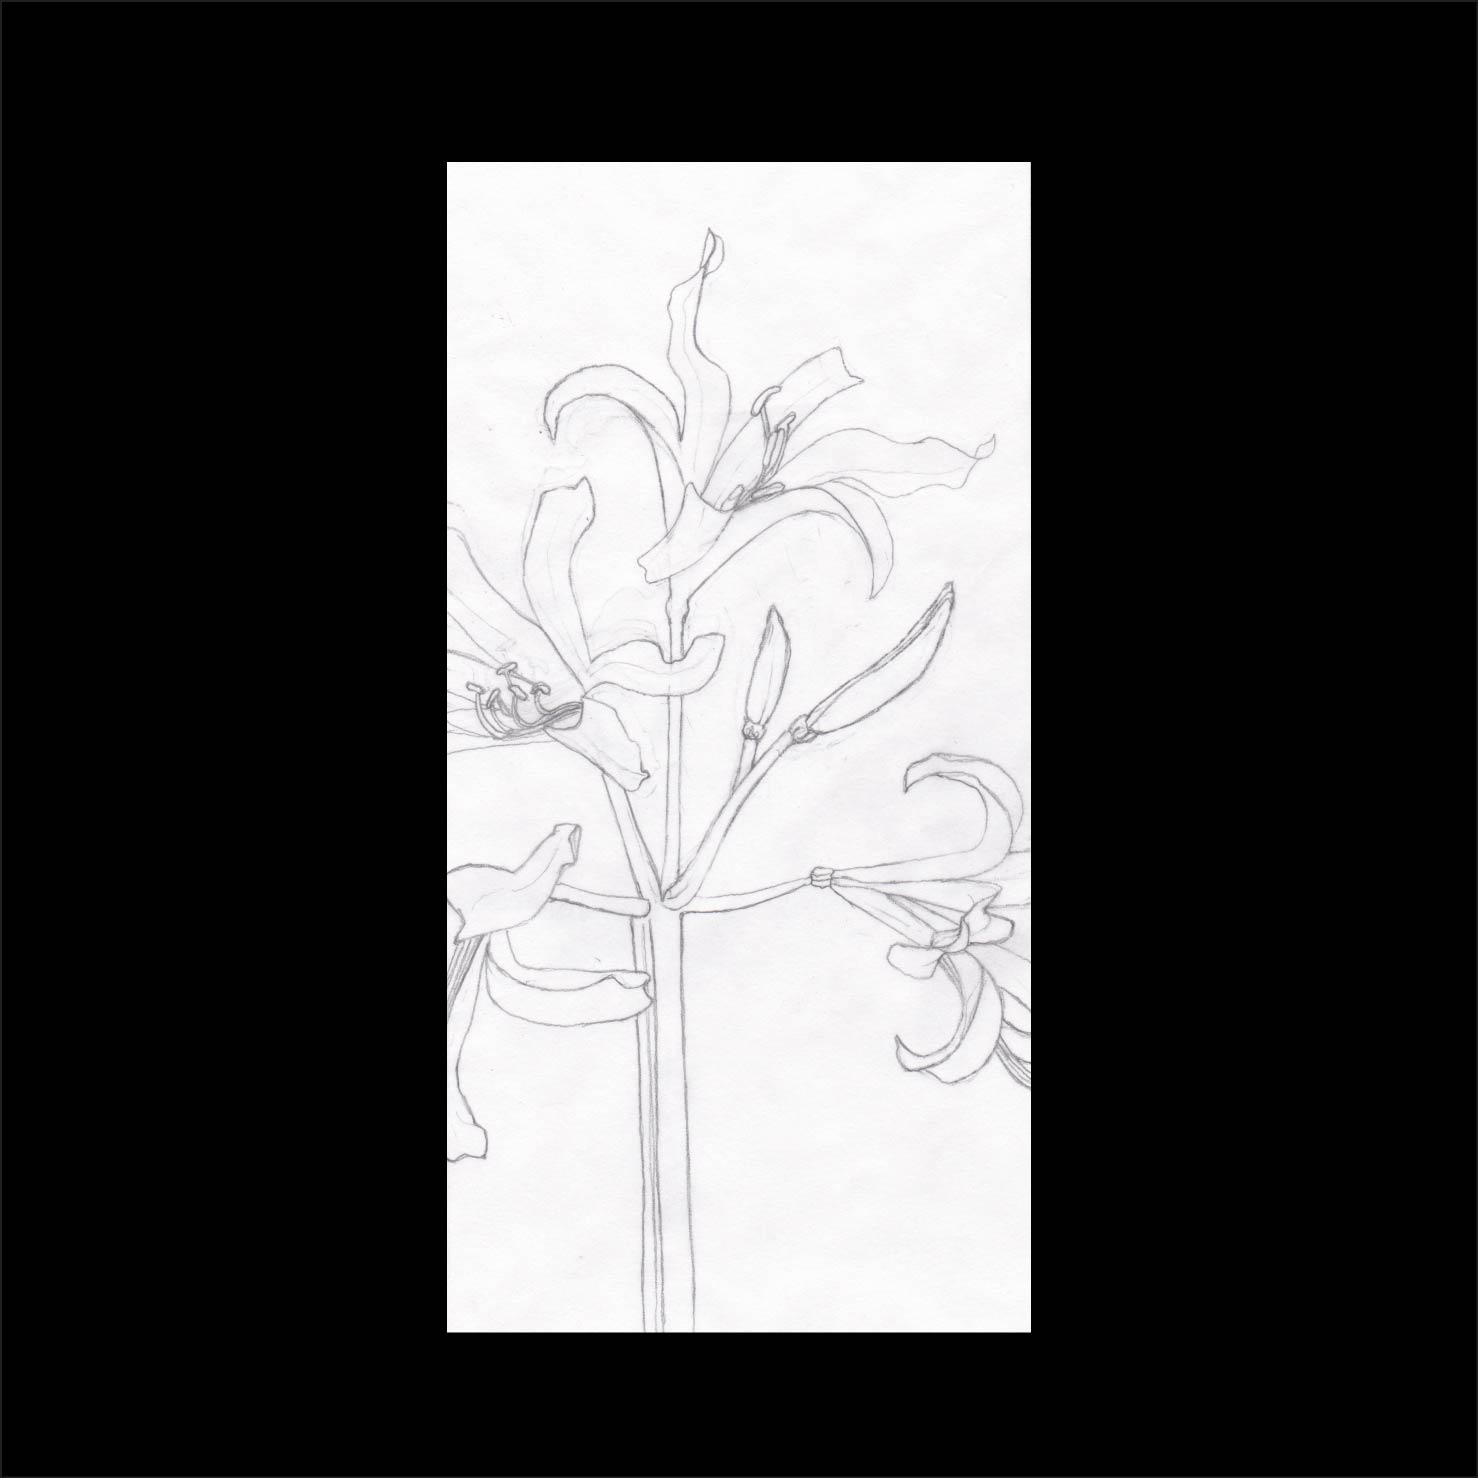
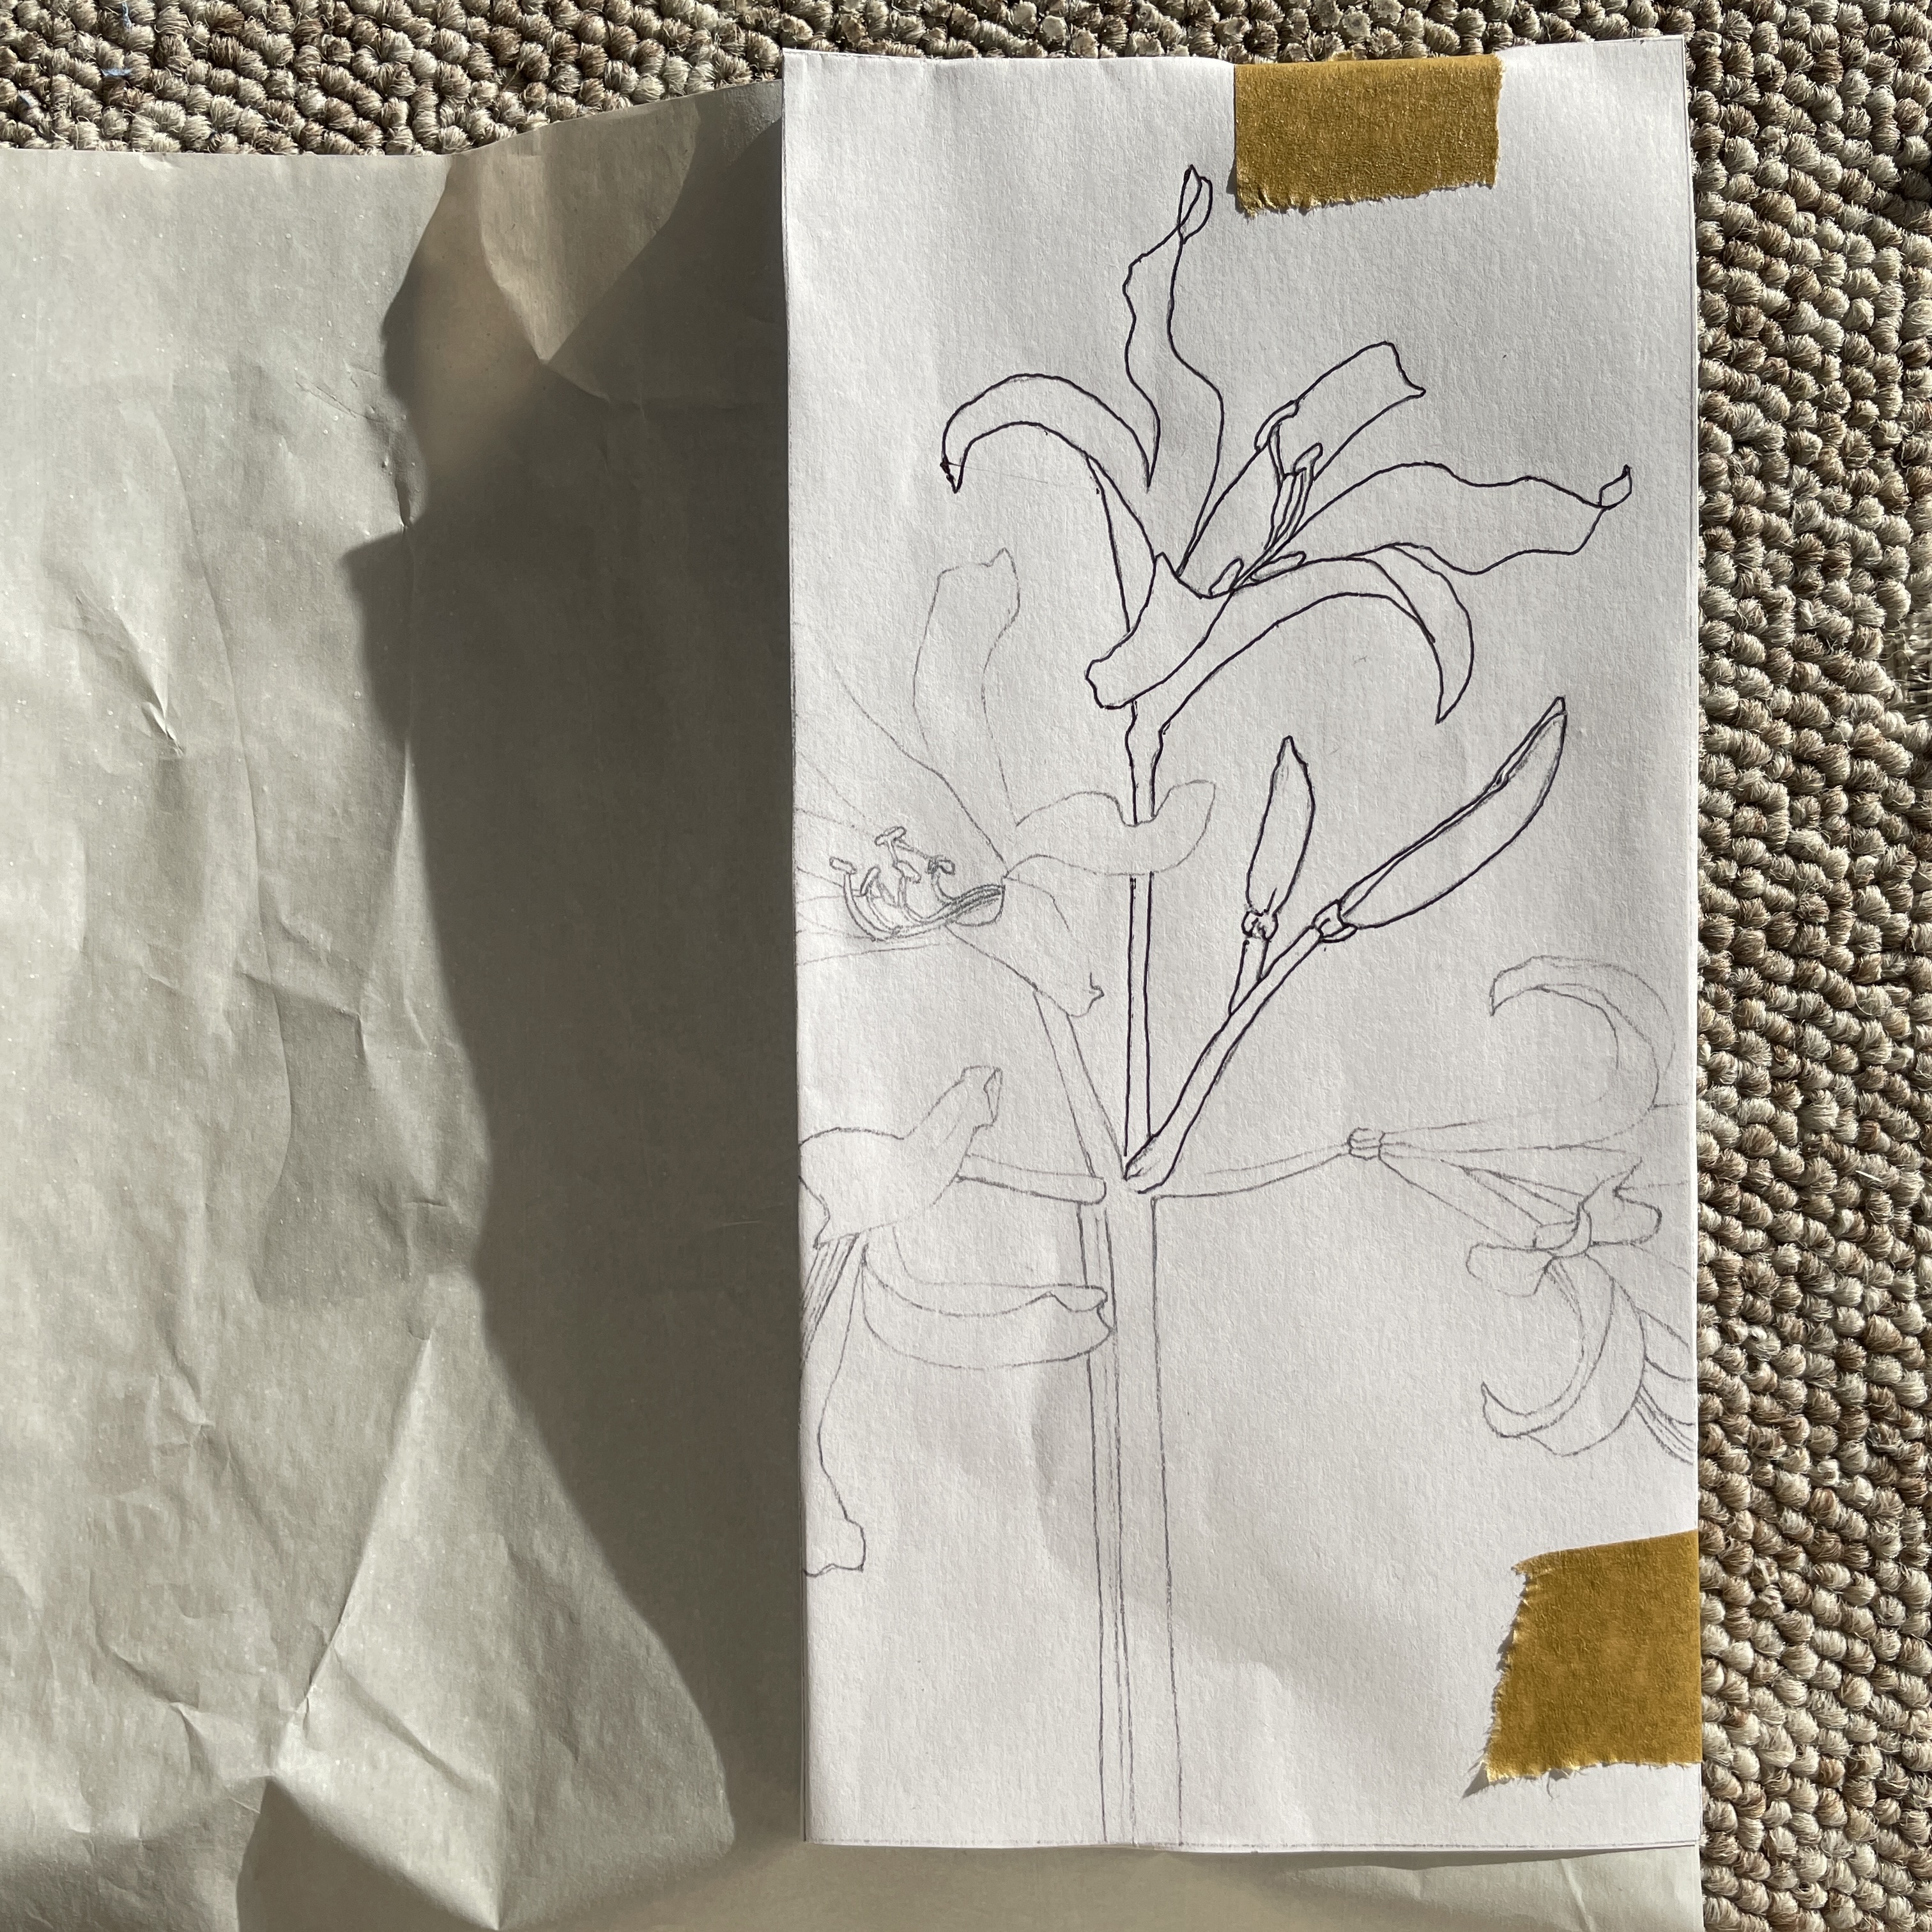
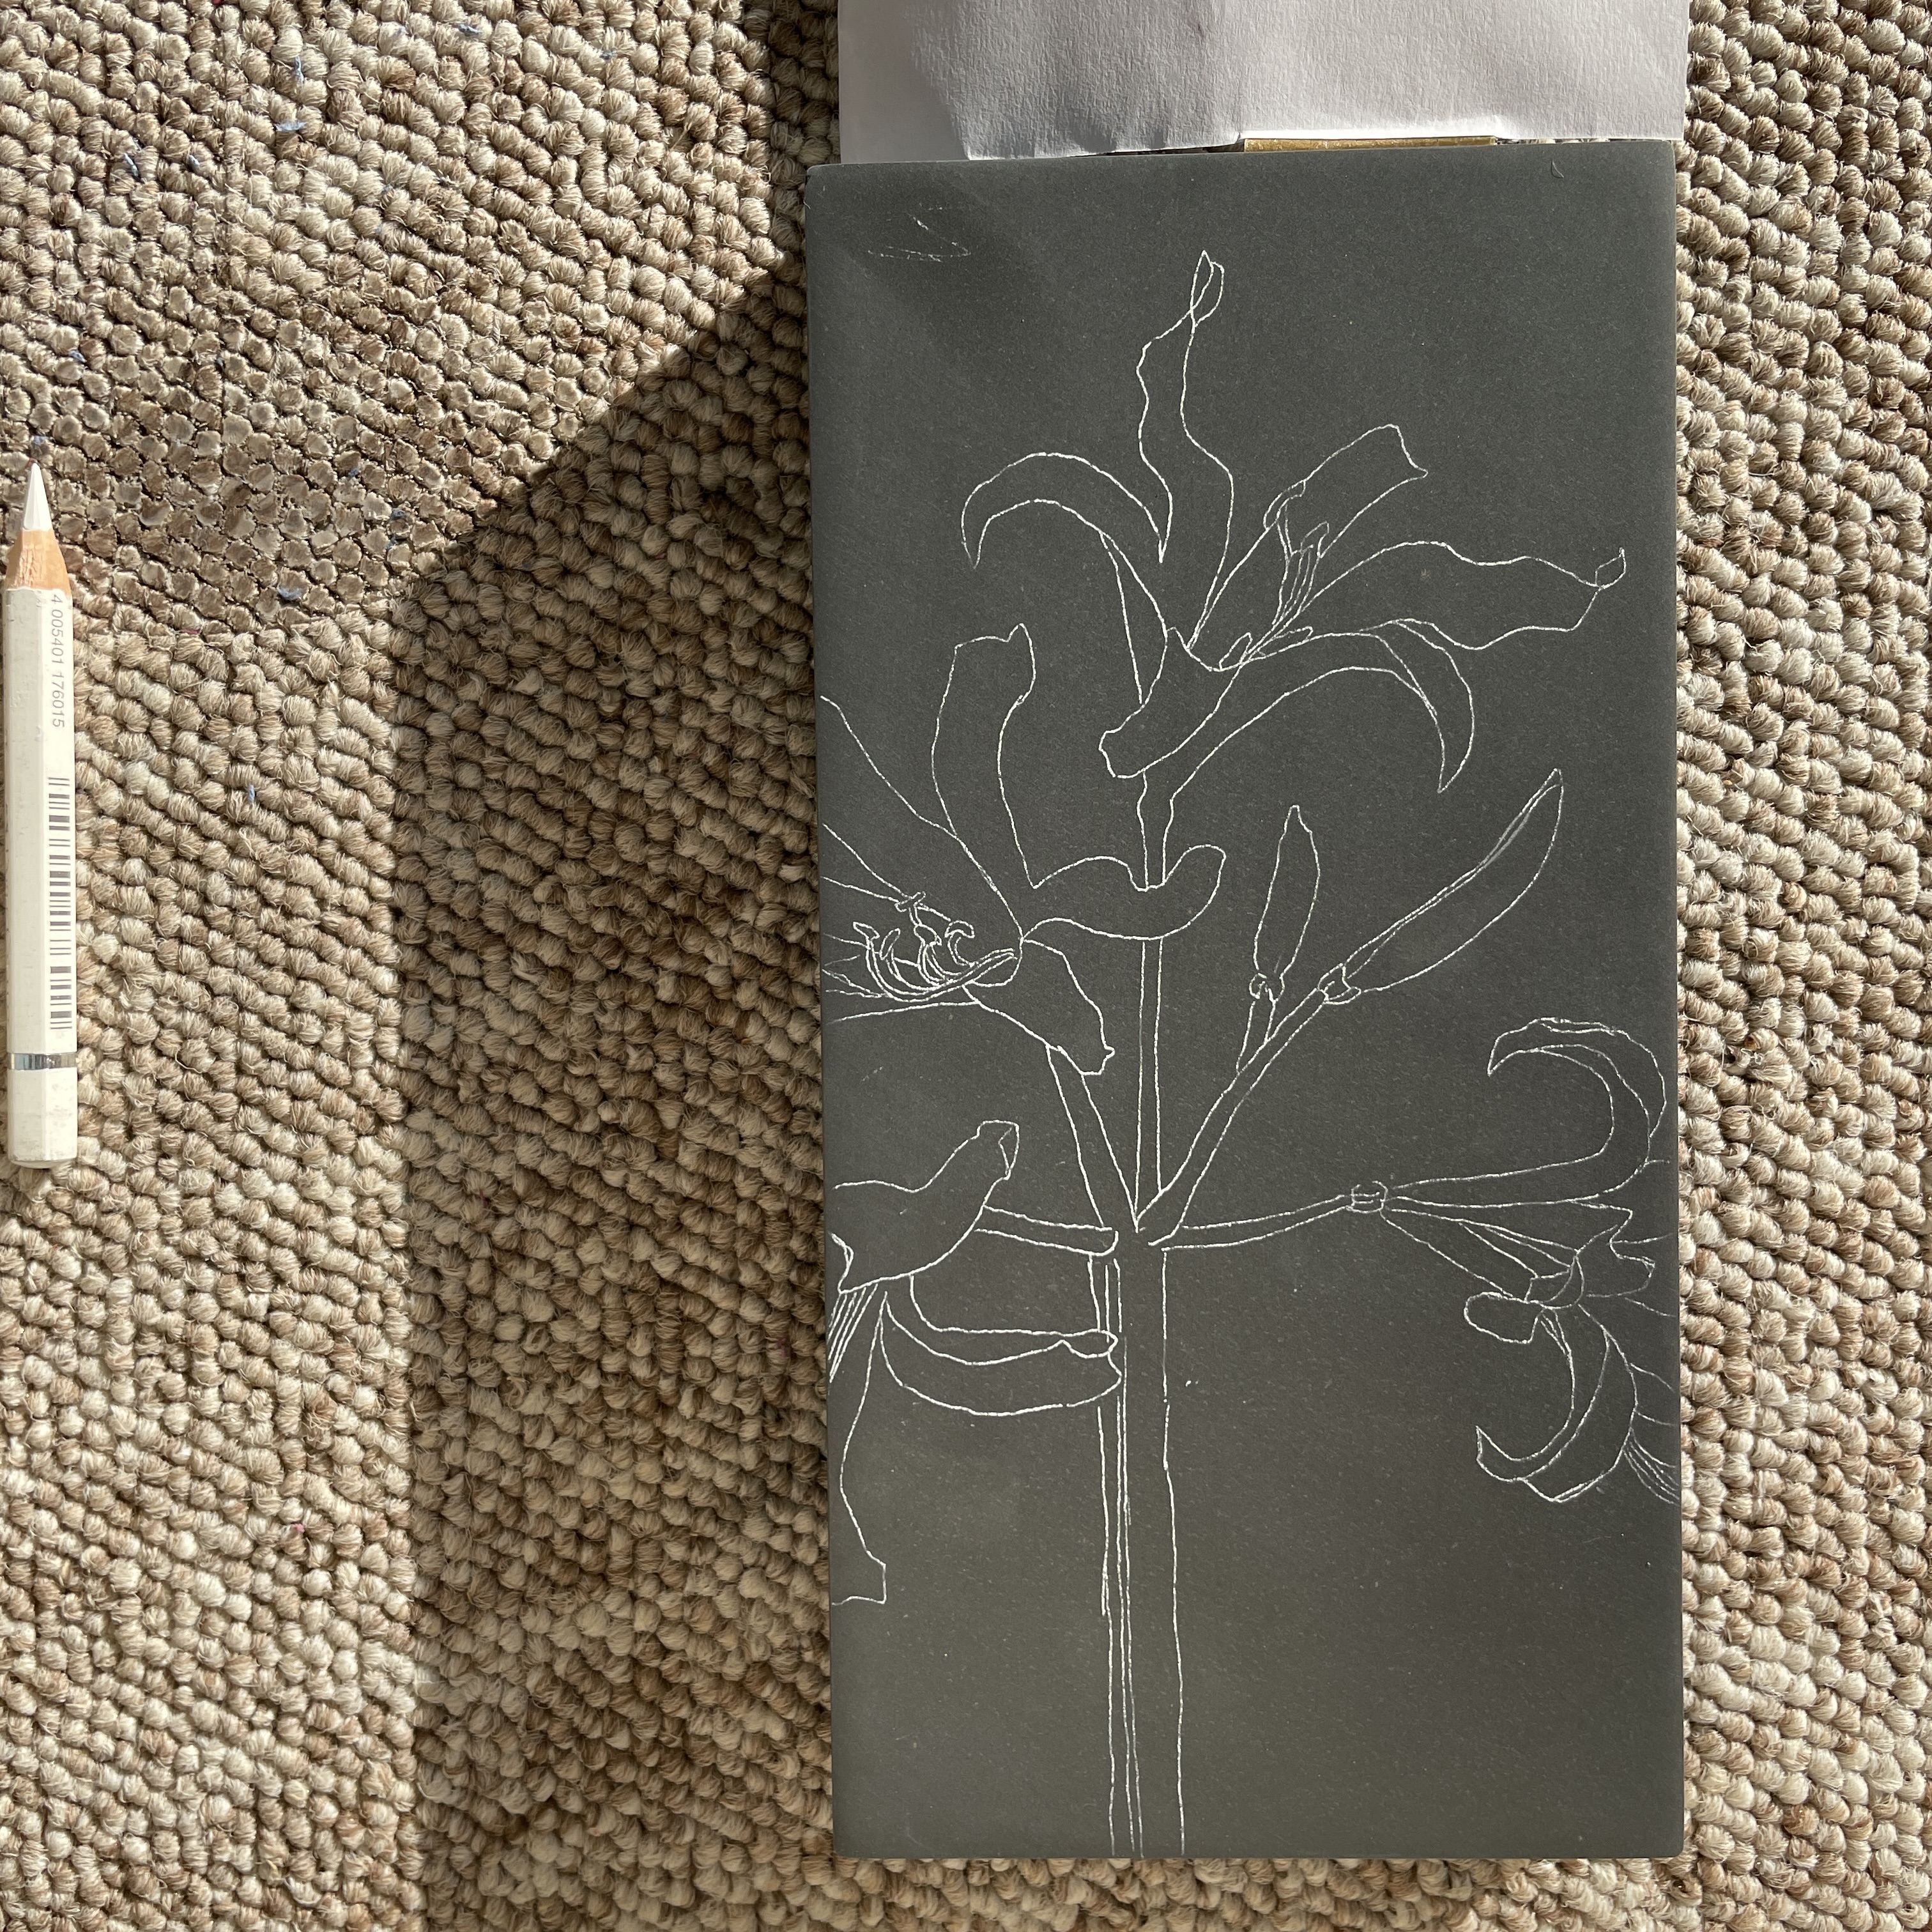
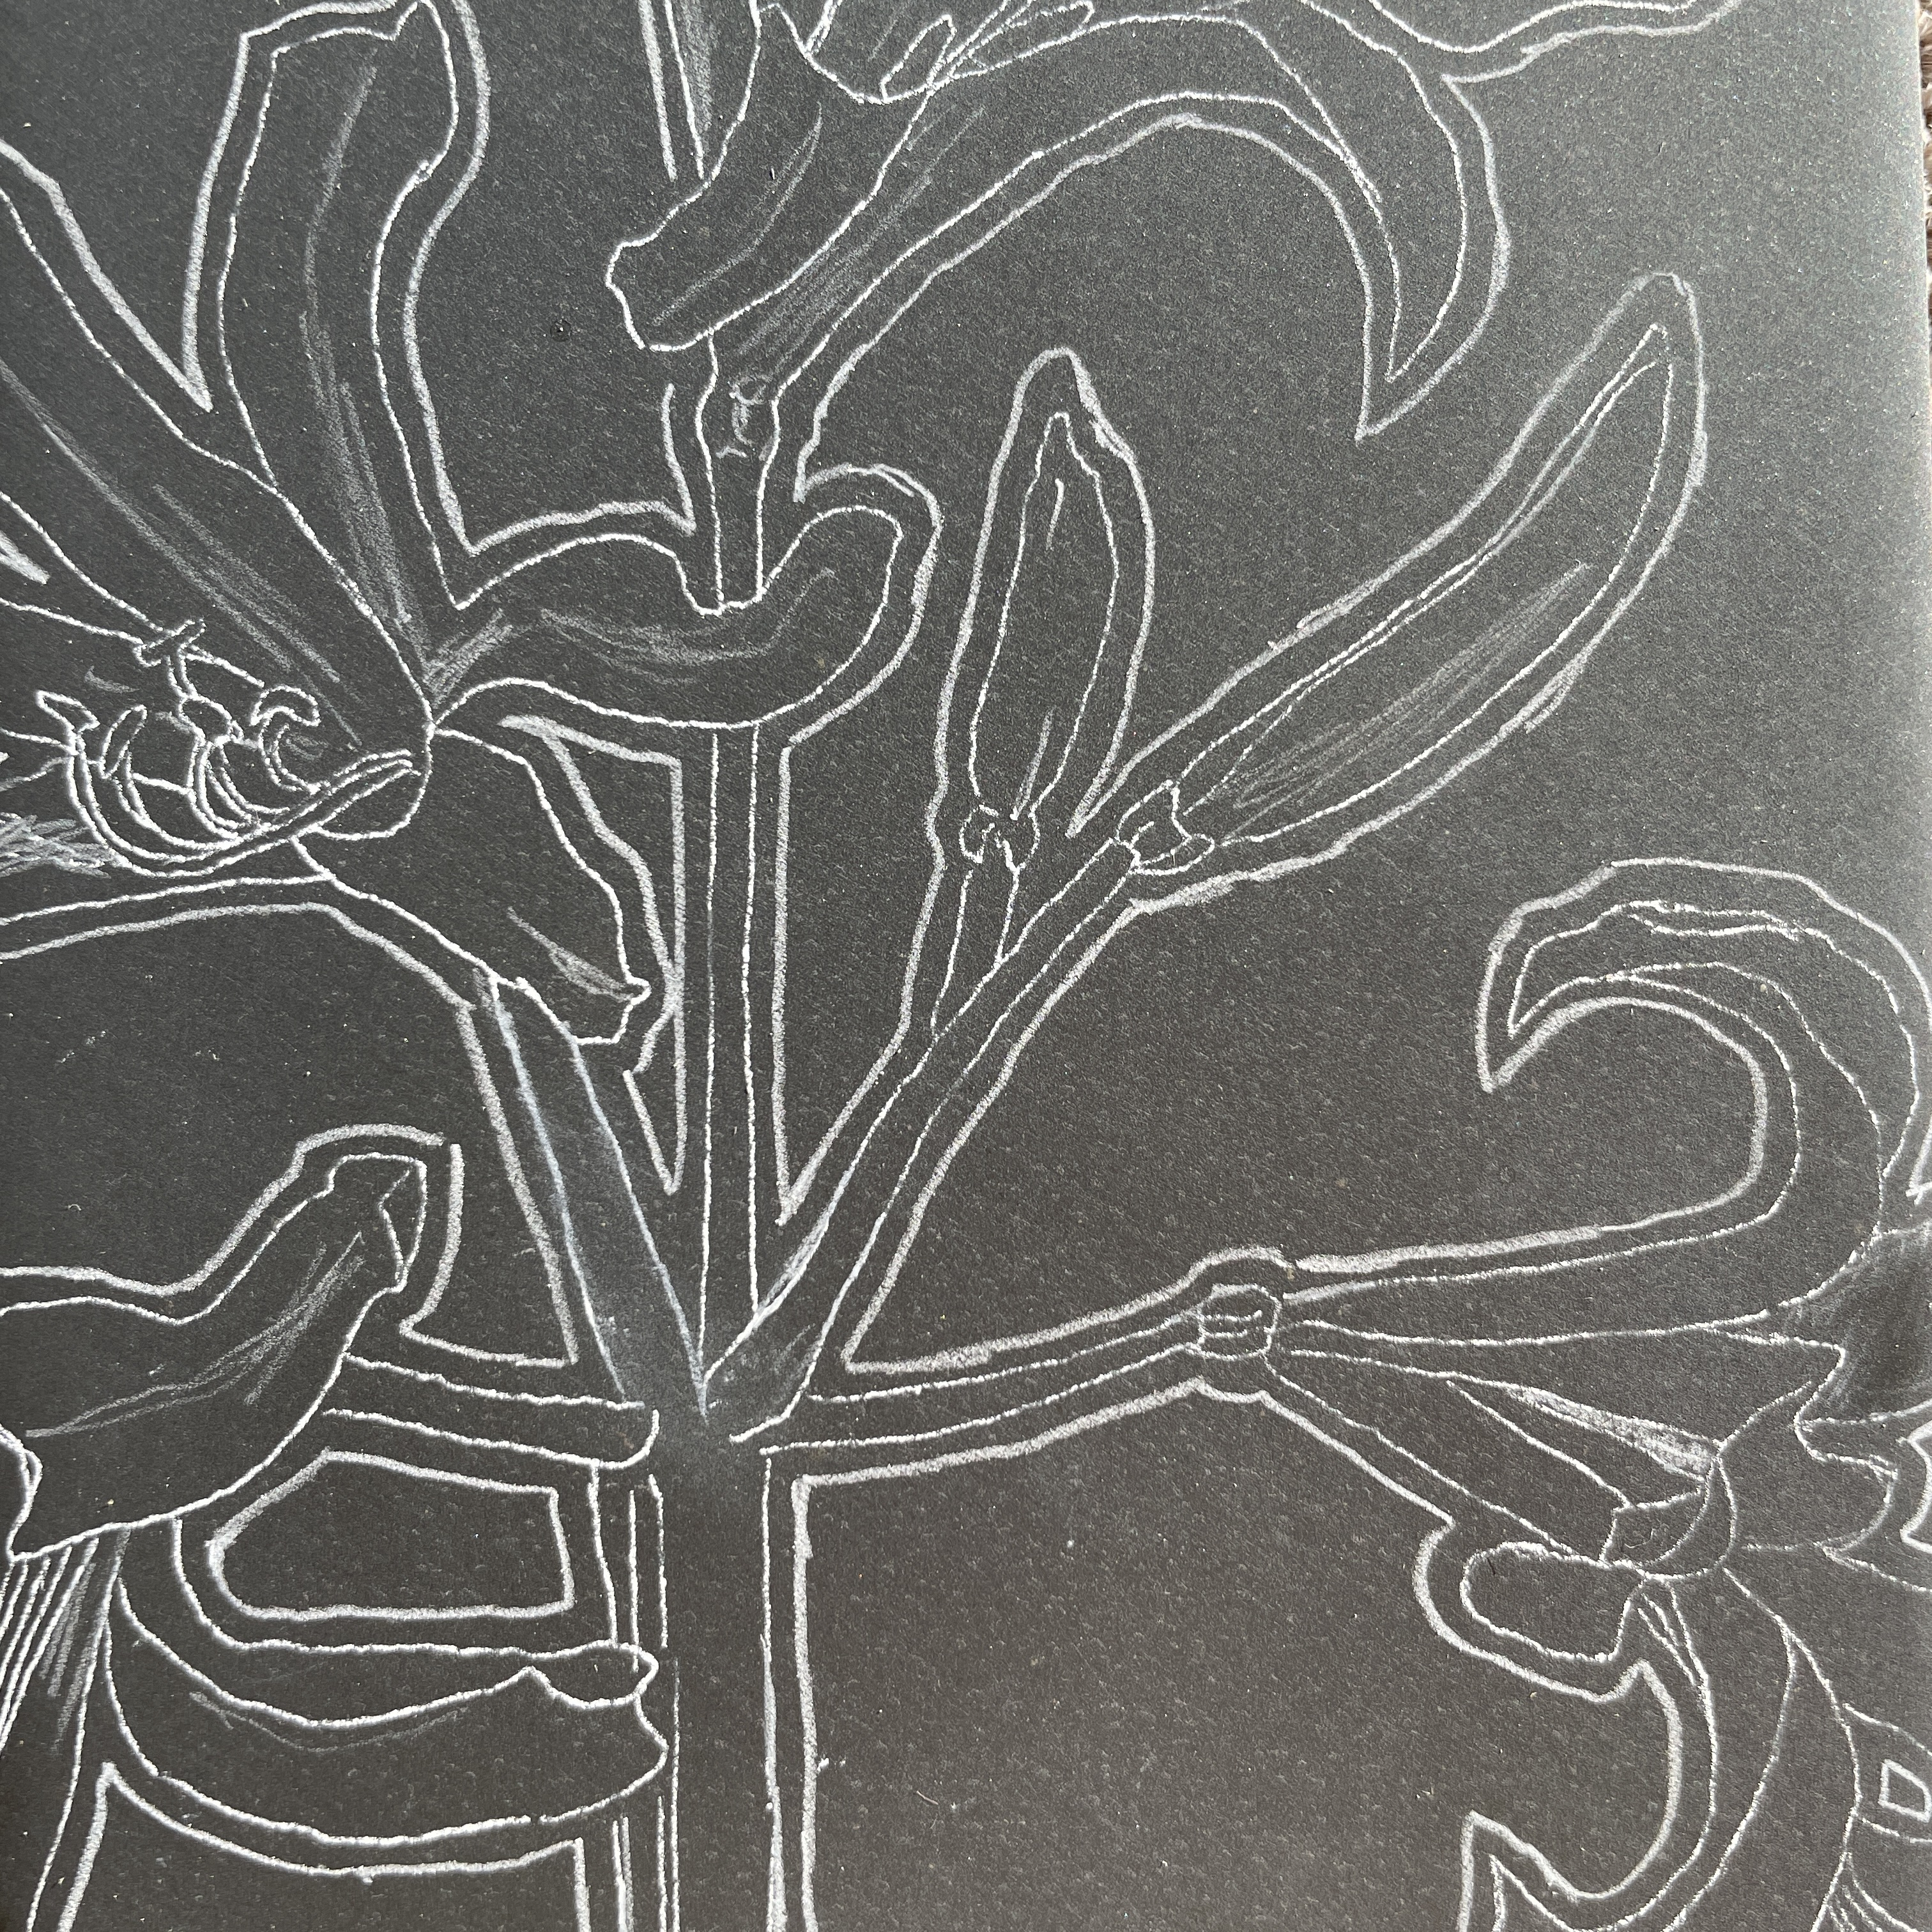
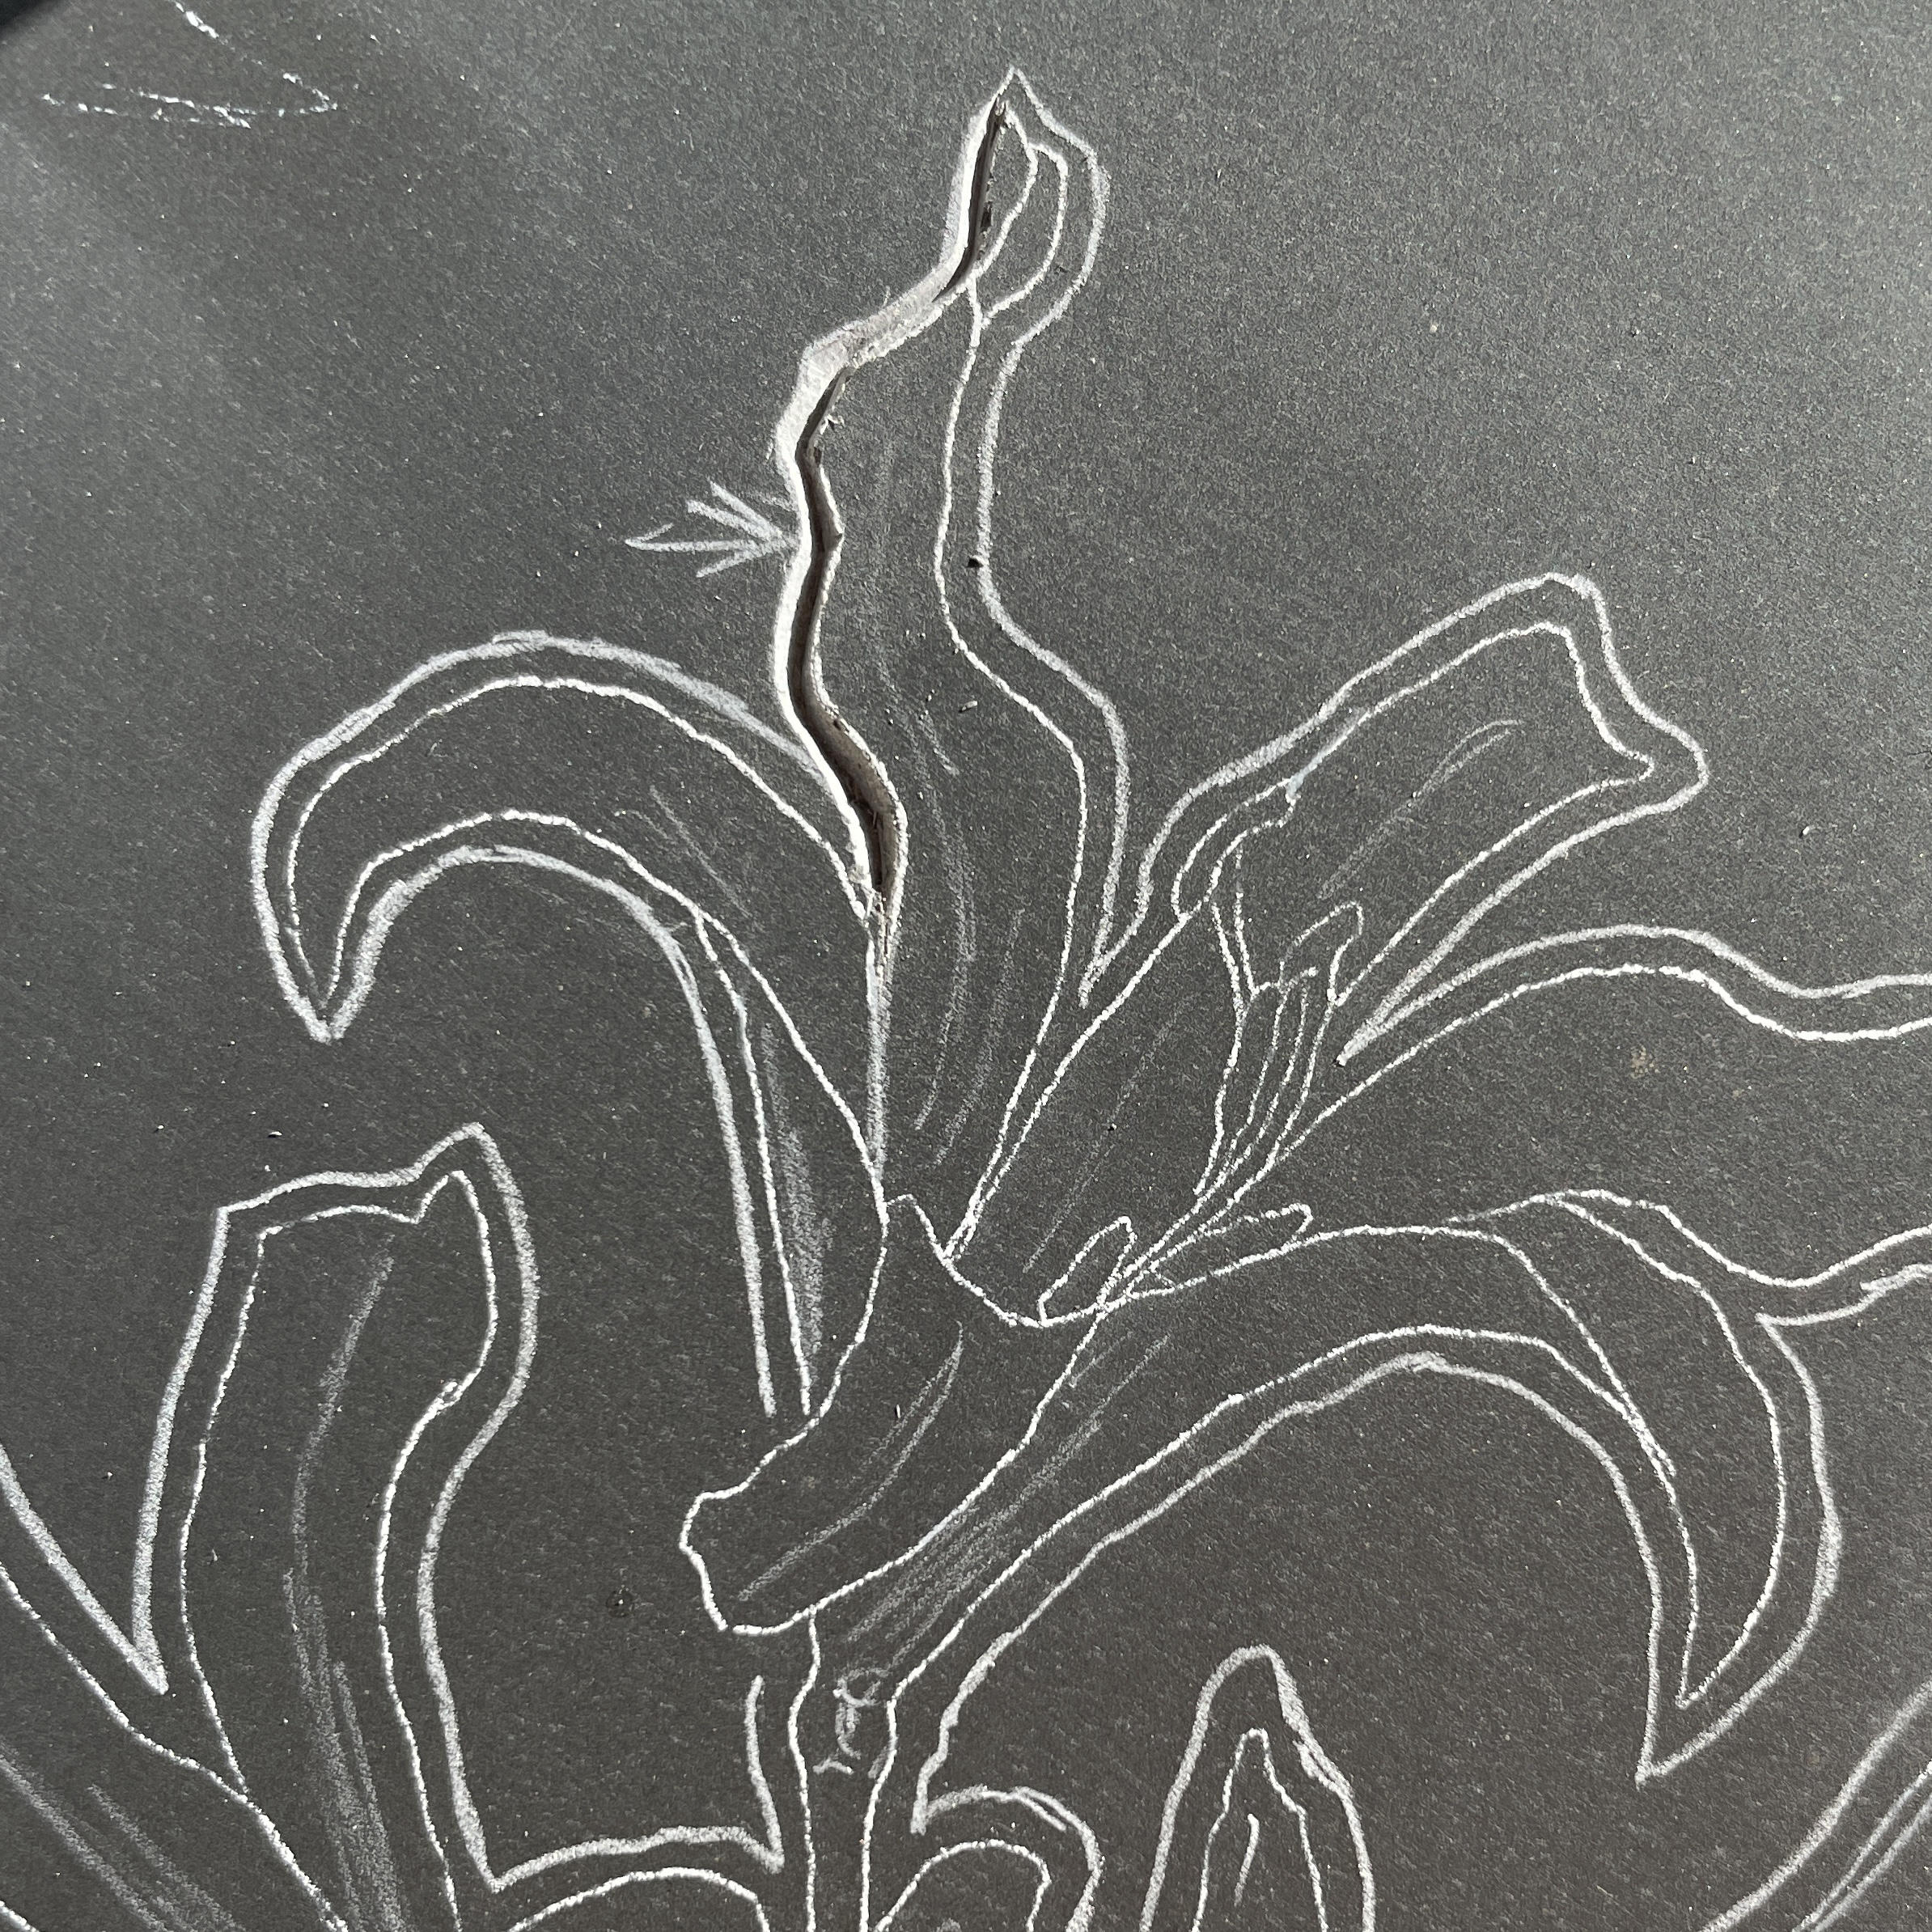
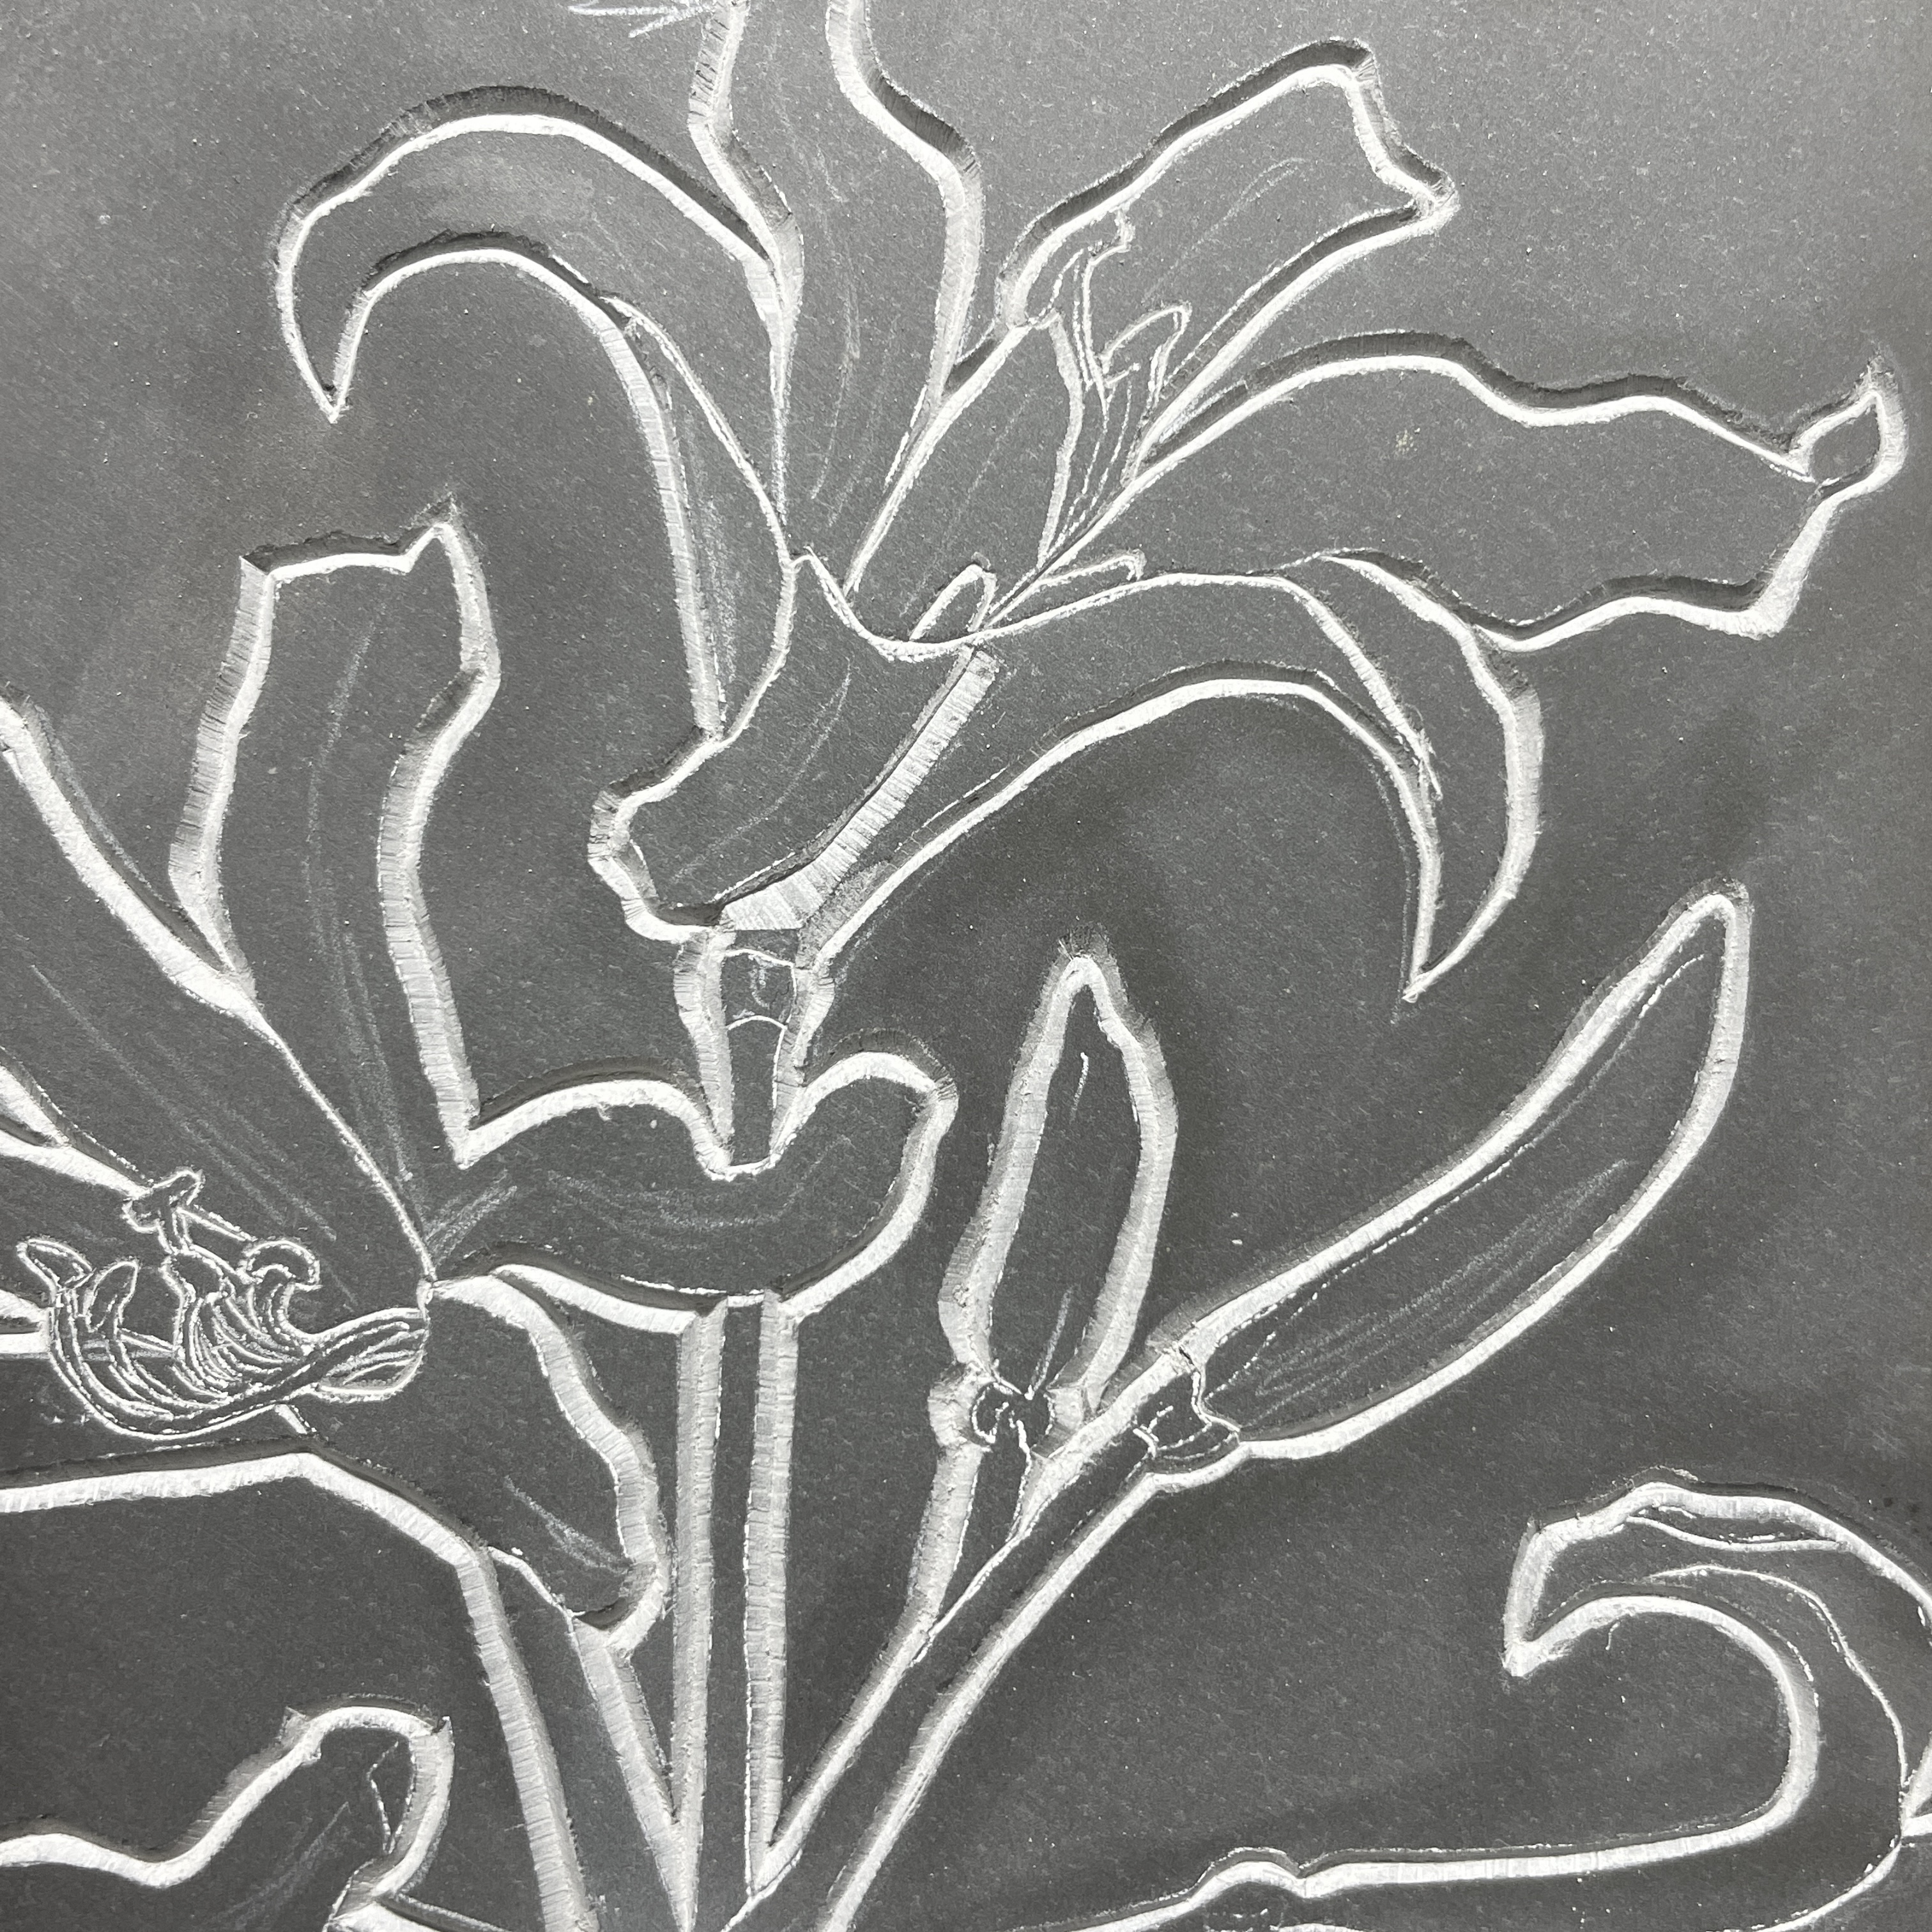
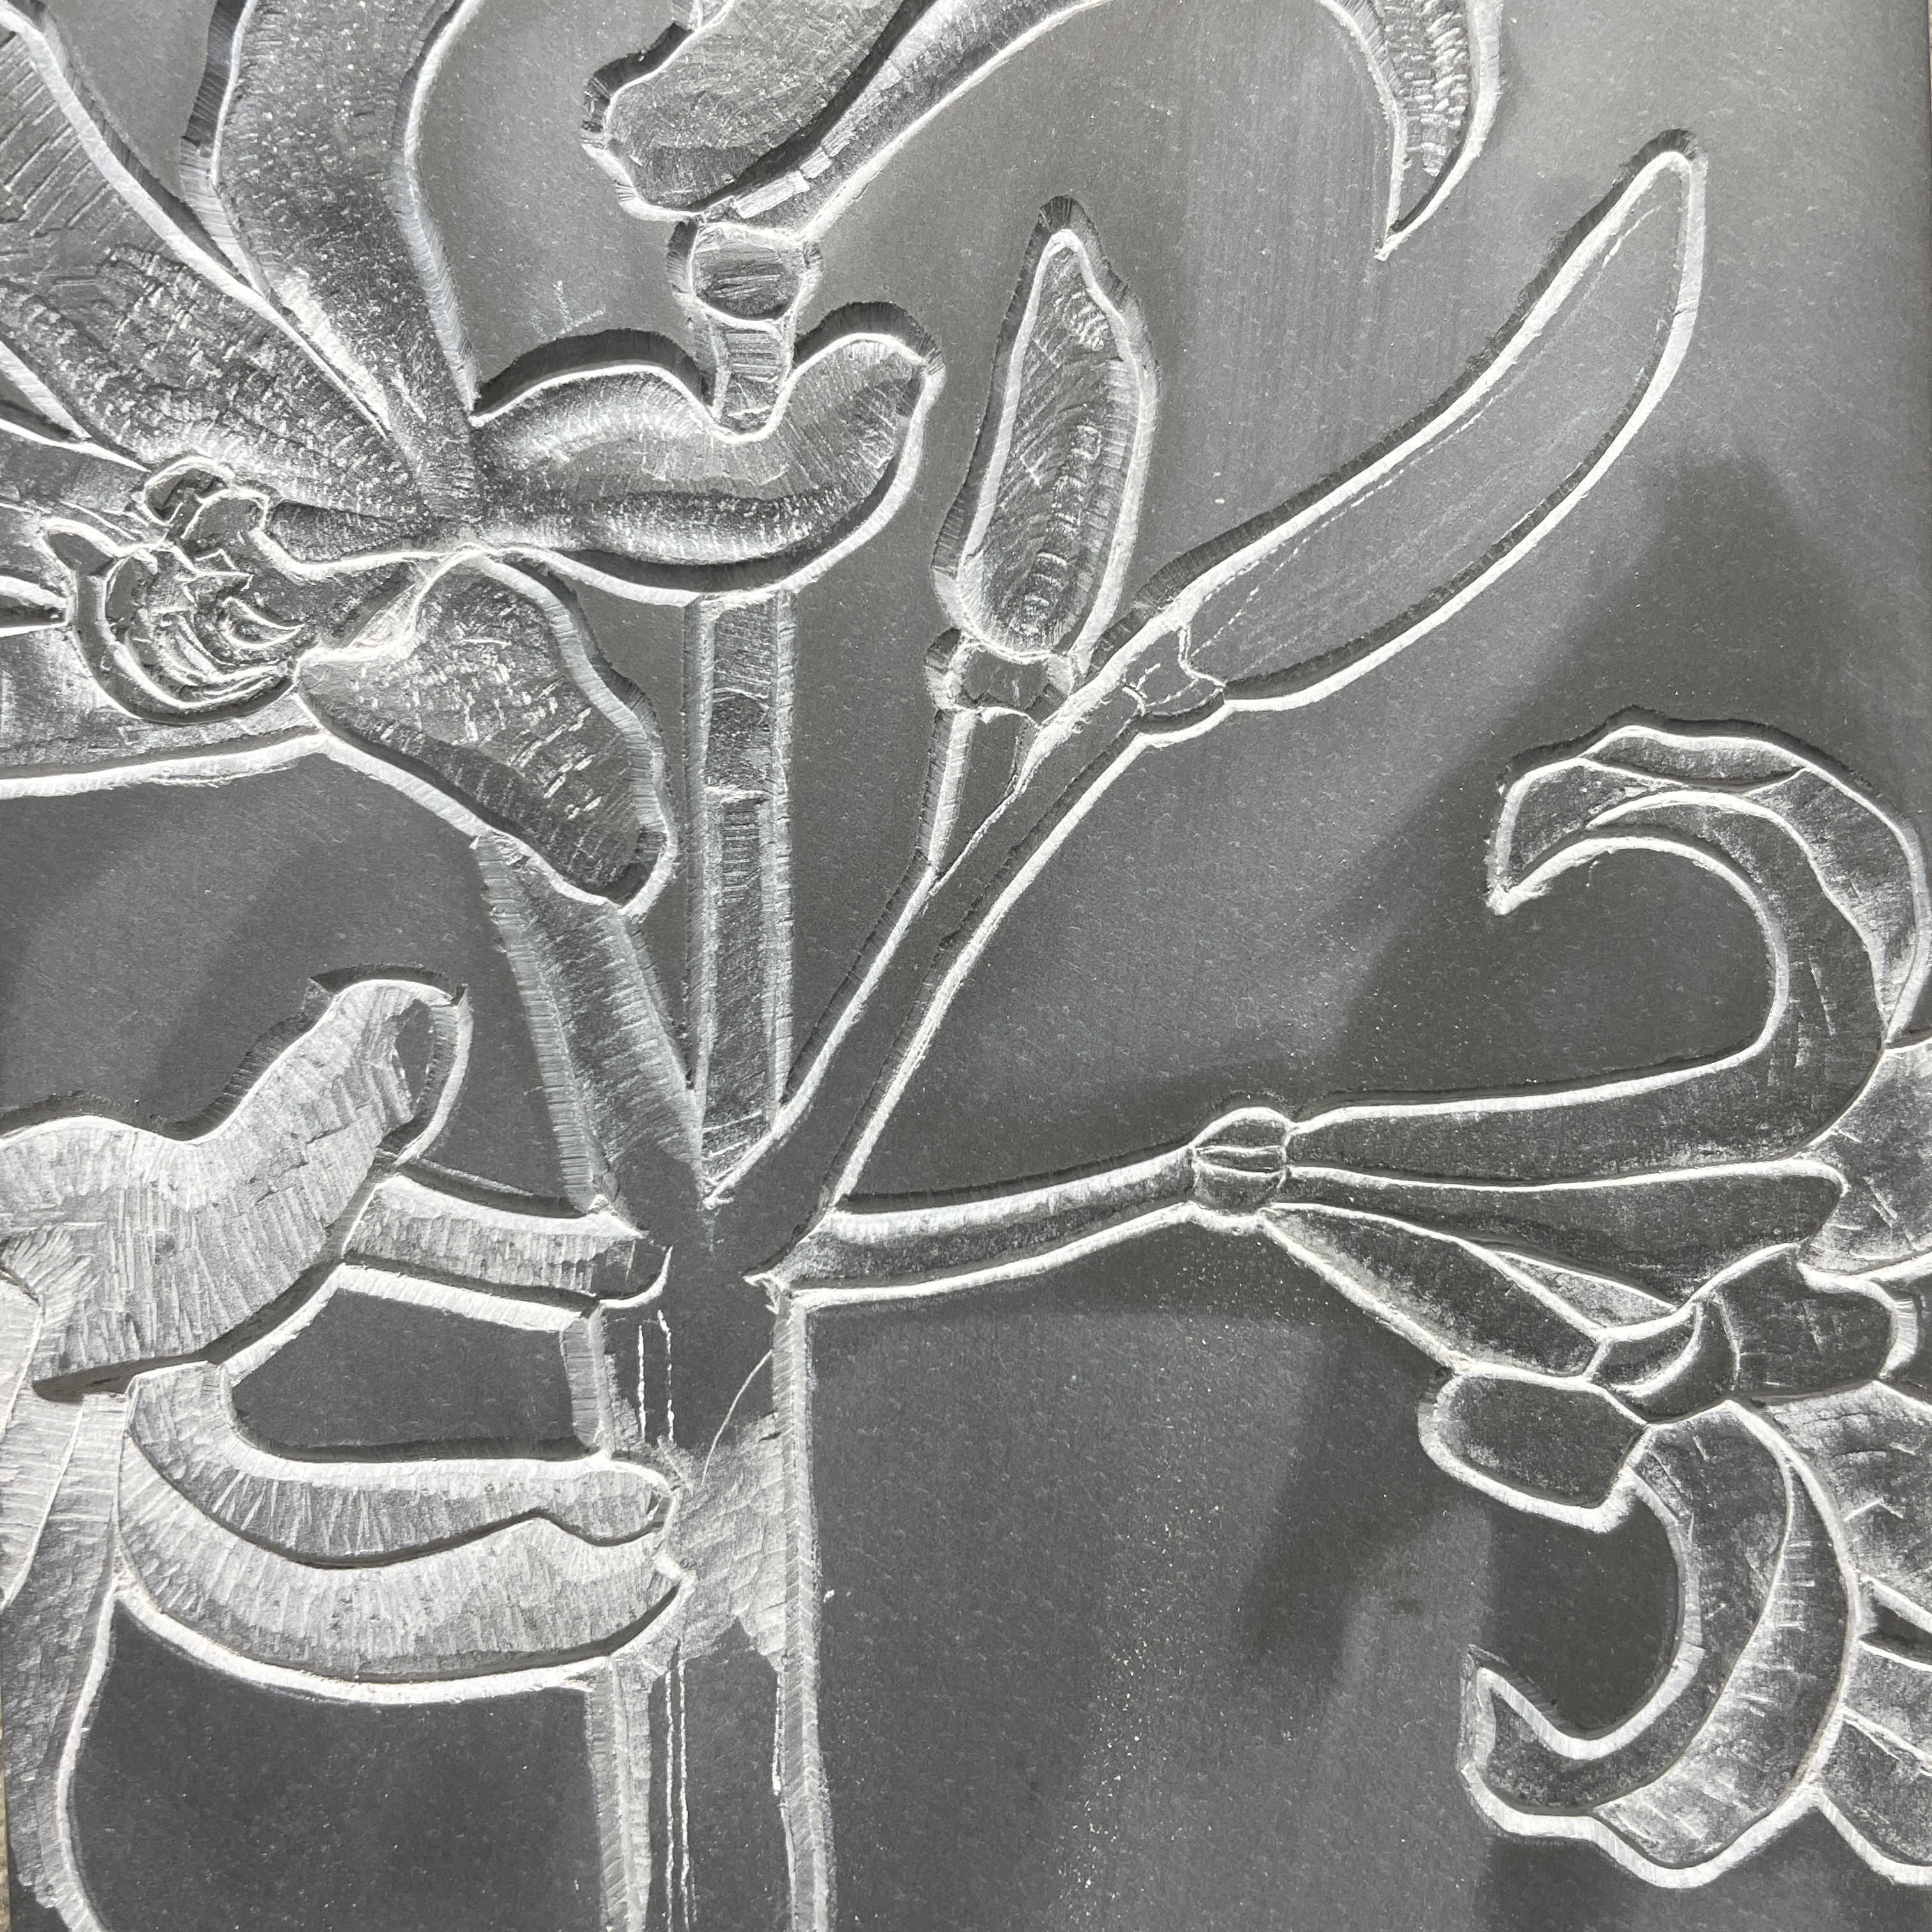
Up until this point I had not done any decorative carving in stone, so we chose this as the next project. Of all the things one could be asked to carve on a headstone, flowers are one of the most common.

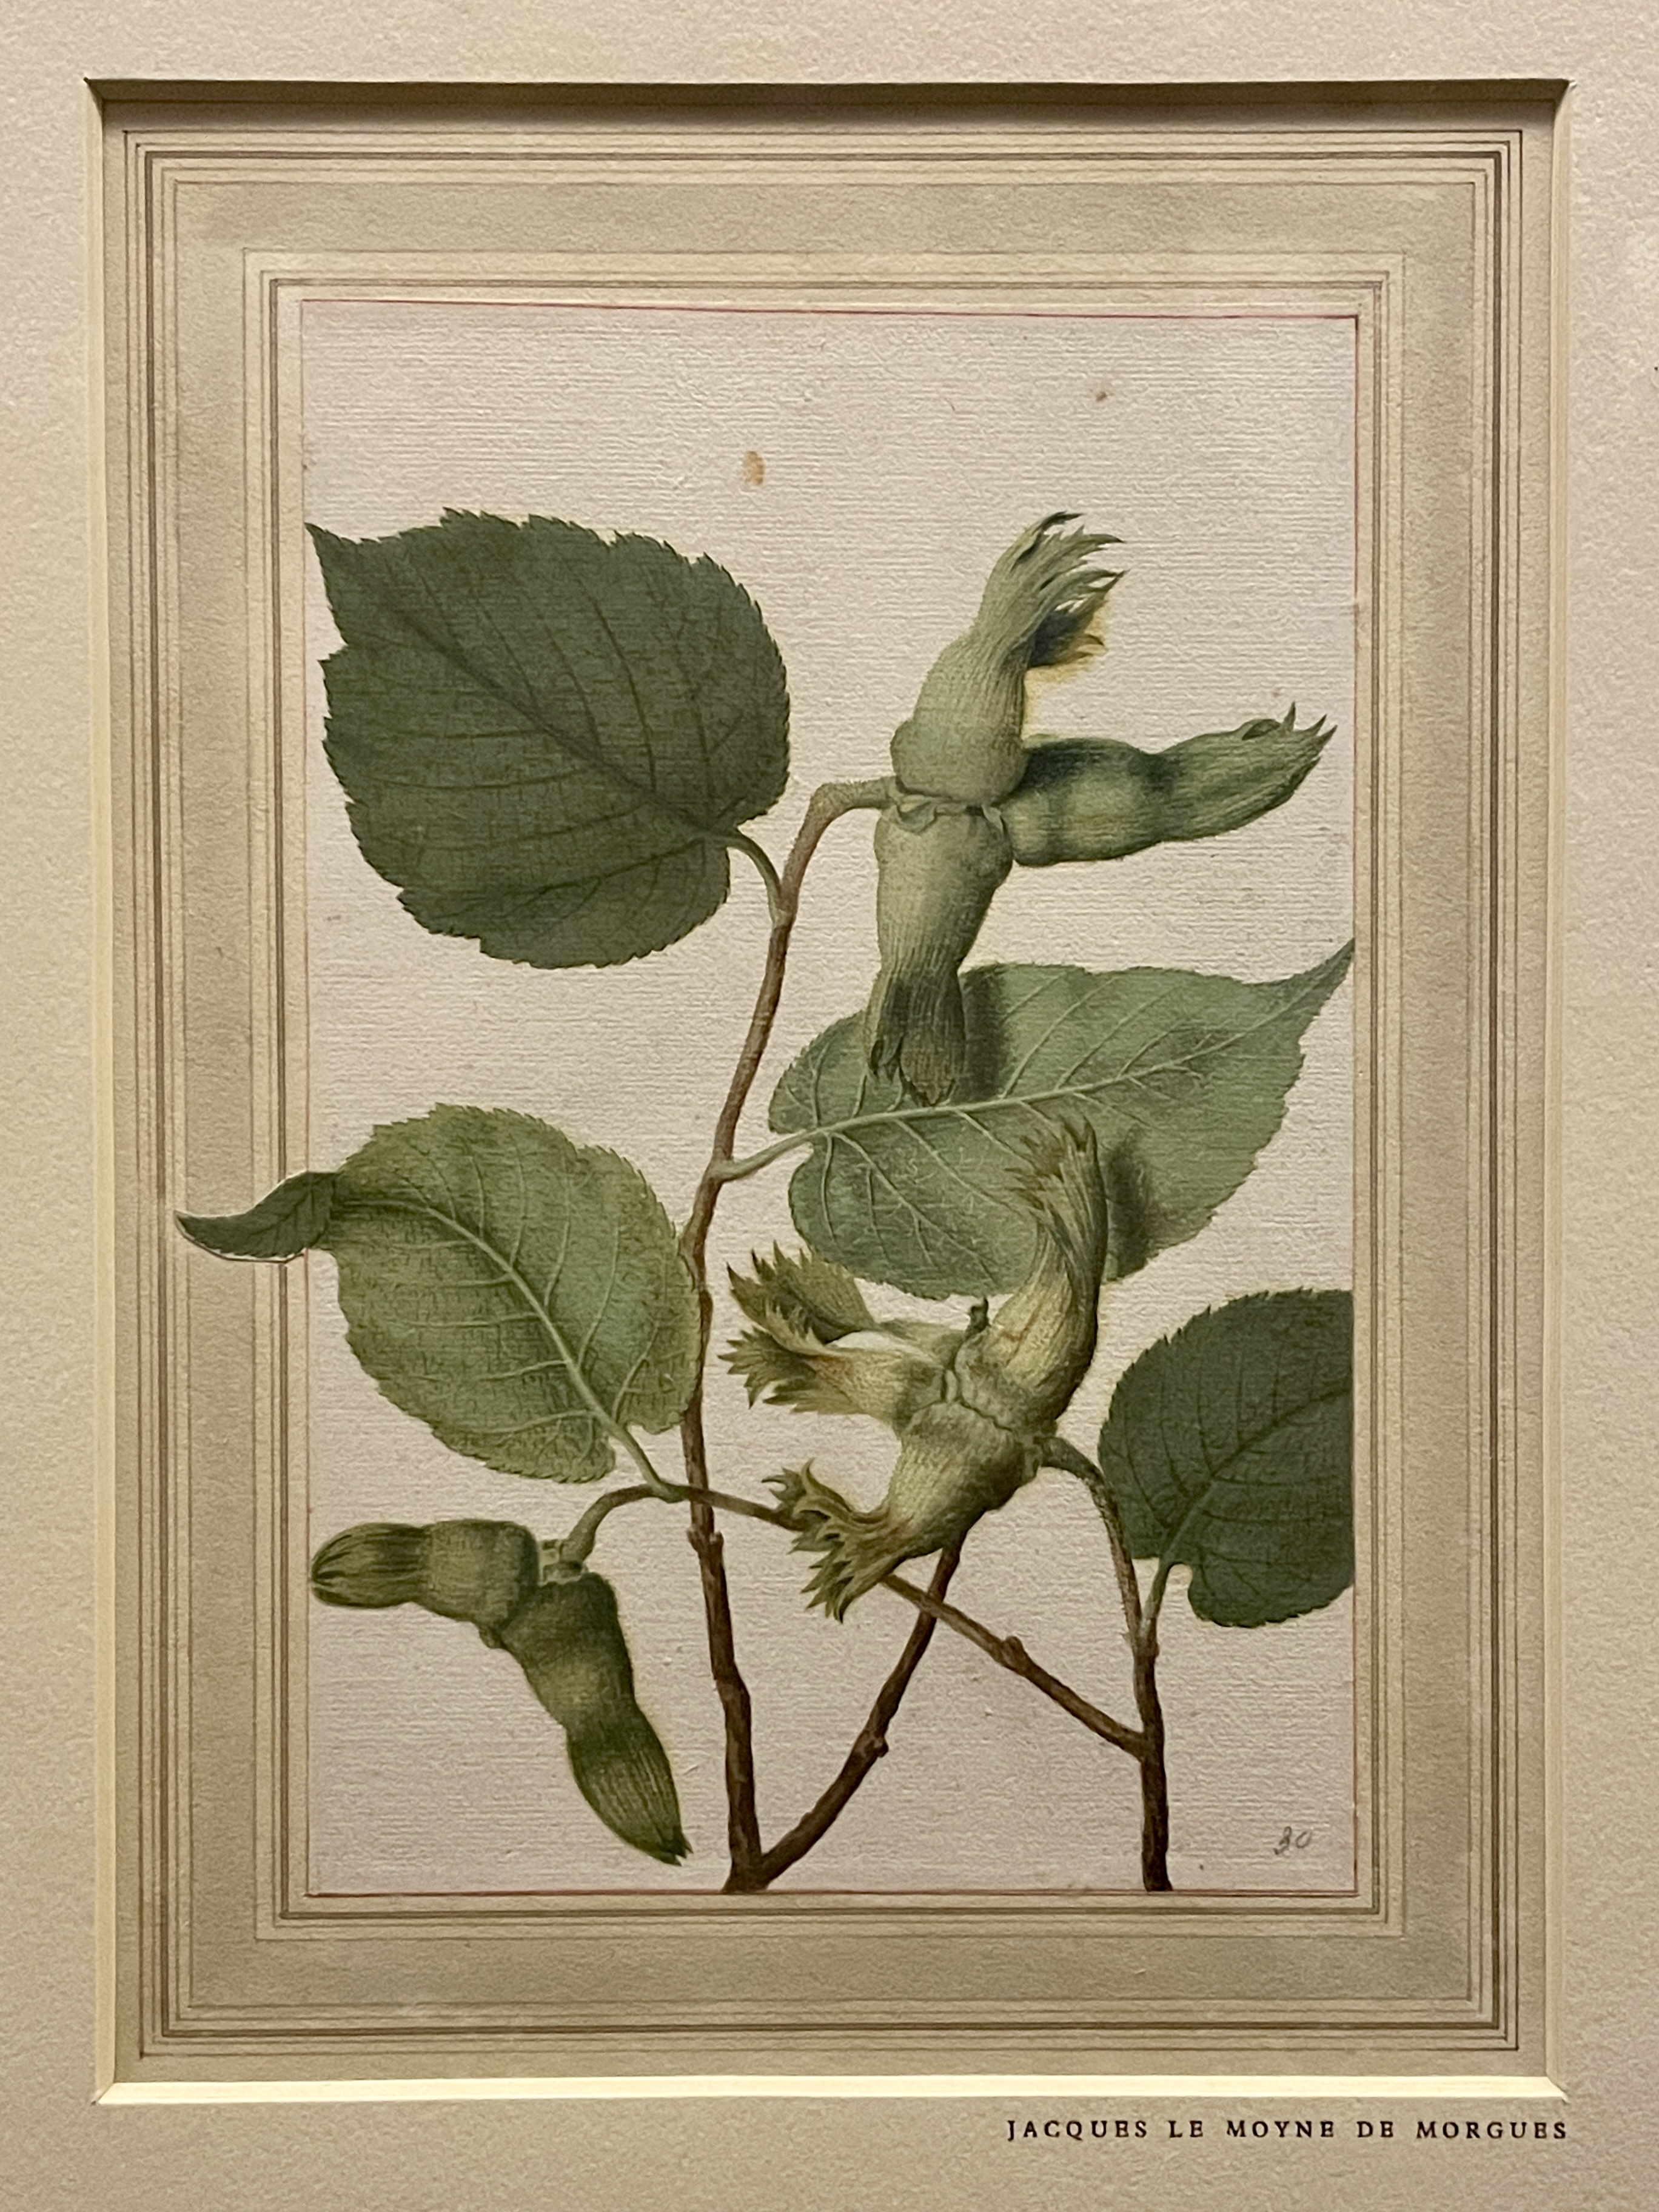
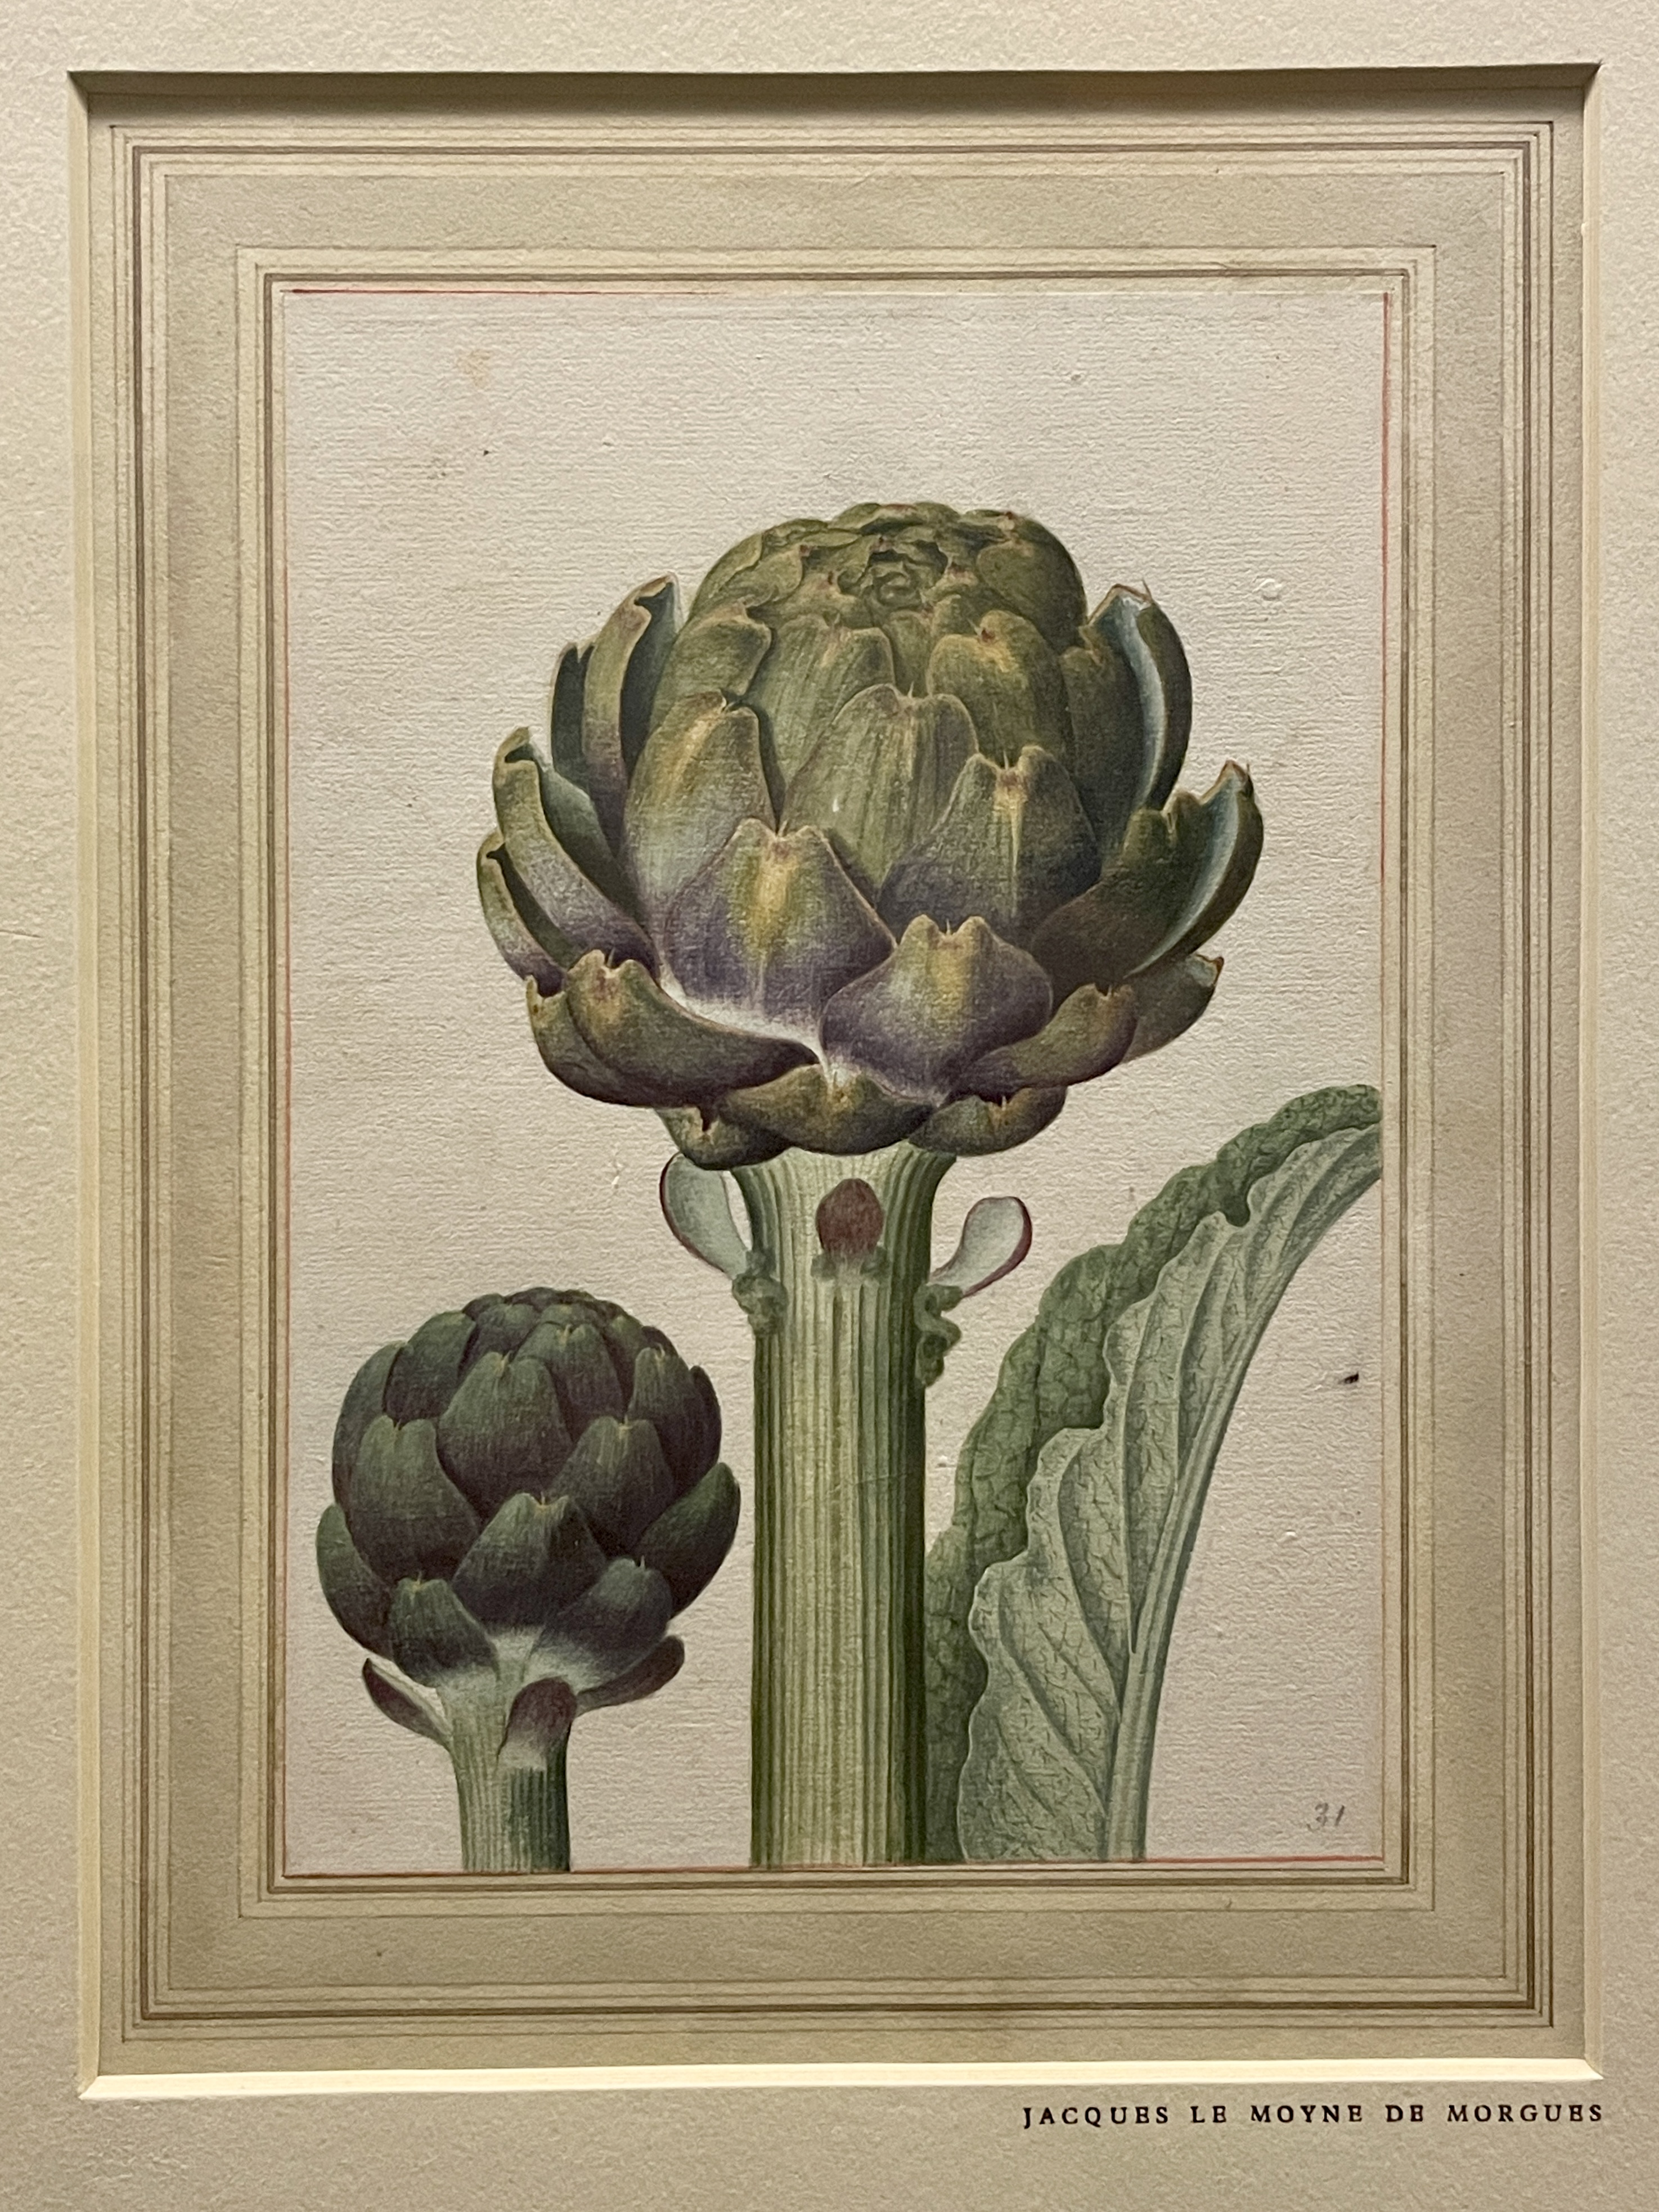
The inspiration for this piece started with visiting the British Museum Drawing and Prints room to see an exhibition of botanical watercolours by the 16th century artist Jacques Le Moyne, ‘The Genius of Nature’. The description for the exhibition read as follows:

Born in France, Jaques Le Moyne (c. 1533-1588) moved to London shortly before 1580. As a French Protestant, known at this date as a Huguenot, he faced persecution from the Catholic state during the Wars of Religion. He was already well-known for his interest in natural history, having served as artist and cartographer on a French Protestant expedition to North American in 1564-5, which had unsuccessfully tried to establish a colony in Florida.

The British Museum has a remarkable series of botanical studies by Le Moyne, all of which were originally part of an album complied from the Elizabethan courtier Lady Mary Sidney. These striking naturalistic images of fruit, flowers and insects aim to satisfy both aesthetic demands and the growing interest, in the later 16th century, in scientific classification and identification. Many of these drawings were later used as the basis for woodcuts in La Clef des Champs, a woodcut pattern book complied in 1586. Copyright British Museum.

Le Moyne's watercolours provided a good starting point, as he had already approached the subject matter with a view to distil its key attributes, translating his observation onto paper, in much the same way that I would need to do.

What struck me initially was the clarity of composition, Figs. 1 + 2 show a couple of branches from a tree which fill the frame but also provide visual variety in the use of different angles of leaves and fruits, the front of a leave, the back, how a leave twists. I found particularly interesting how he shows the plant at different stages in its development, in Fig. 2, the oak branch, from left to right the acorns start out green and gradually turn brown, displaying its life cycle over the passing of time.


To begin I looked around the garden for plants that would be appropriate. I settled on a branch of Alder with its seeds and a head of Nerines. Figs. 4 - 7 show my initial sketches for composition. Upon showing these to Charlotte there were a number of features that she identified would be difficult to carve. Overlapping parts of the design or bits that are too close together provide a difficulty in carving, as they would leave very small gaps of raised stone. I also changed the dimensions of the piece, which lead to the final two designs, in Fig. 8 + 9. Fig. 8 shows the whole design a little lower on the stone, we moved this up to fill the space. Of the two buds in the middle of the composition, the one on the left we made slightly larger to better fill that space. On the upper left hand flower there was a petal that overlapped the highest flower, we moved this down as it would make it easier to carve.

After sanding the stone to prepare the surface, we traced the drawing onto the stone with white copy paper and then drew another line around the whole drawing, Figs. 10 - 12, this external line indicated the v-cut that will define the edges of the design. Figs. 13 + 14 show the v-cut. The v-cut around the edge can be of different widths and depths depending on the part of the design, this only really becomes clear as I begin to carve the design.


The next step is to cut back the surface of the stone and indicate the different levels of the design, maintaining which parts of the design overlap others, the parts that are lowest and the highest parts, Fig. 15 + 16. Once these ‘ups’ and ‘downs’ are in place attention can be given to modelling the petals so that shadows fall in a particular way. This is the part that takes longest for me to get my head around, you can see by Fig. 19, that I’ve managed to achieve some modelling, although not always where I indented it.


Once we’re happy that everything sits together well I add on some texture. I particularly like how the stamen turn out, I tried to create a pitted texture, that might give the sense of not being as solid as the other textures. The contrast between the textures helps define the forms as well. For this piece I used a very small Italian chisel to do the details and achieve a delicate chopped texture on the petals. And a riffler on the stems to get the scratched parallel lines. Figs. 20 - 23 show the finished piece and Fig. 24, shows my dated signature on the side of the piece.

As the final addition to the piece we drill a hole on the back of the piece so it can be hung on a wall and sand back any marks left on the surface.

We intend also to make a cast of this piece so that multiples can be made in plaster and sold.


12. Nereids ︎︎︎ 


My Lettering Arts Trust Apprenticeship started on the 10th January 2023, with master carver Charlotte Howarth in West Norfolk. My apprenticeship will last two years, the first year on a part-time basis. I am the 10th LCAT apprentice.


© Maia Gaffney-Hyde MMXXIII
© Maia Gaffney-Hyde MMXXIV