

10. Sign writing
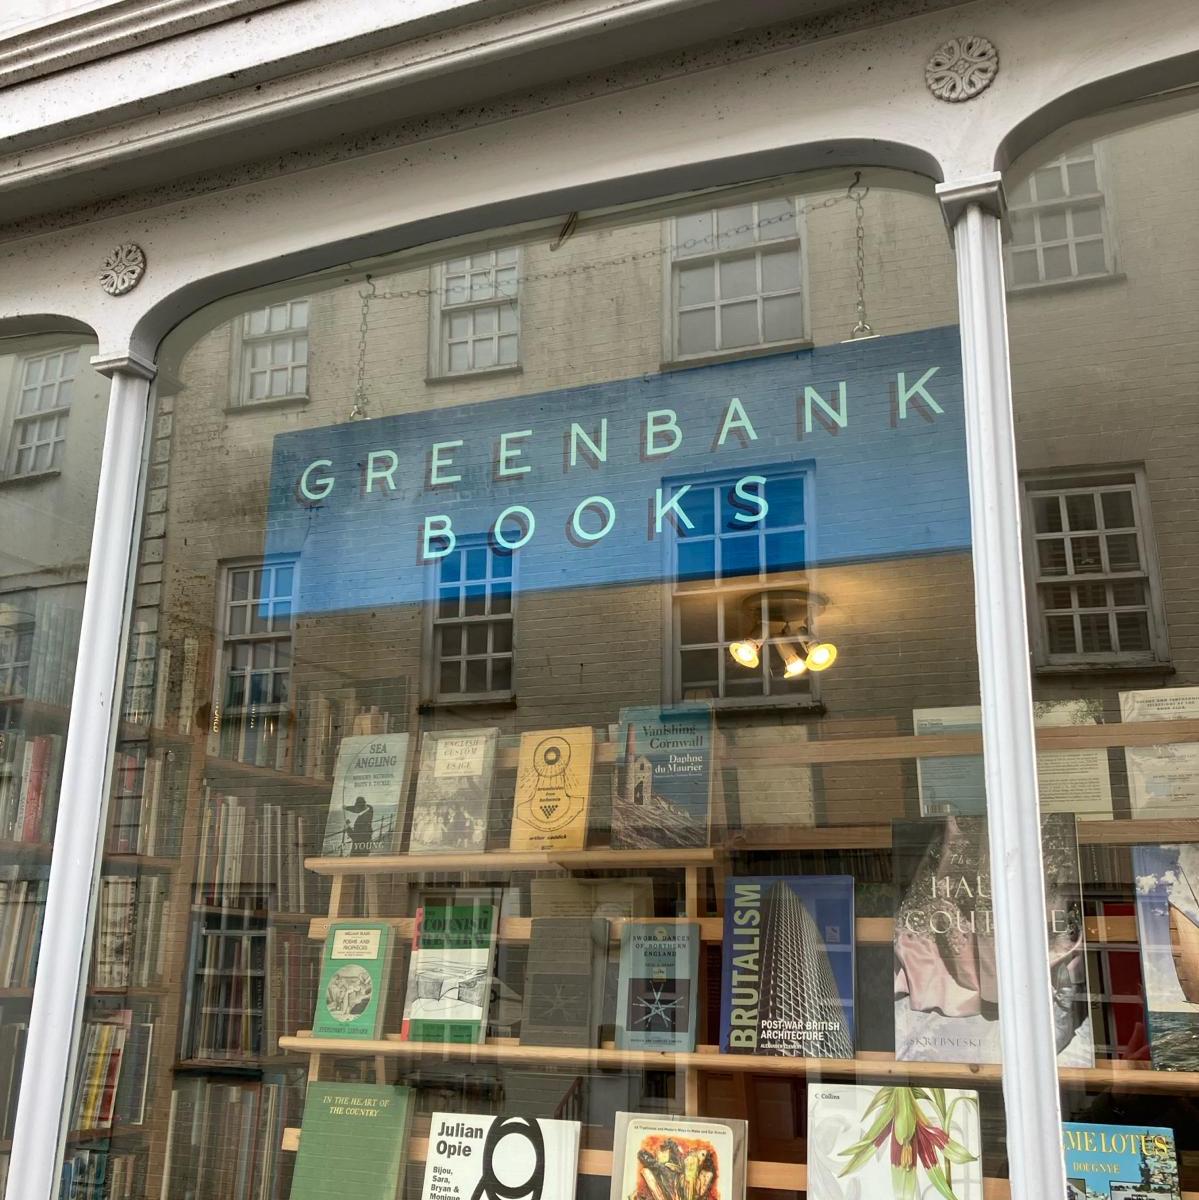
Although not strictly letter carving, designing letterforms for a sign has many useful and transferable skills that involve letter design. My dad owns a second hand book shop in Falmouth and was in need of a shop sign. We saw this as a good opportunity to treat this as a job with a ‘client’.
For this project there would be four main learning outcomes; preparing a board for painting, the sign writing itself, designing letterforms, by hand and digitally and putting together a formal draft of the design that could be sent to the client.
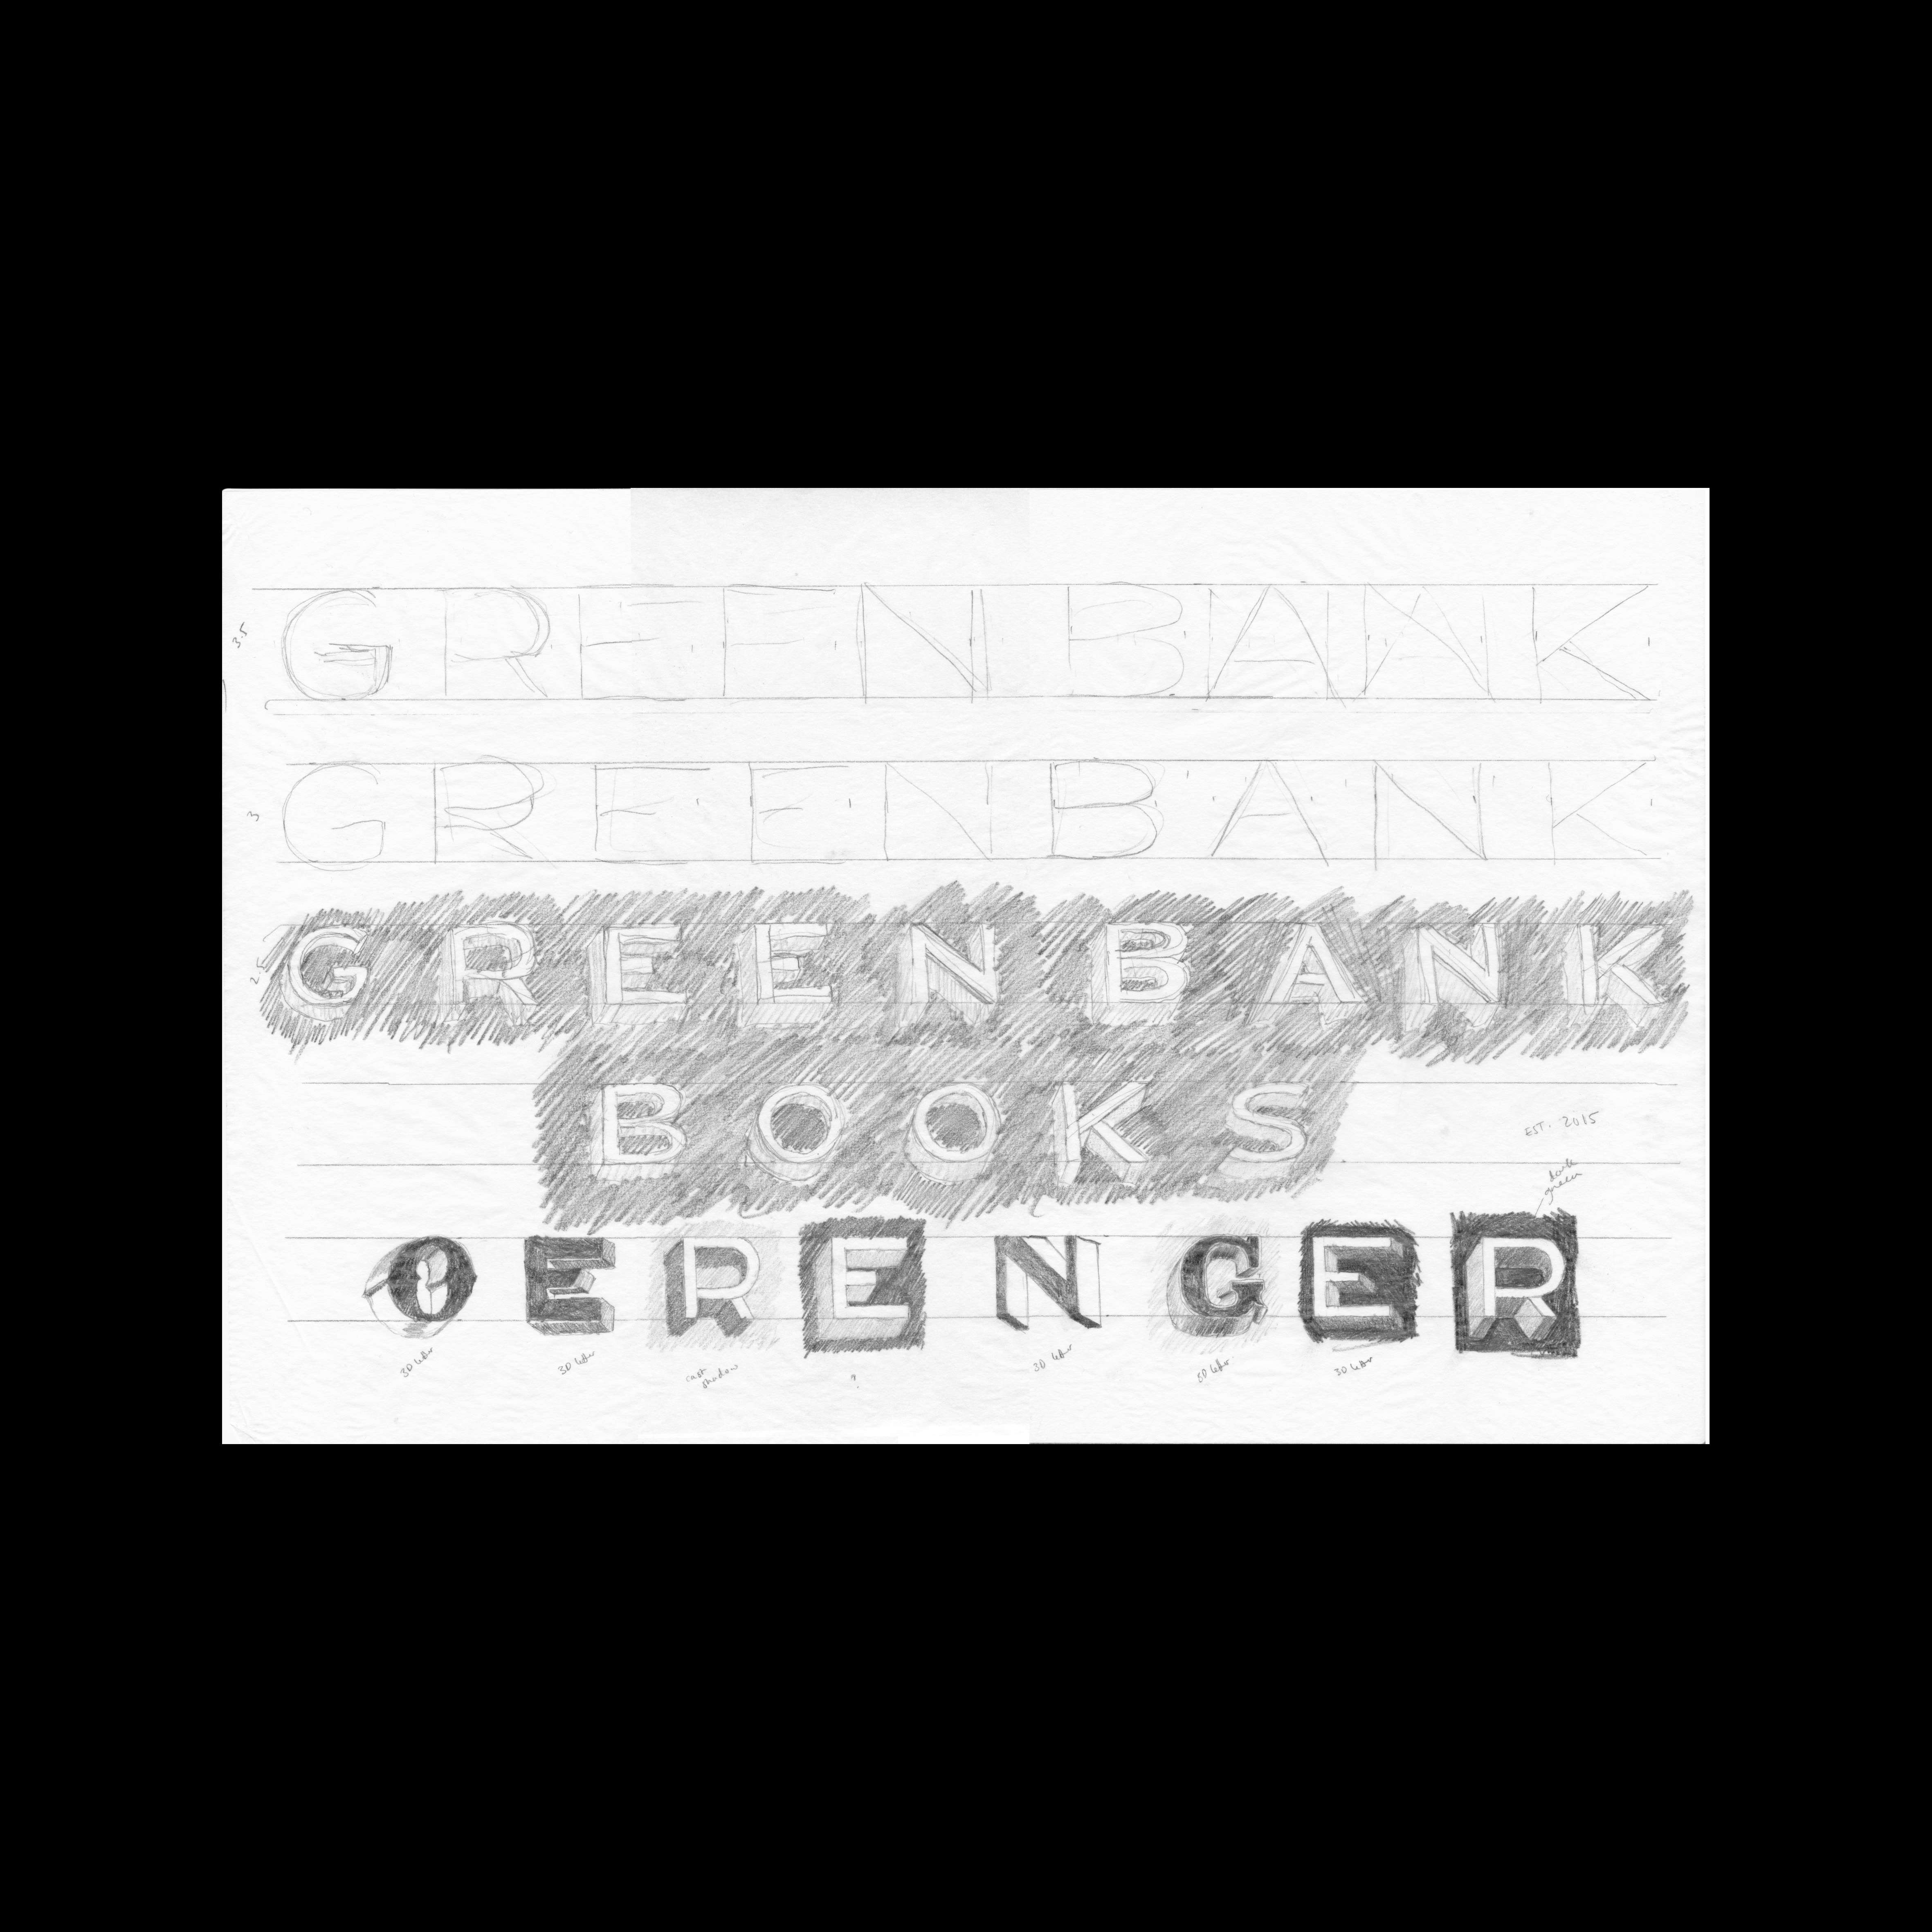
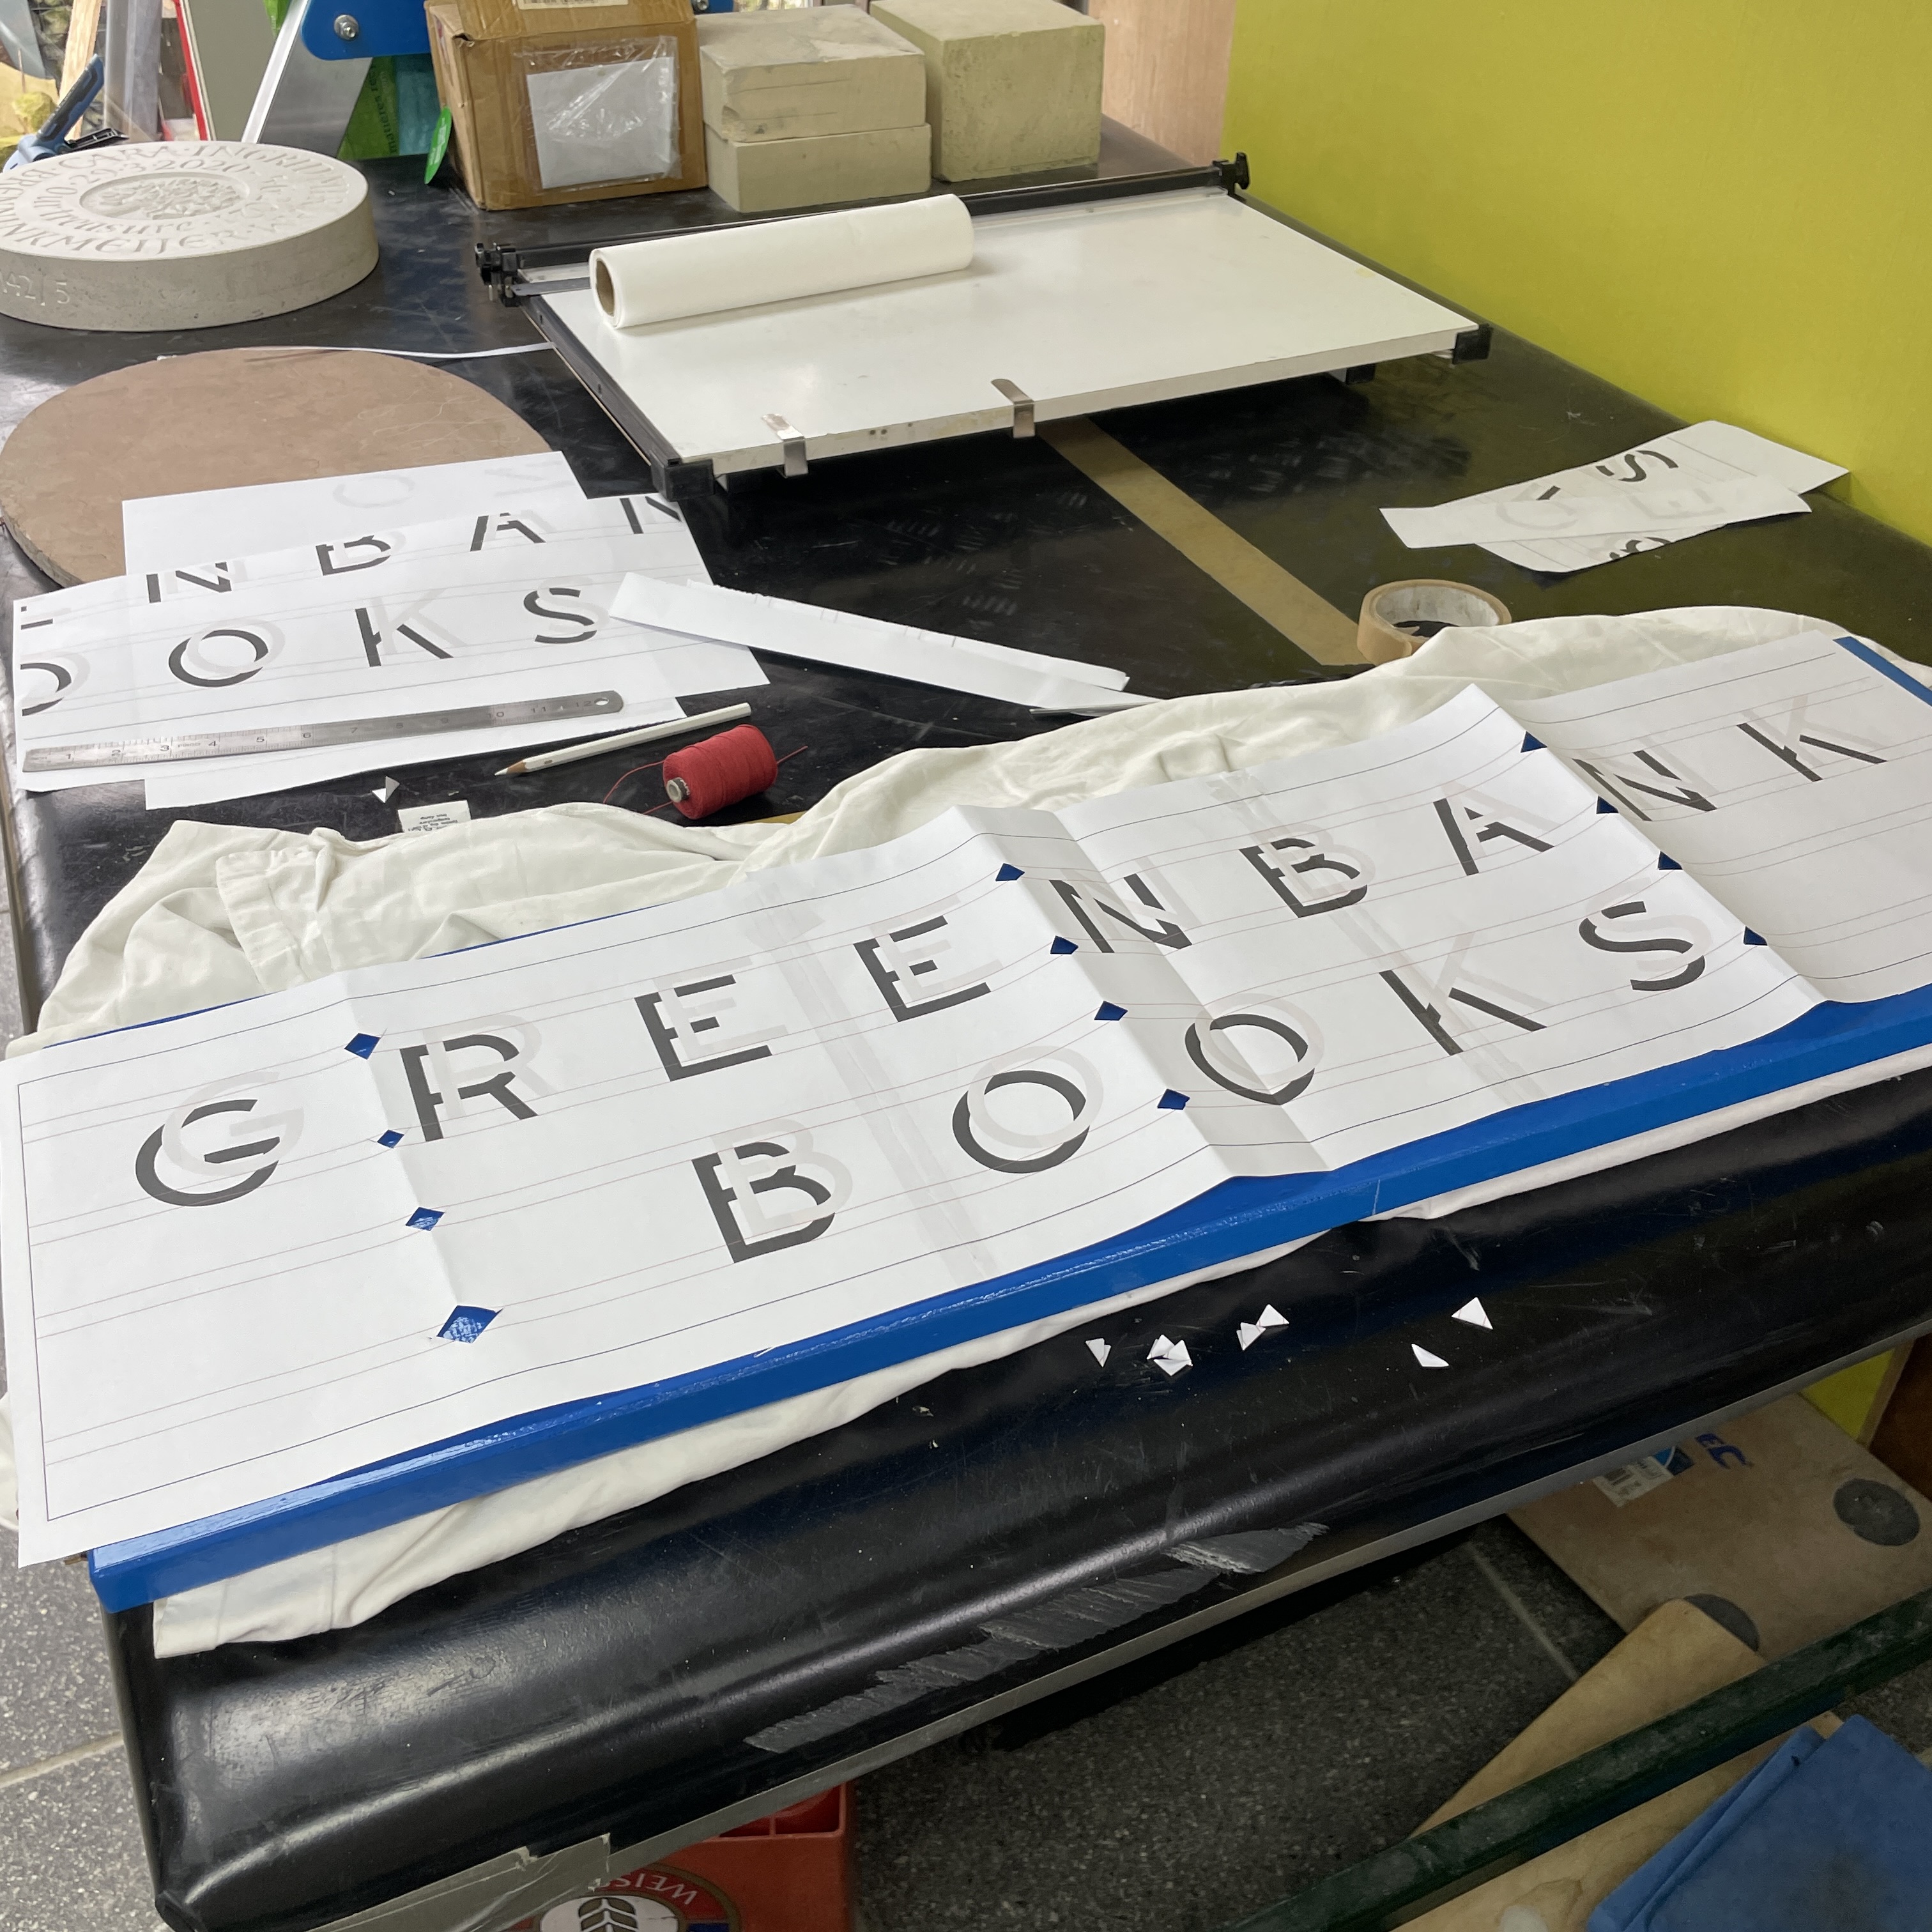
Fig. 1, before I had started the project I had measured the window that the sign was to hang in, this gave me the constraints of the size. We had also tested what size of letterform would be visible in the window, to give me a sense of what size not to go below. So when I came to drawing the letters I had a good sense of what size they needed to be.
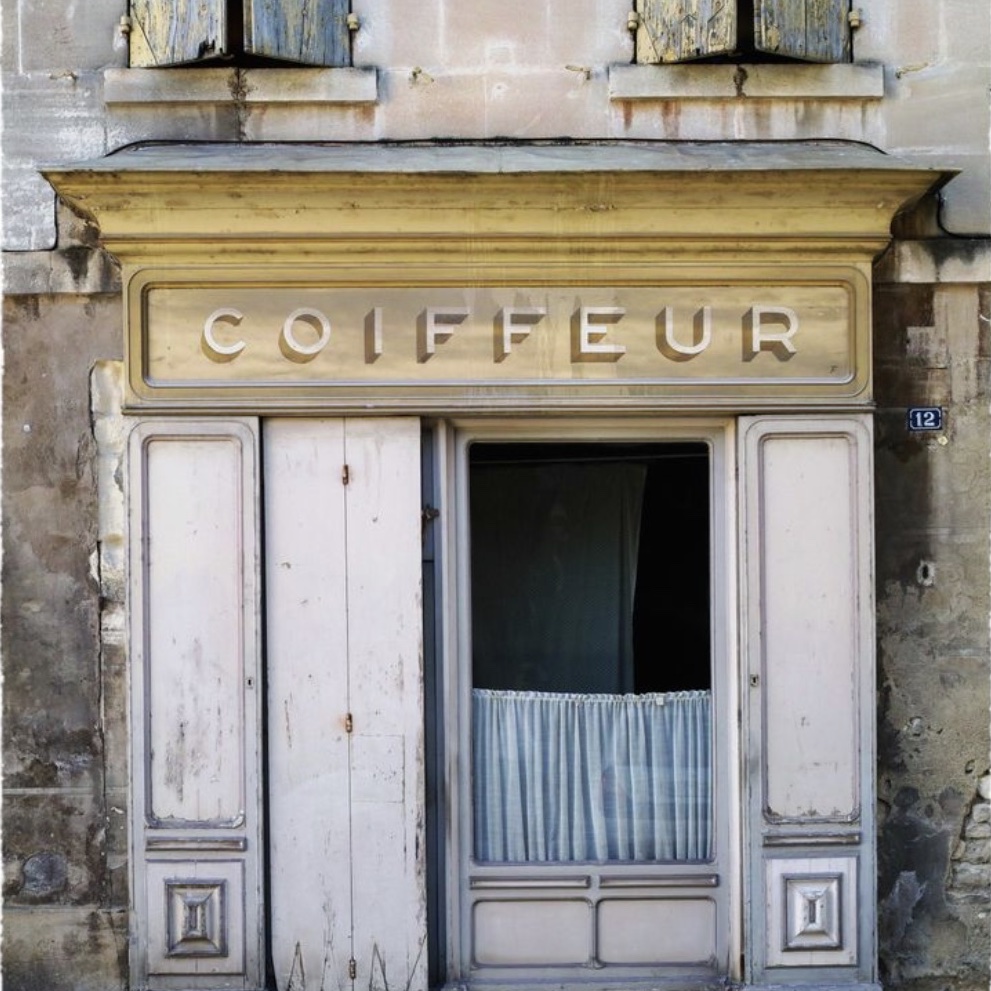
I received a number of examples of shop signs in different styles from my dad, out of which I selected a letterform I would be able to work with, a letter style that wasn't too ornate, Fig. 2-3. I started by sketching forms that directly copied the lettering I had been provided. These letters had a uniform width and did not conform with the proportions that letter carvers would use for Trajan lettering, so on Charlotte’s advice I slightly adjusted the letters, Fig. 4-5.

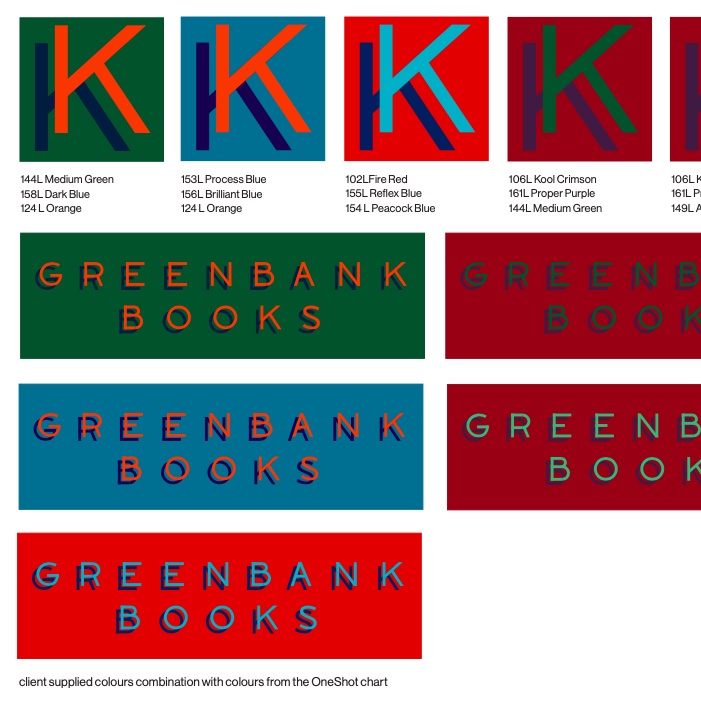
Once we had agreed the letterform, I began making the digital version of the design on Illustrator from which I could produce a formal document with all the details of the piece, Fig. 6. Providing an image of how the finished piece might look prompted the client to edit the sign down, removing one word, it also prompted discussion of the drop shadow and lead to a more dynamic, although still subtle, shadow. The type of shadow also slightly changed the colour arrangement of the piece, it became evident that some combinations were much more legible than others. By working on Illustrator I could use the colour swatches provided from 1shot, the company we were using for the paint, and could show the client the exact colours they had available, Fig. 7. This proved quite useful in speeding up the decision making process.
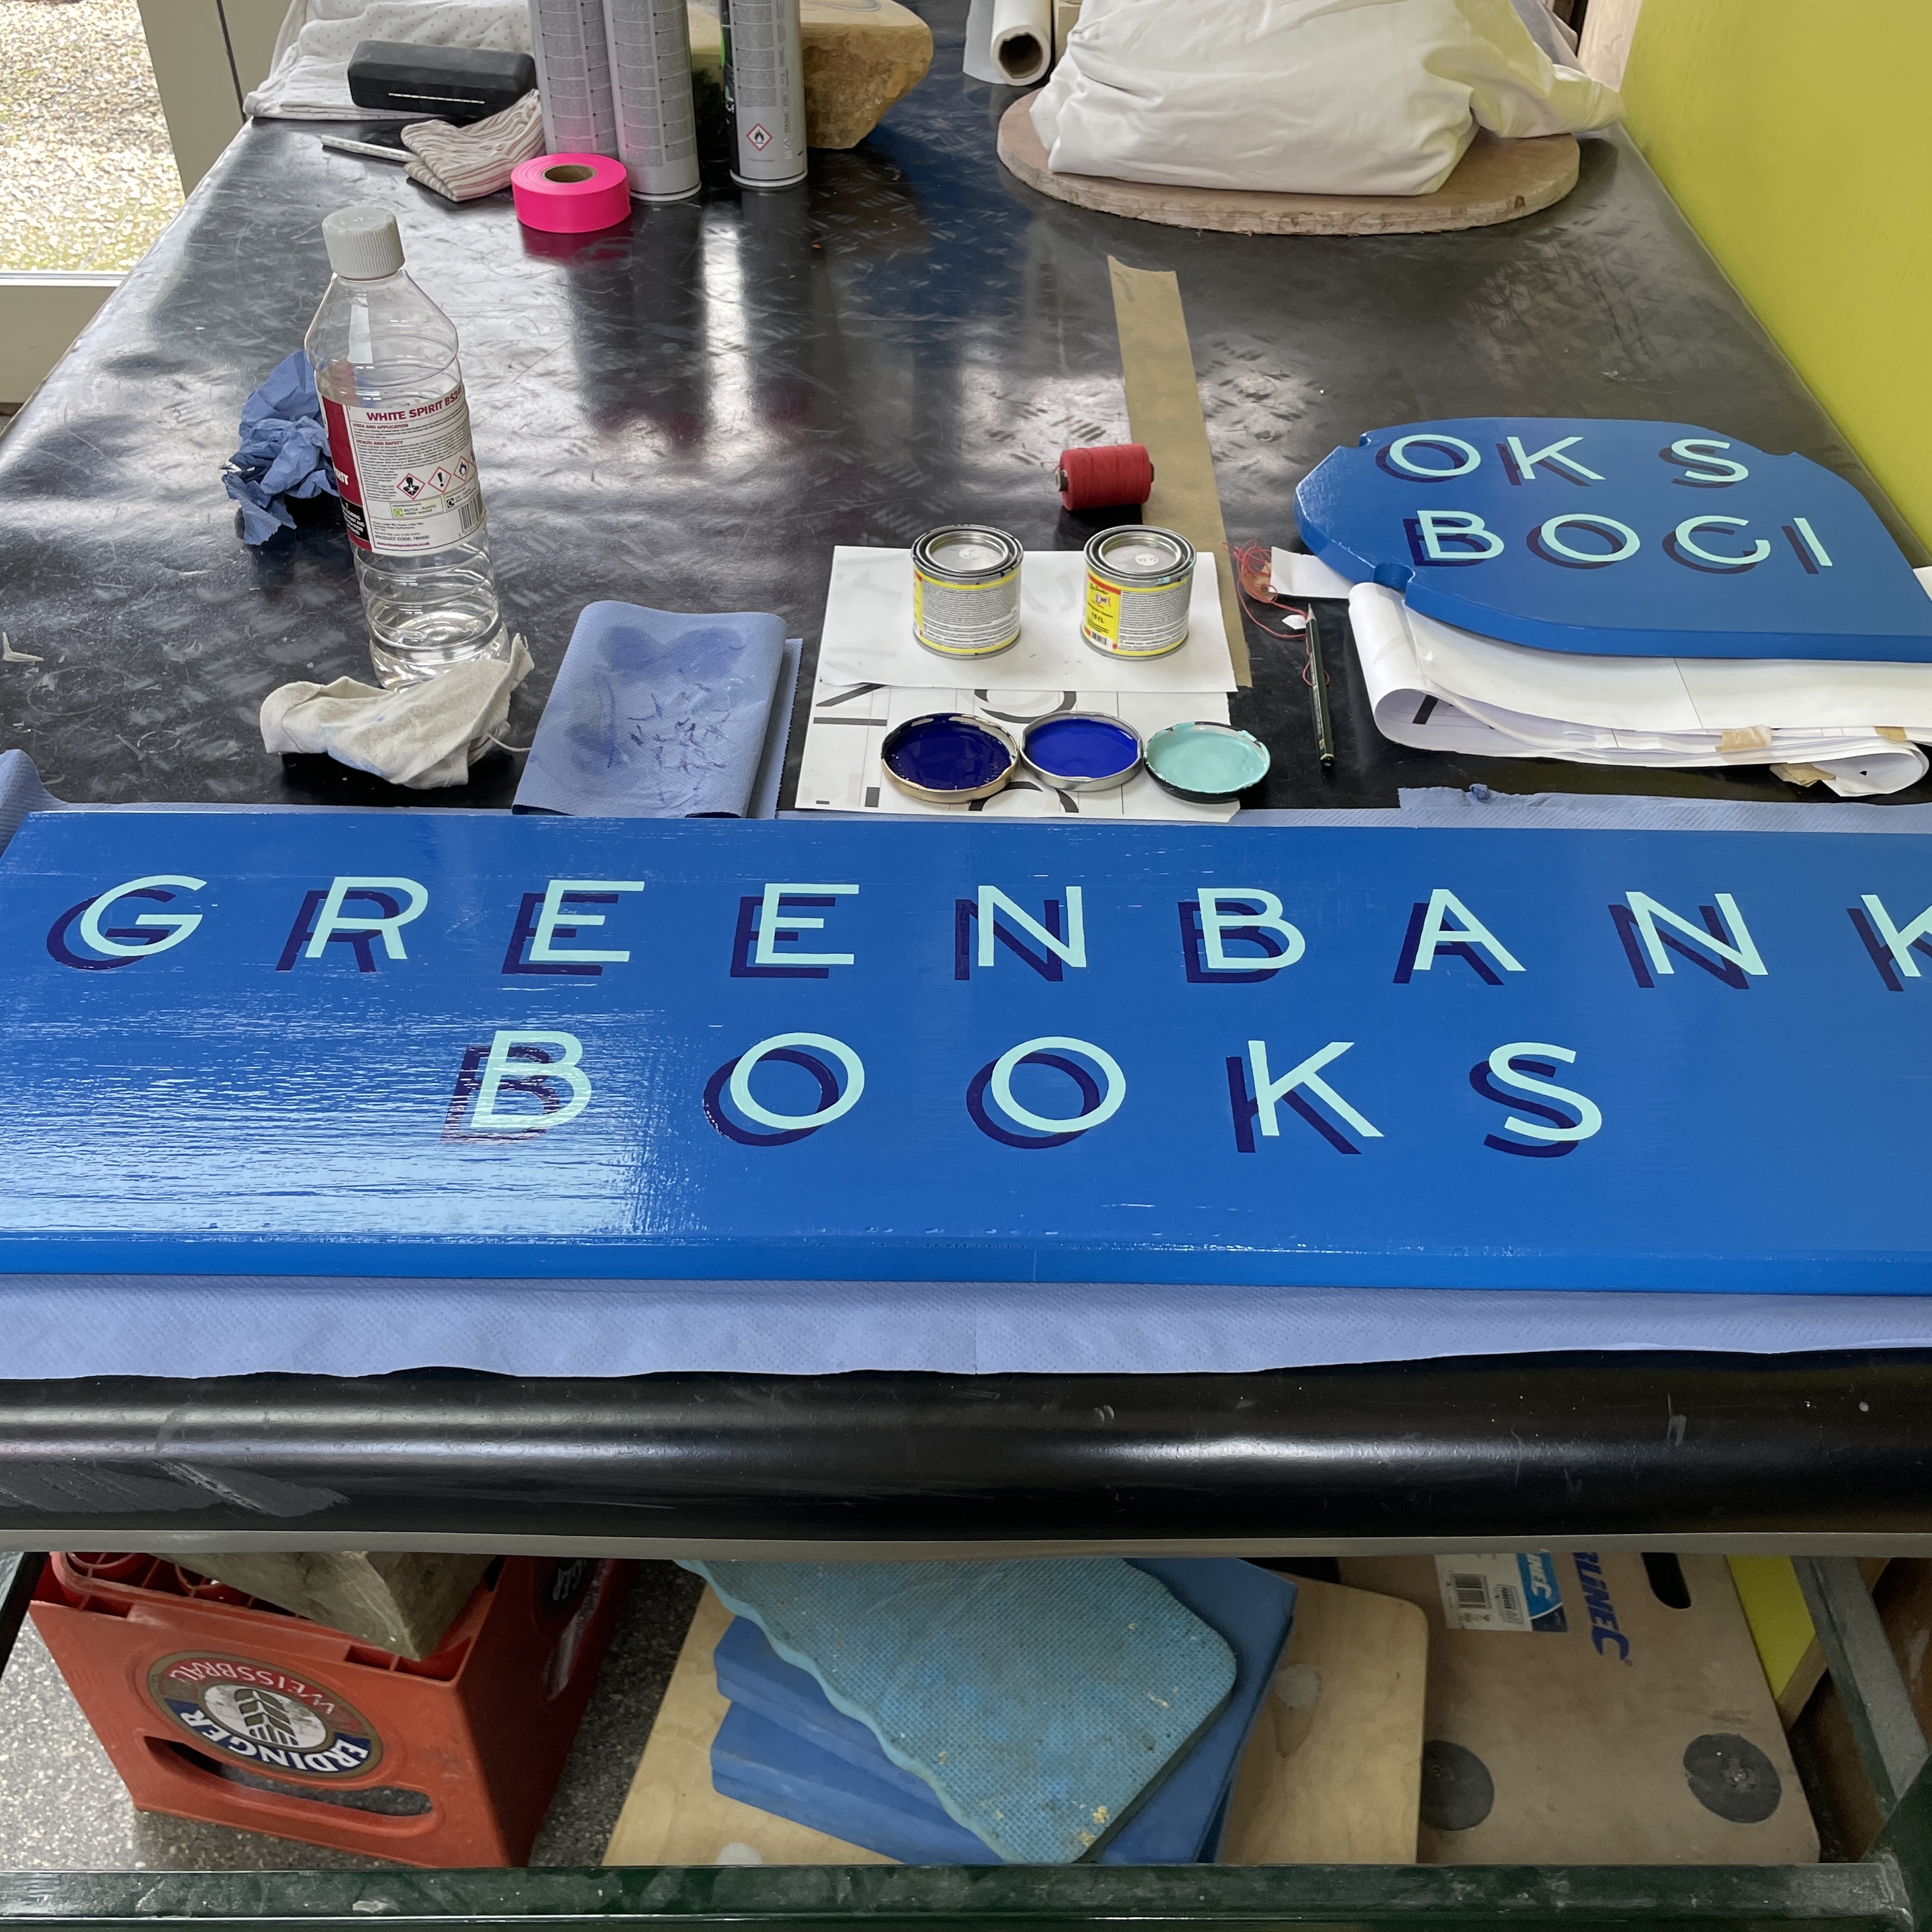
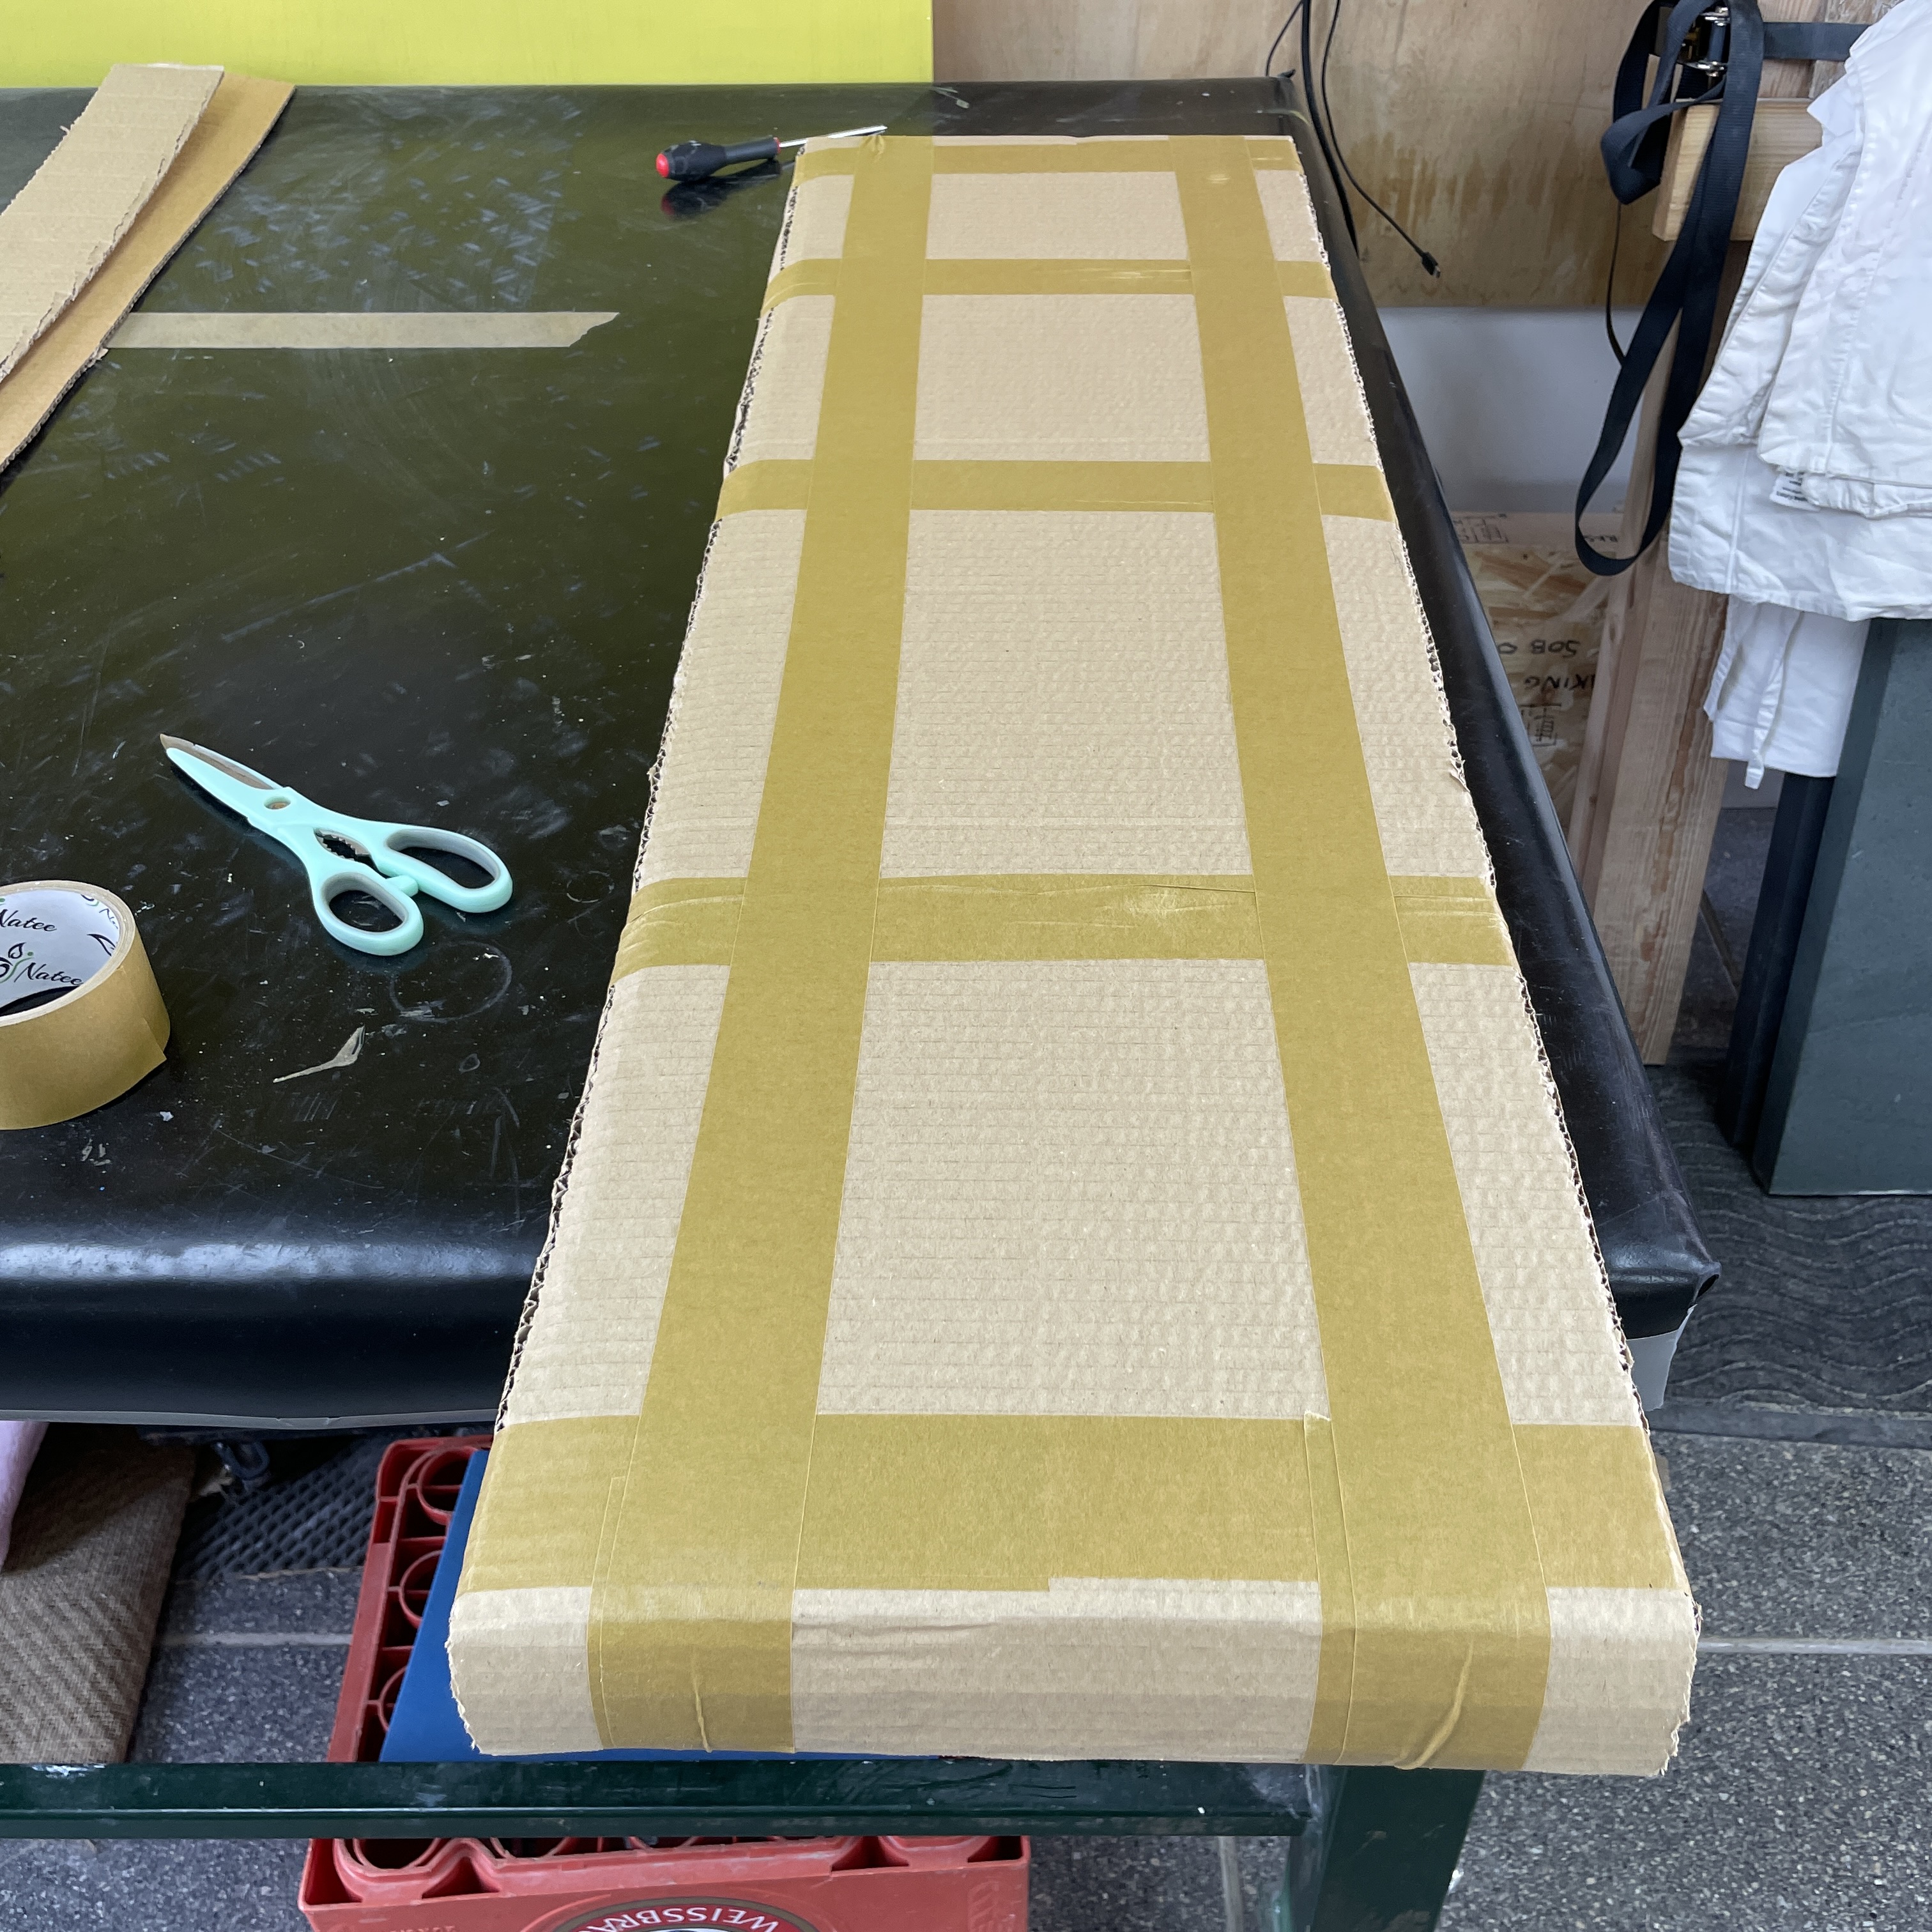
When it came to making the sign we deliberately picked a board that would need a little bit of preparation before painting. This involved, sanding the surfaces down to remove splinters and putting an arris on the edges. Then we filled any larger dents and holes with wood filler, sanded that down and refilled with a fine surface filler any areas we had missed. We then sealed the wood with two coats of wood primer. After sanding that back we then started with the first coats of the background colour.
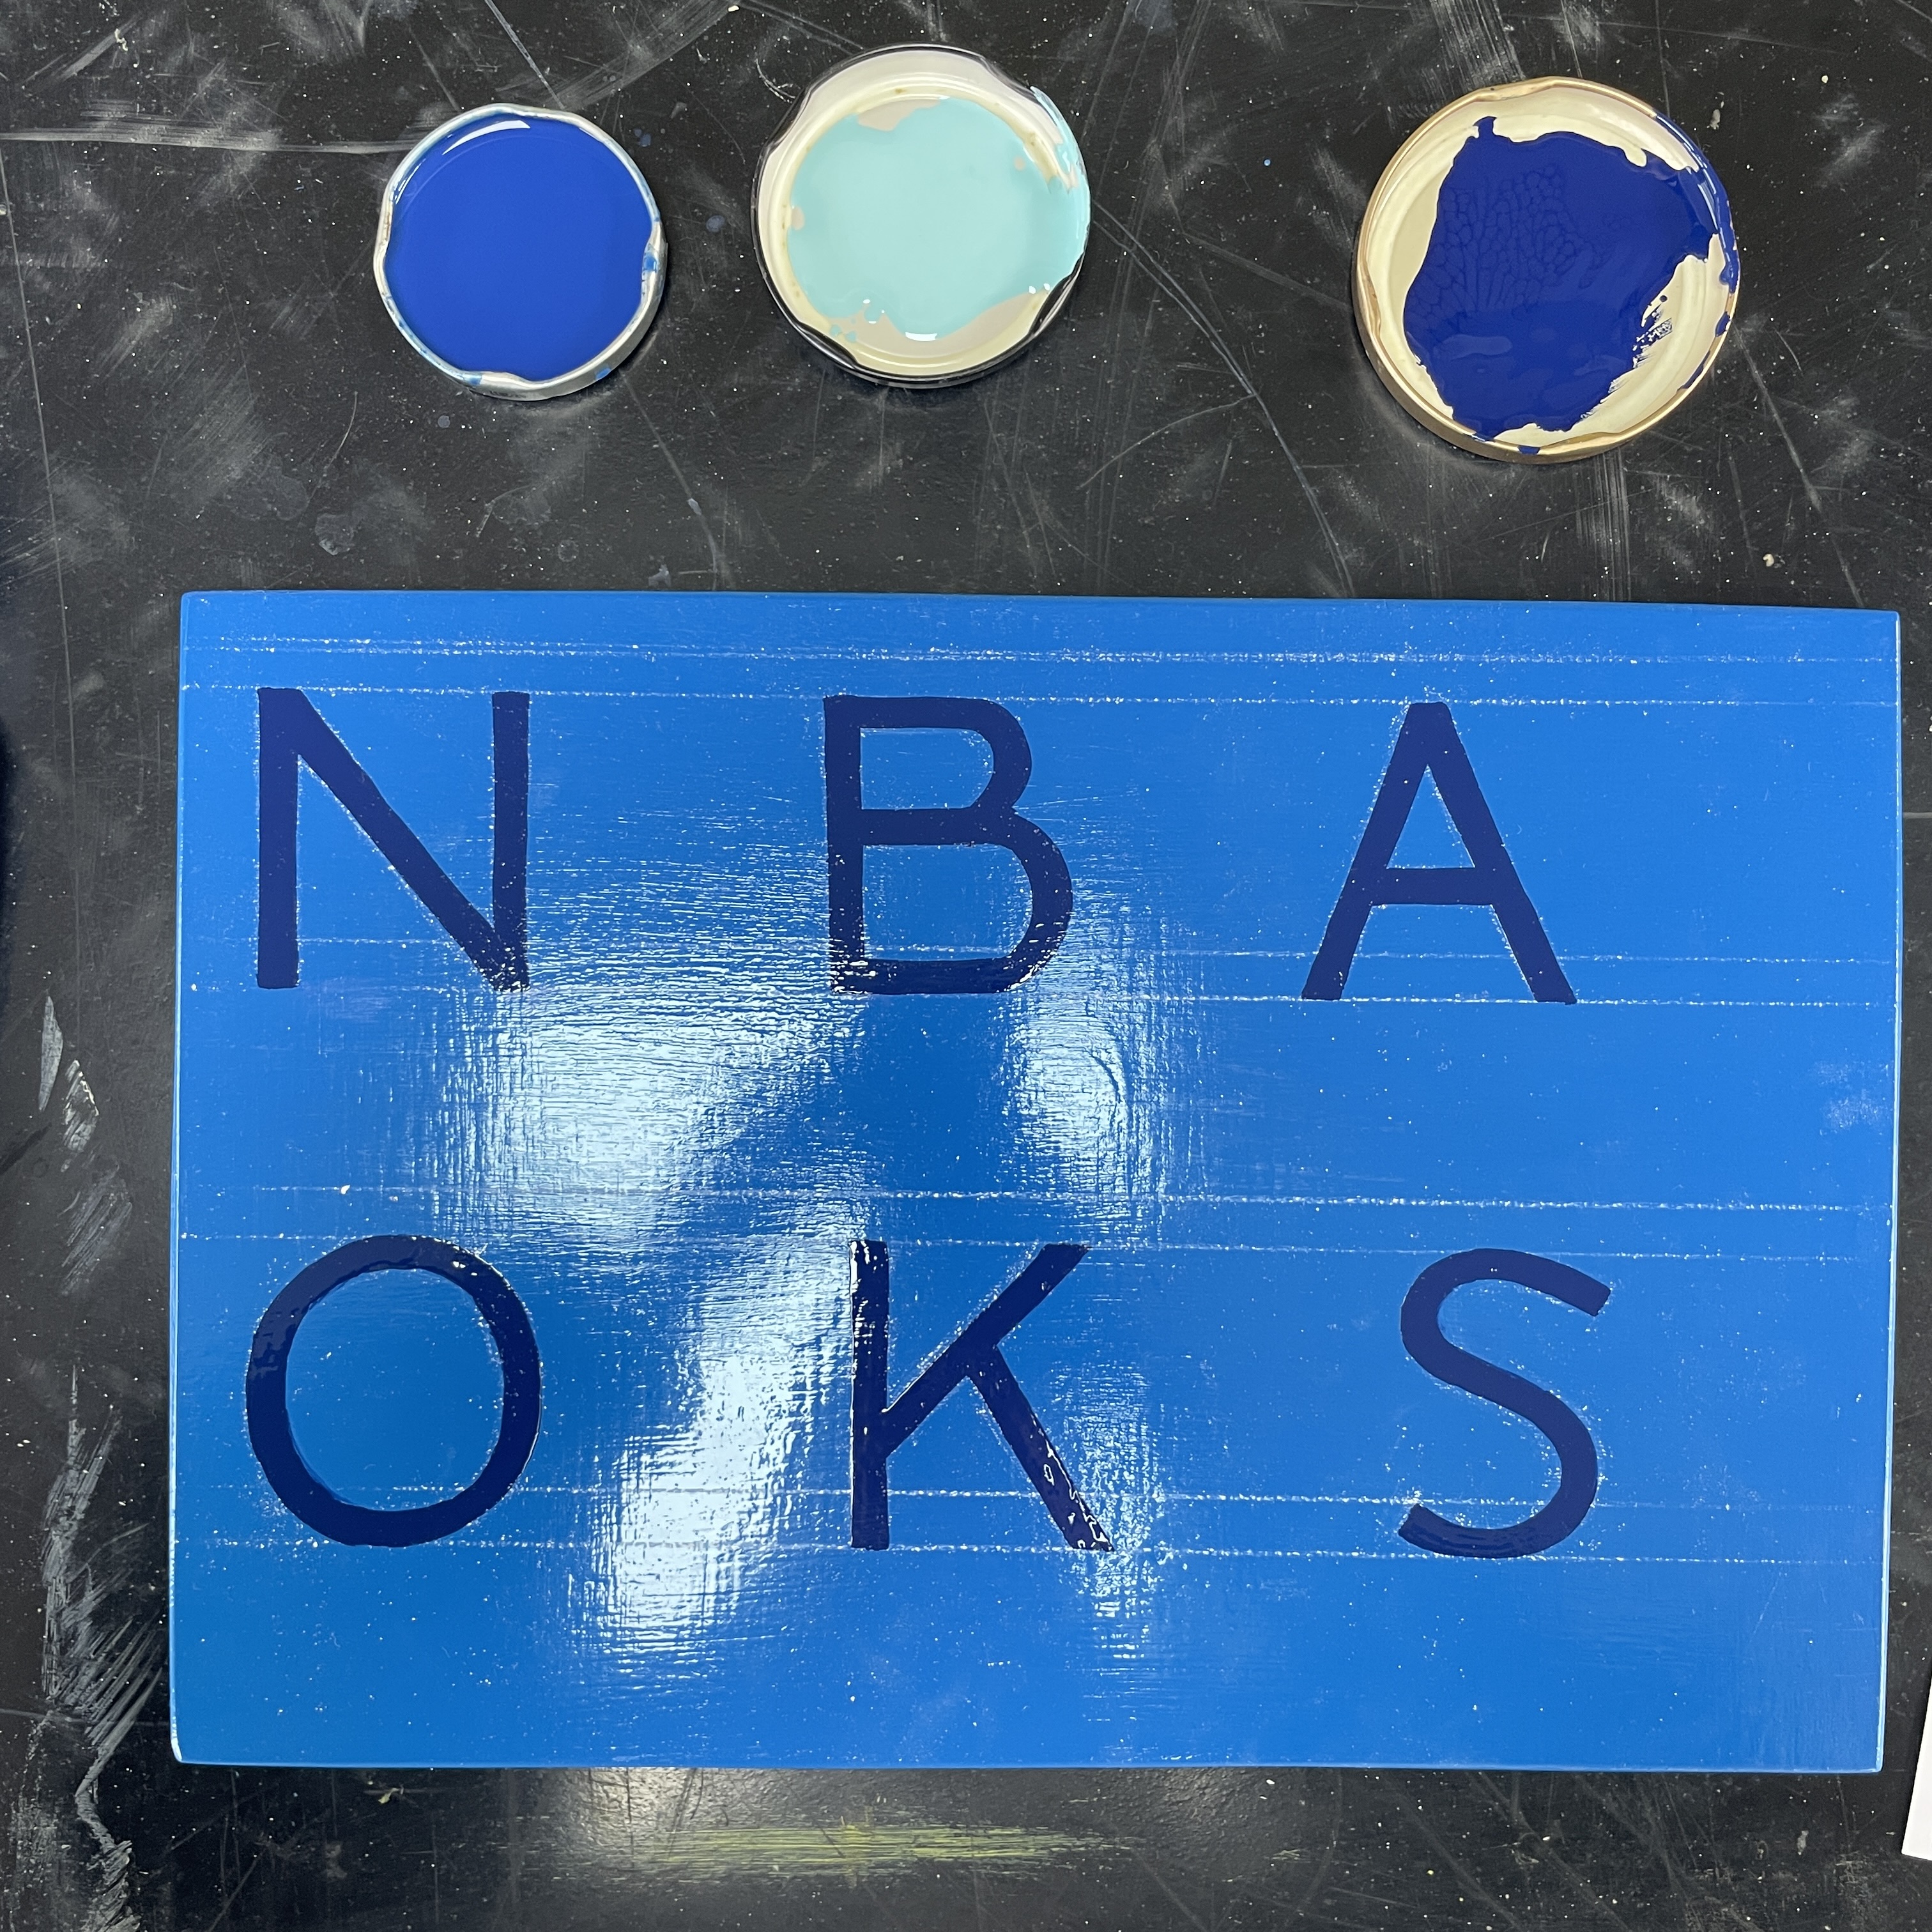
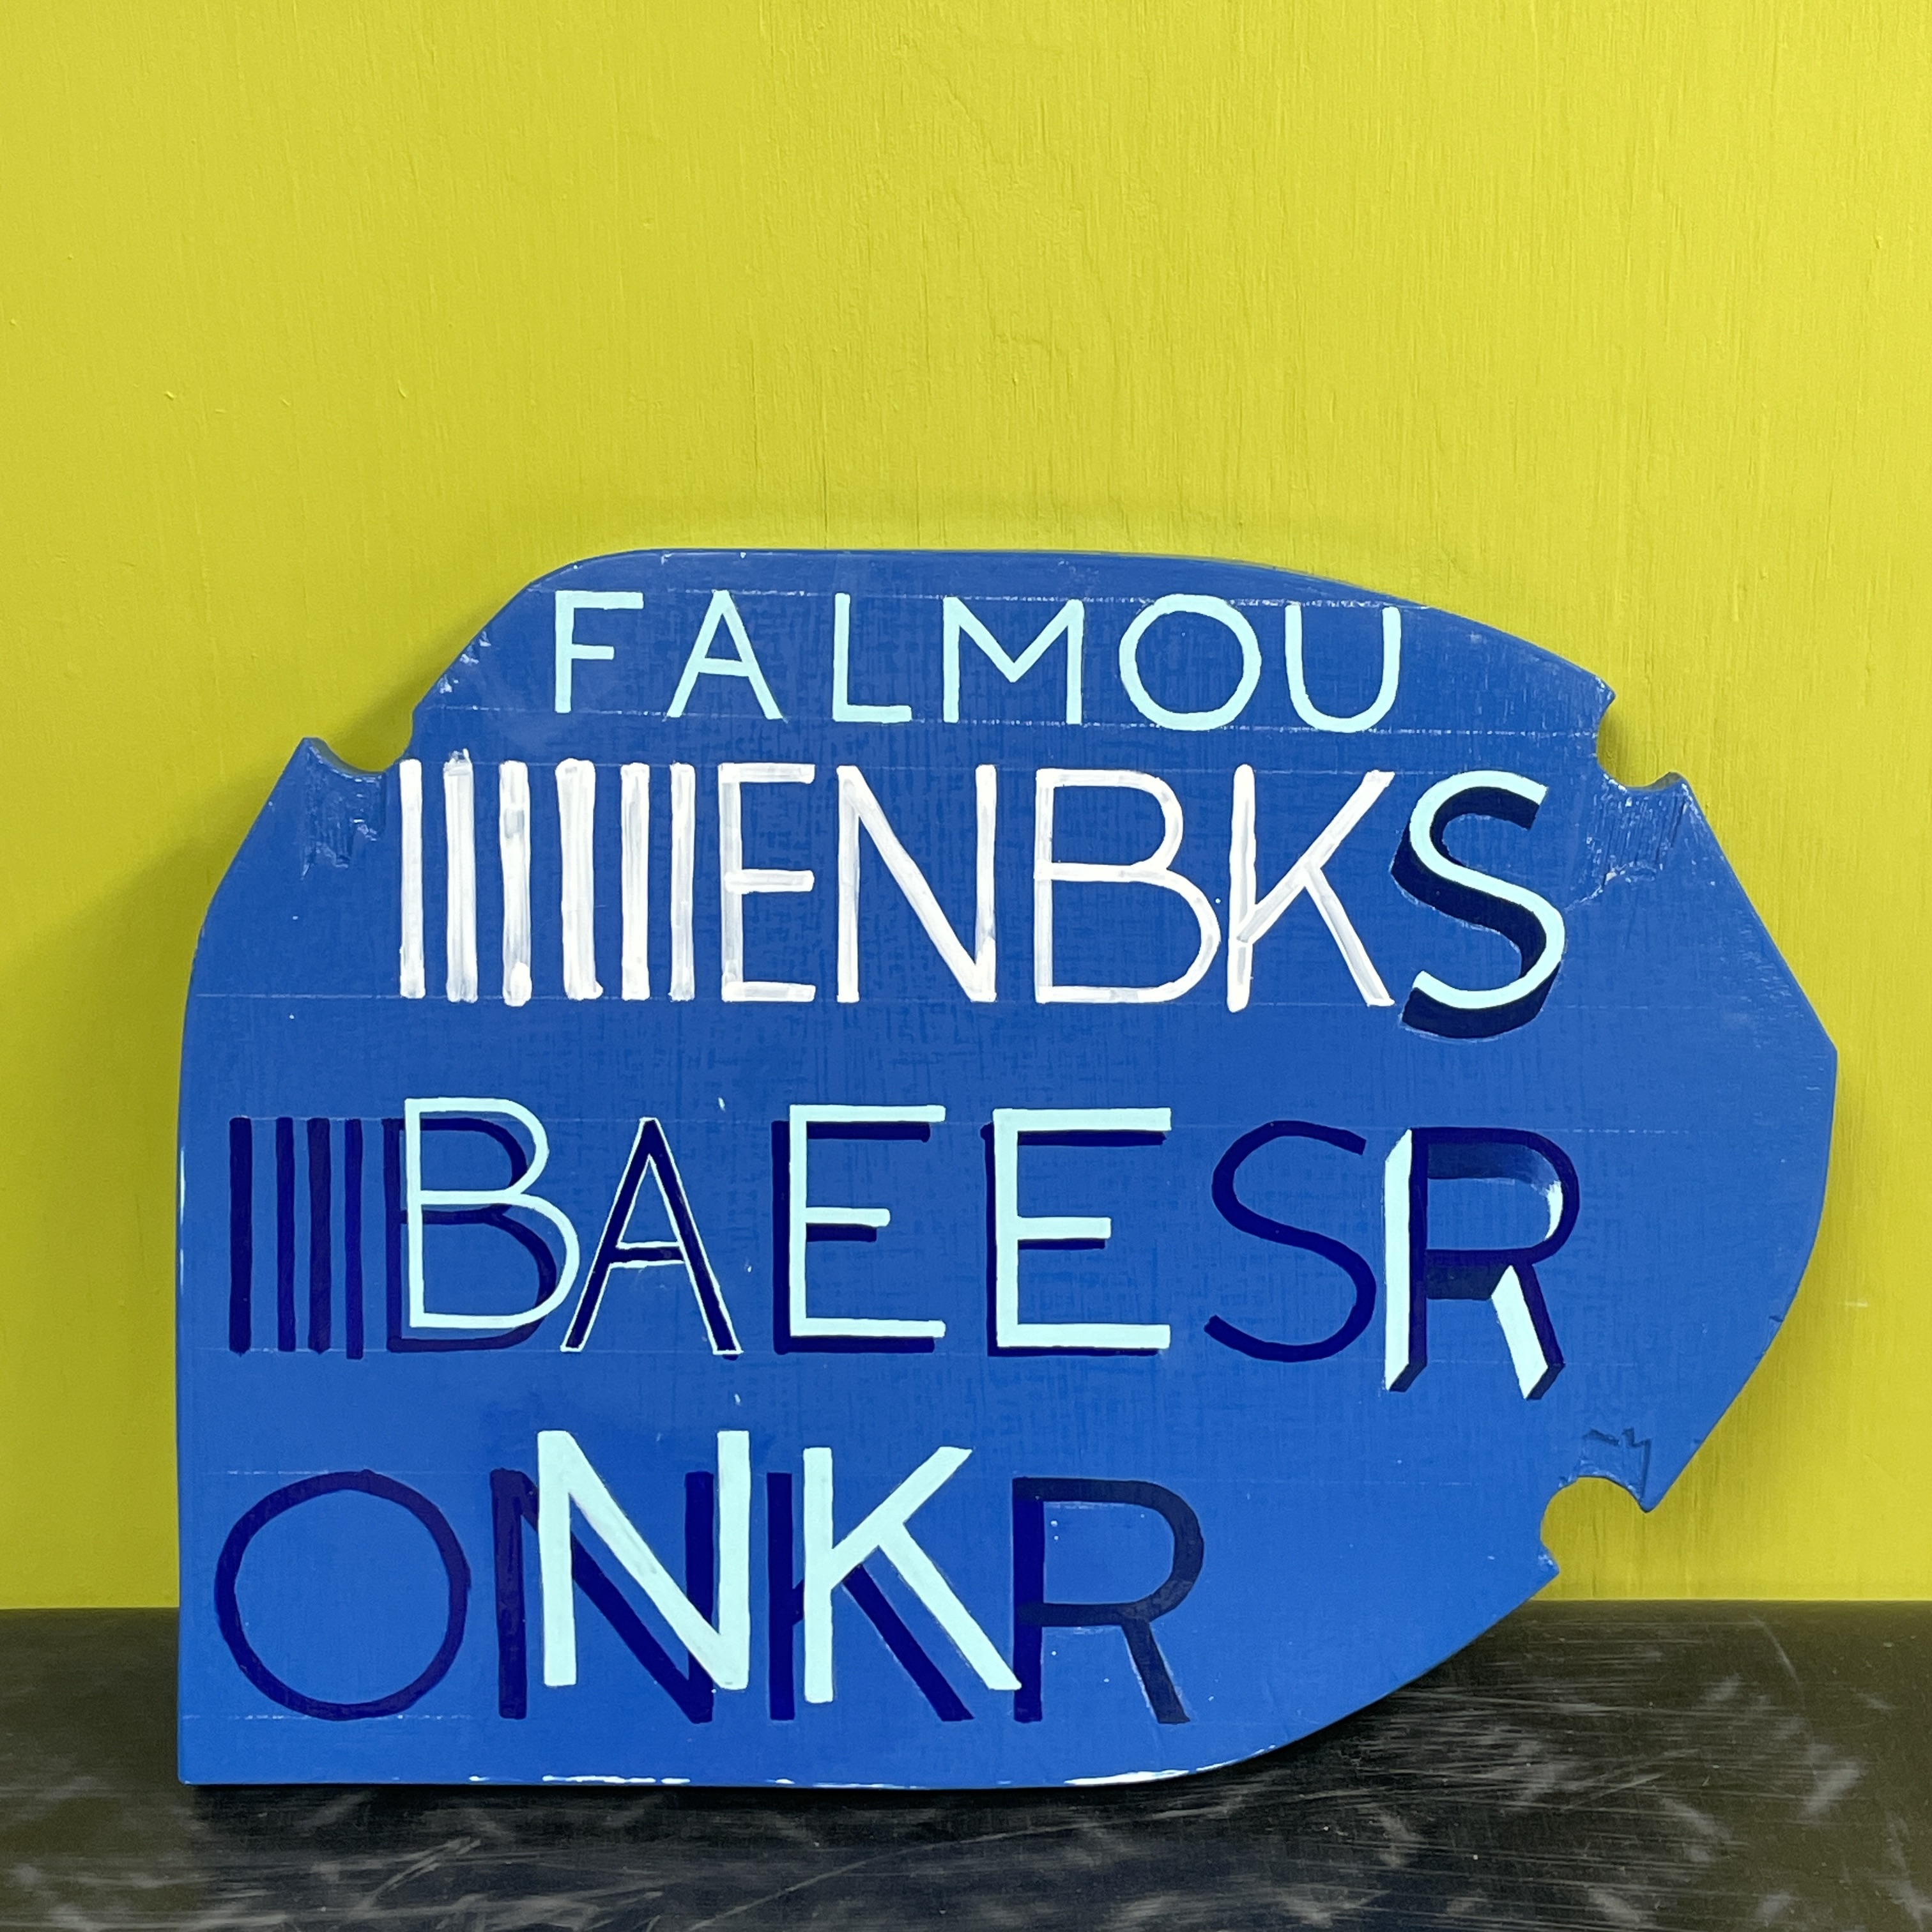
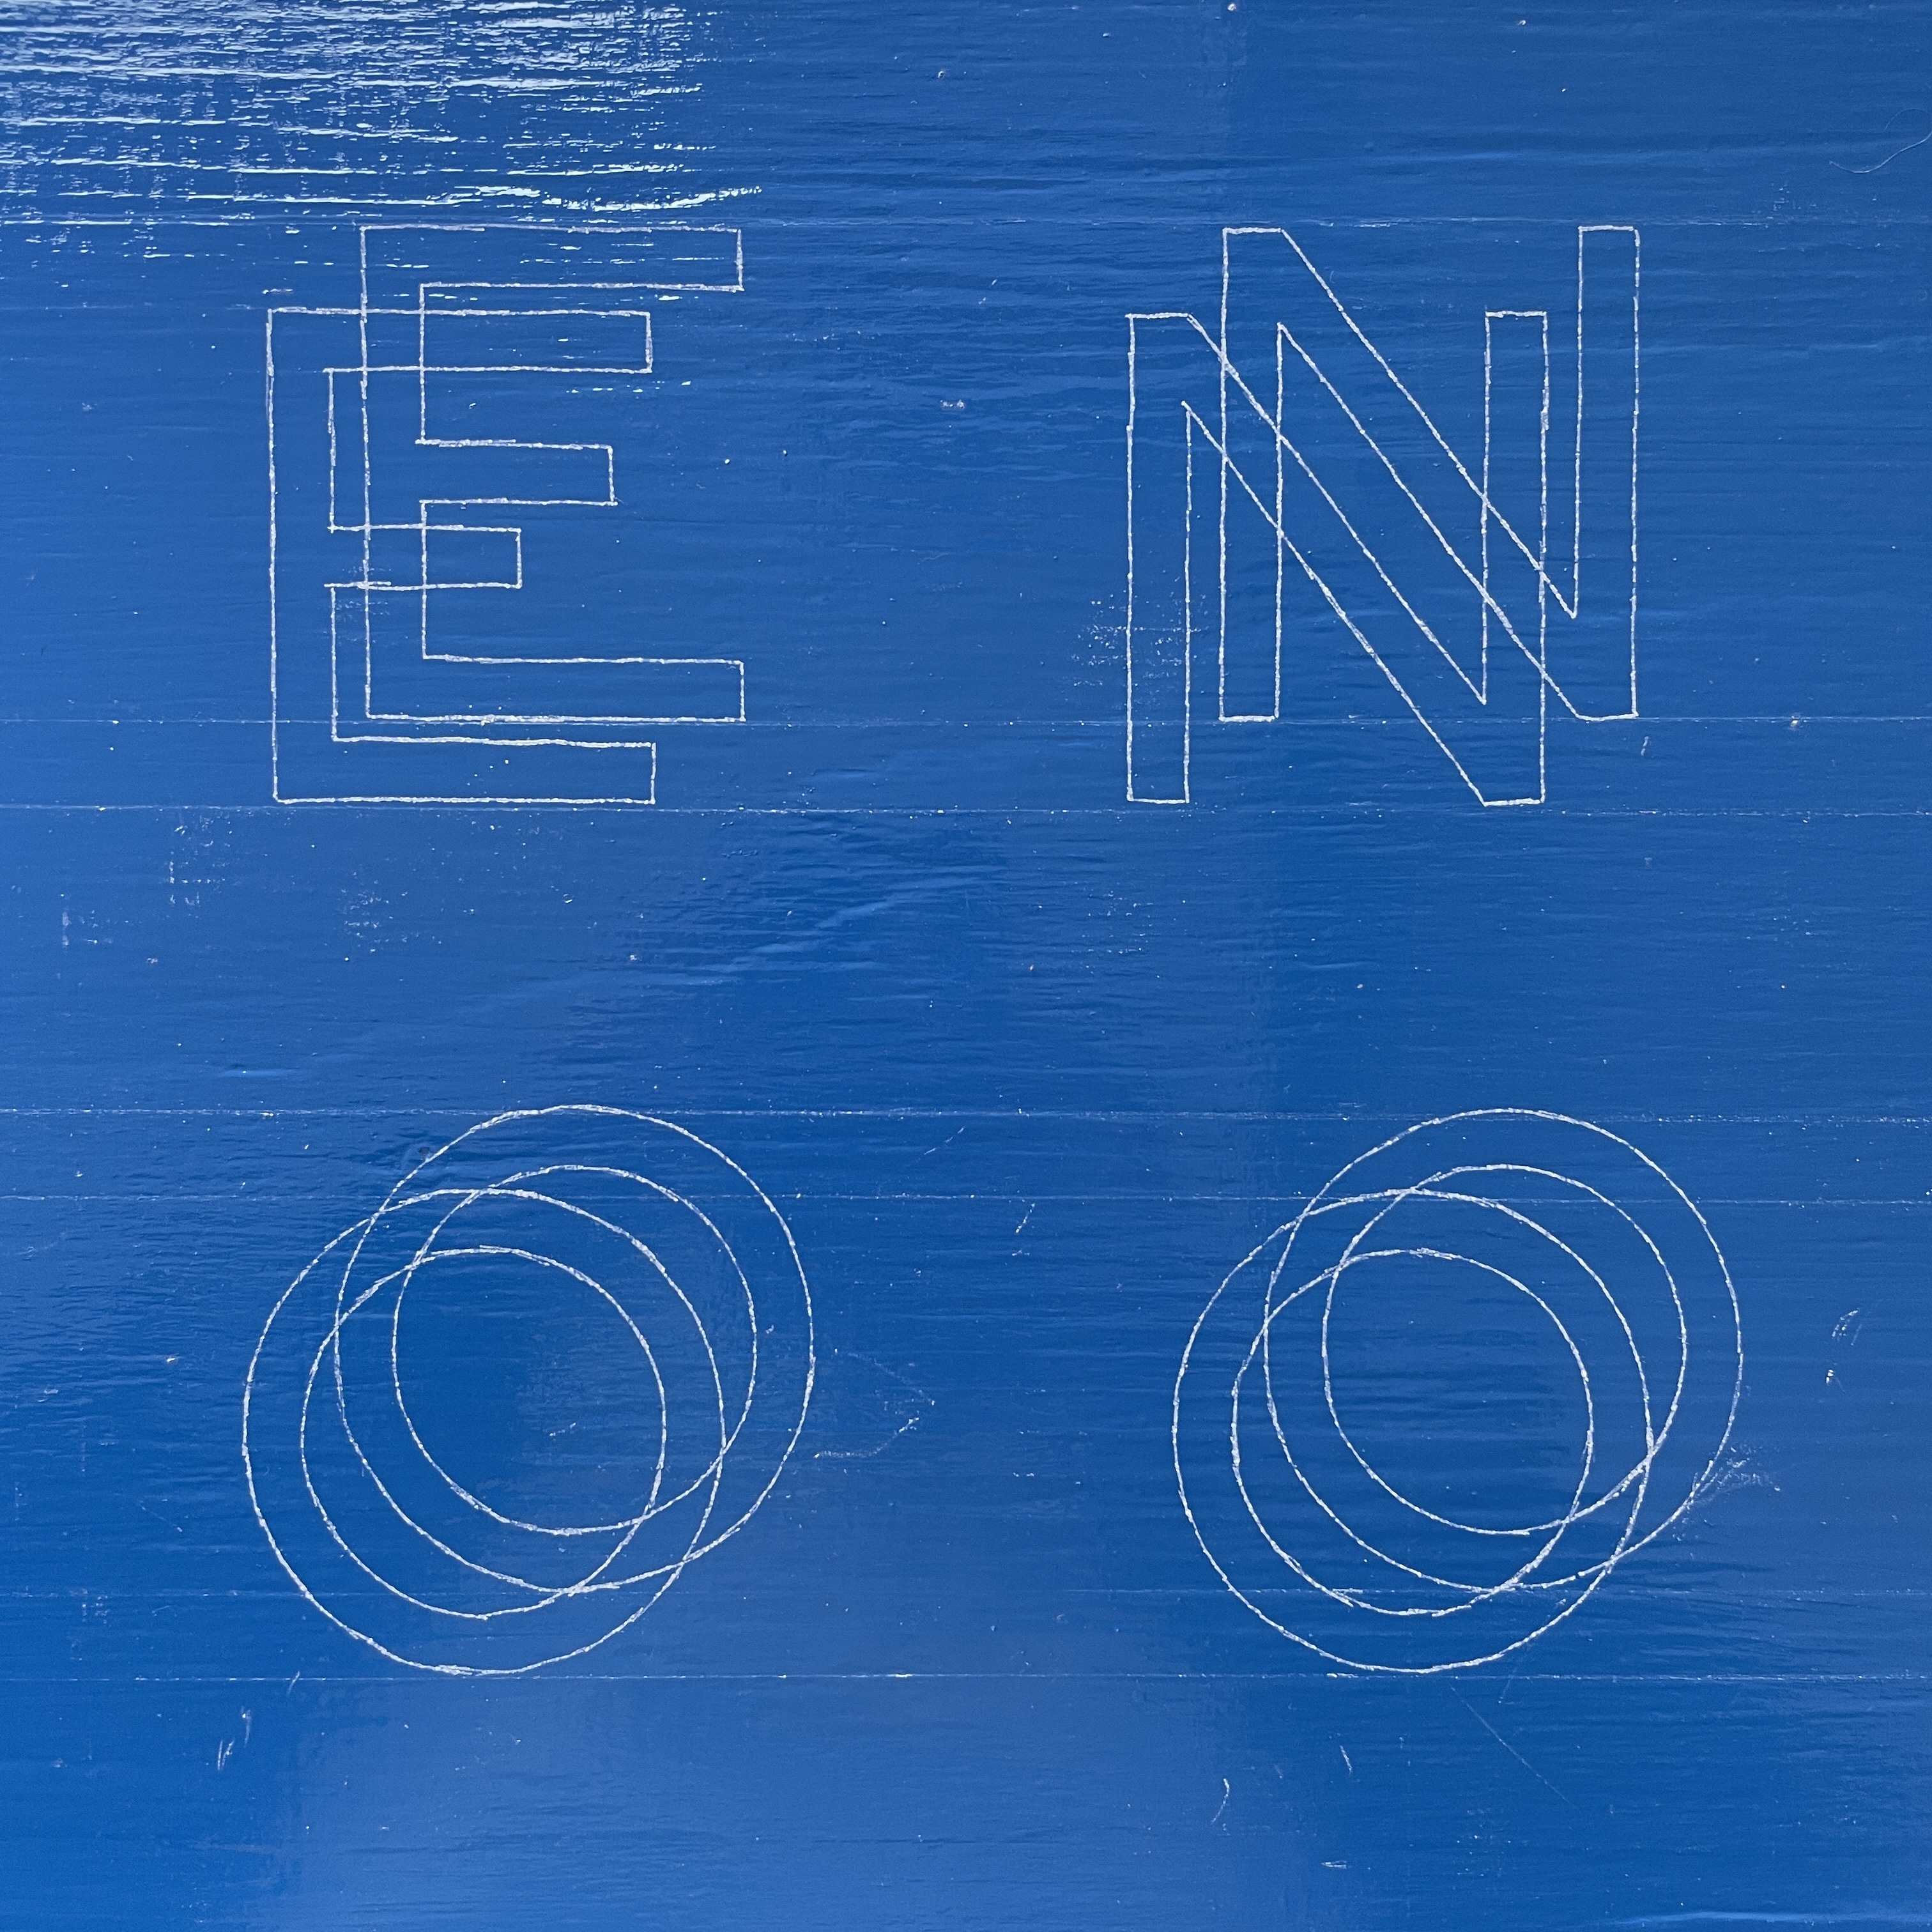
I coated the wood with four coats of the background colour, sanding back the surface in-between layers, although perhaps not quite as much as was needed. I had also prepared a few other bits of scrap wood as practise pieces and these were invaluable for getting a feel for using the brushes and the viscous sign writing paint, Figs. 8-11.
Sign writing brushes are called rigours and the bristles are longer than a regular paint brush, this compliments the long ‘drag’ that sign writing paint has and allows the painter to make long straight lines with the brush.
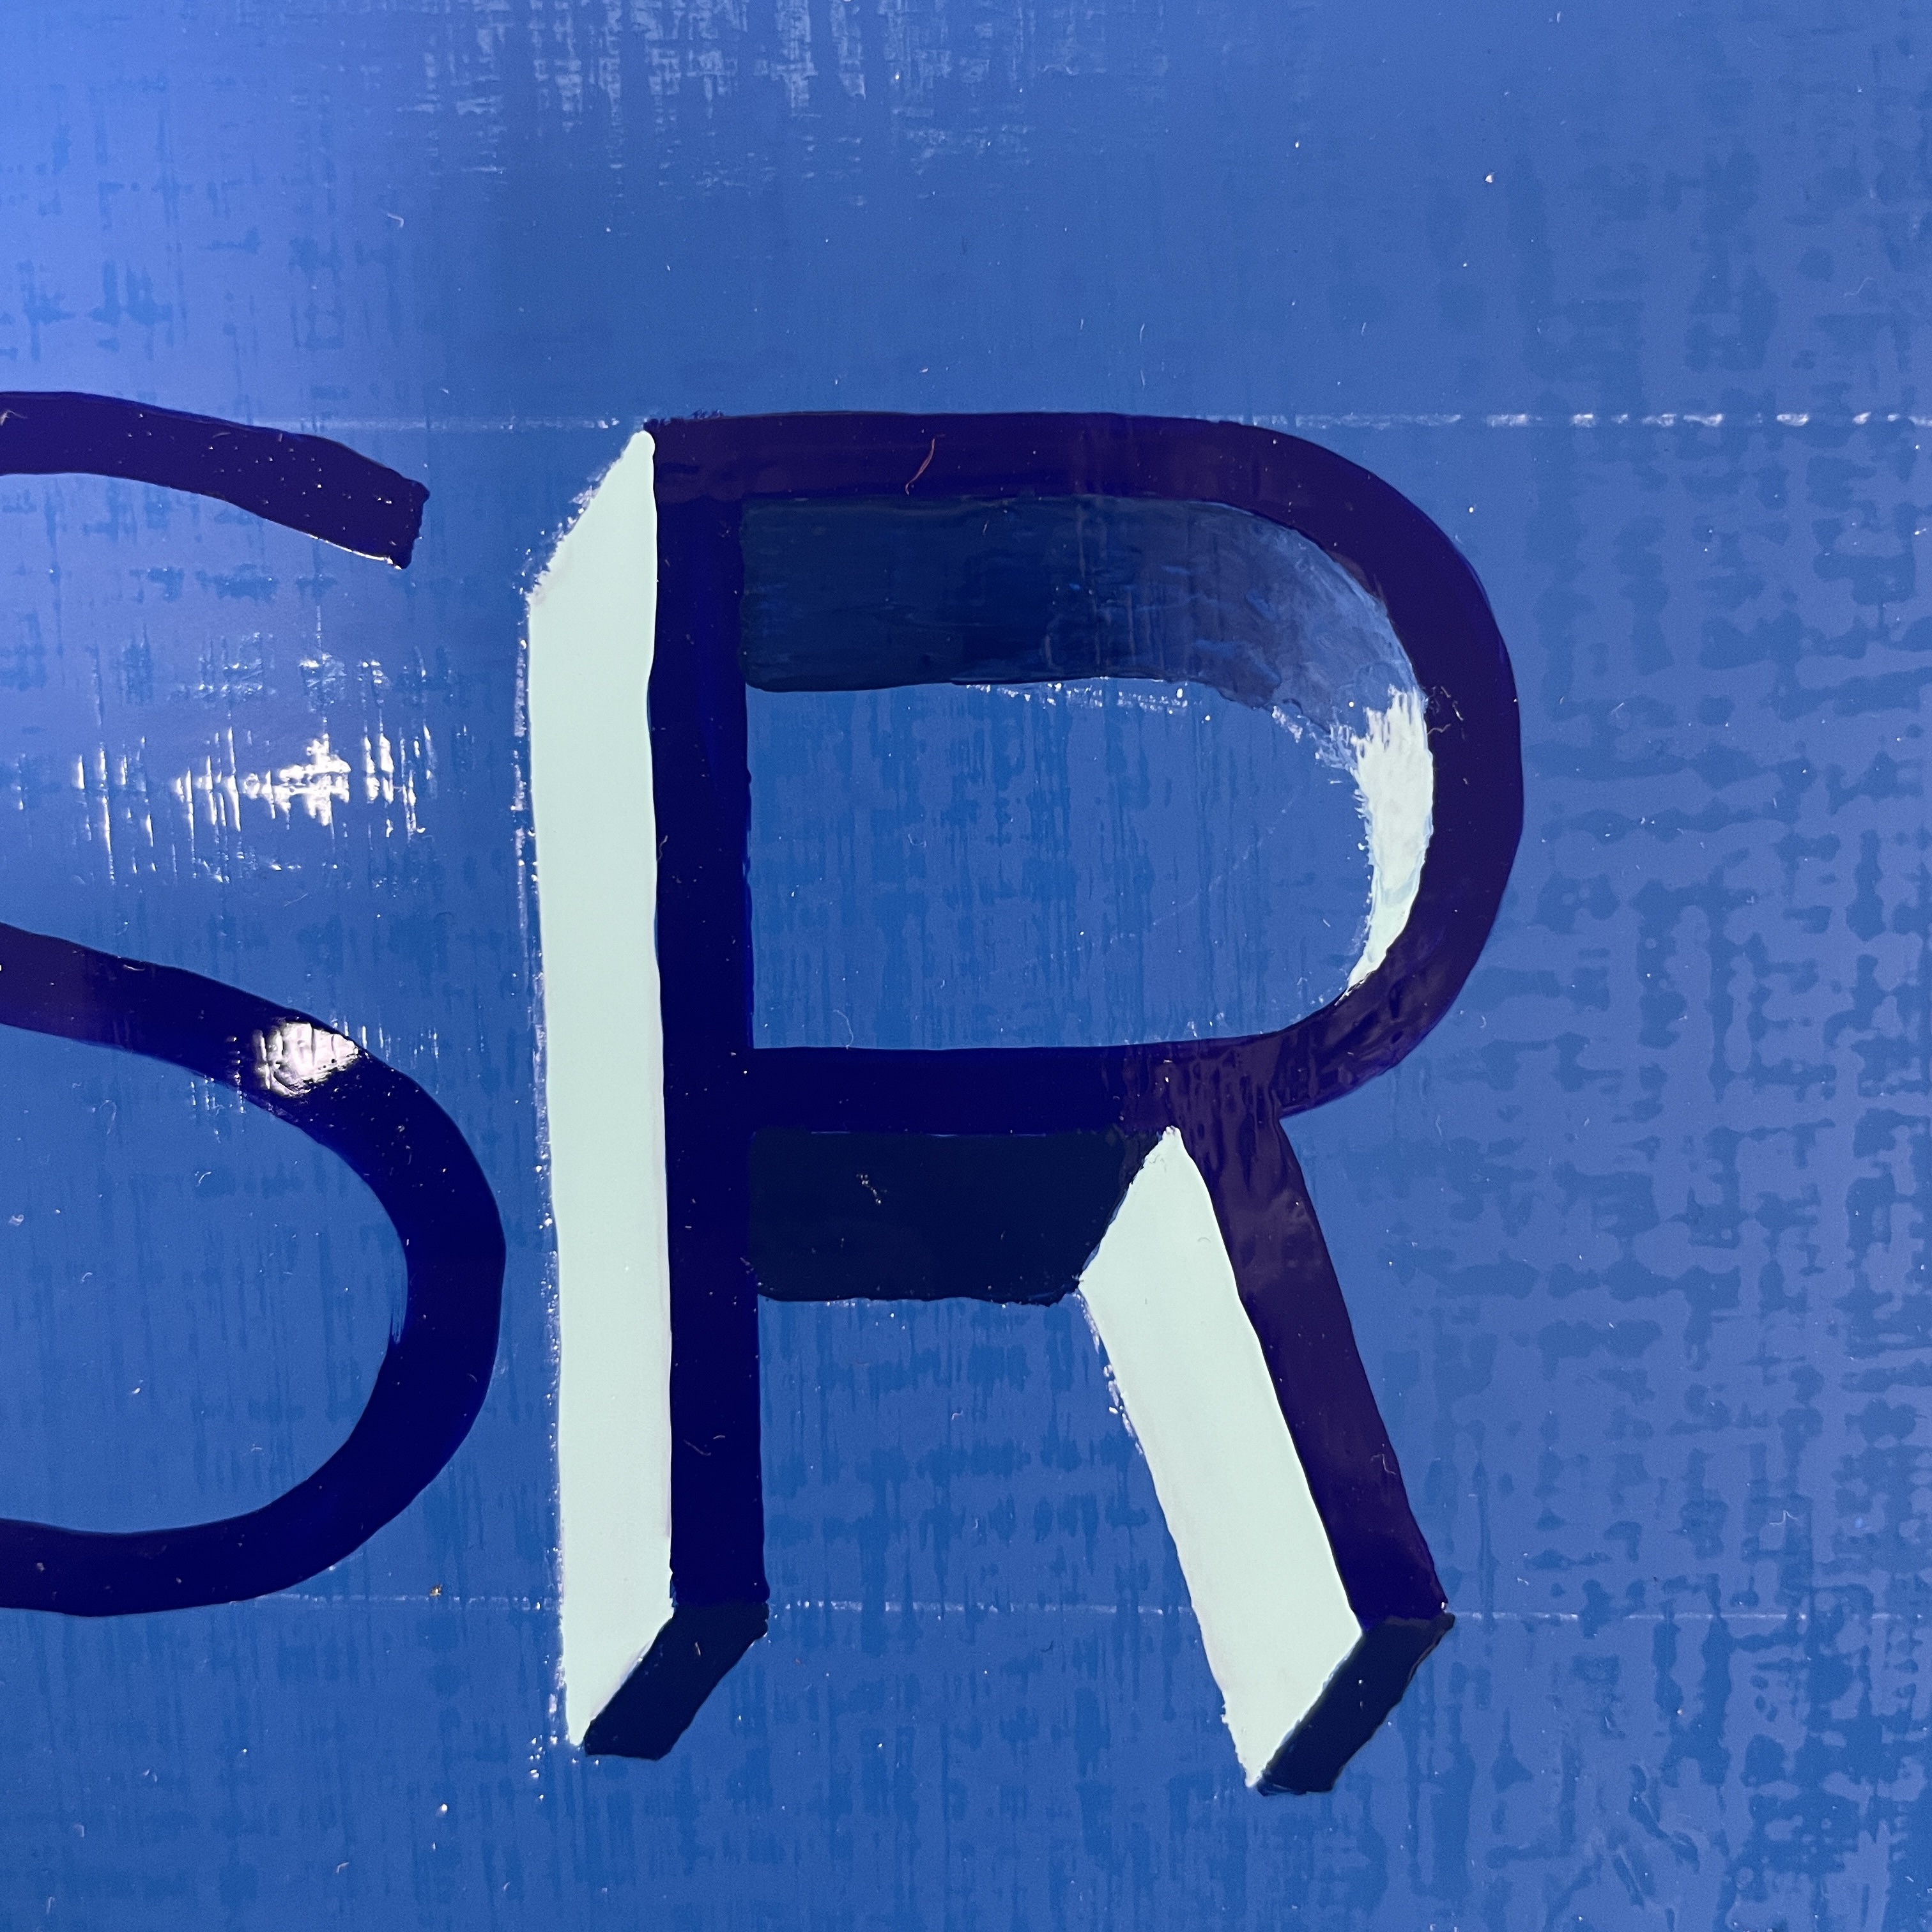
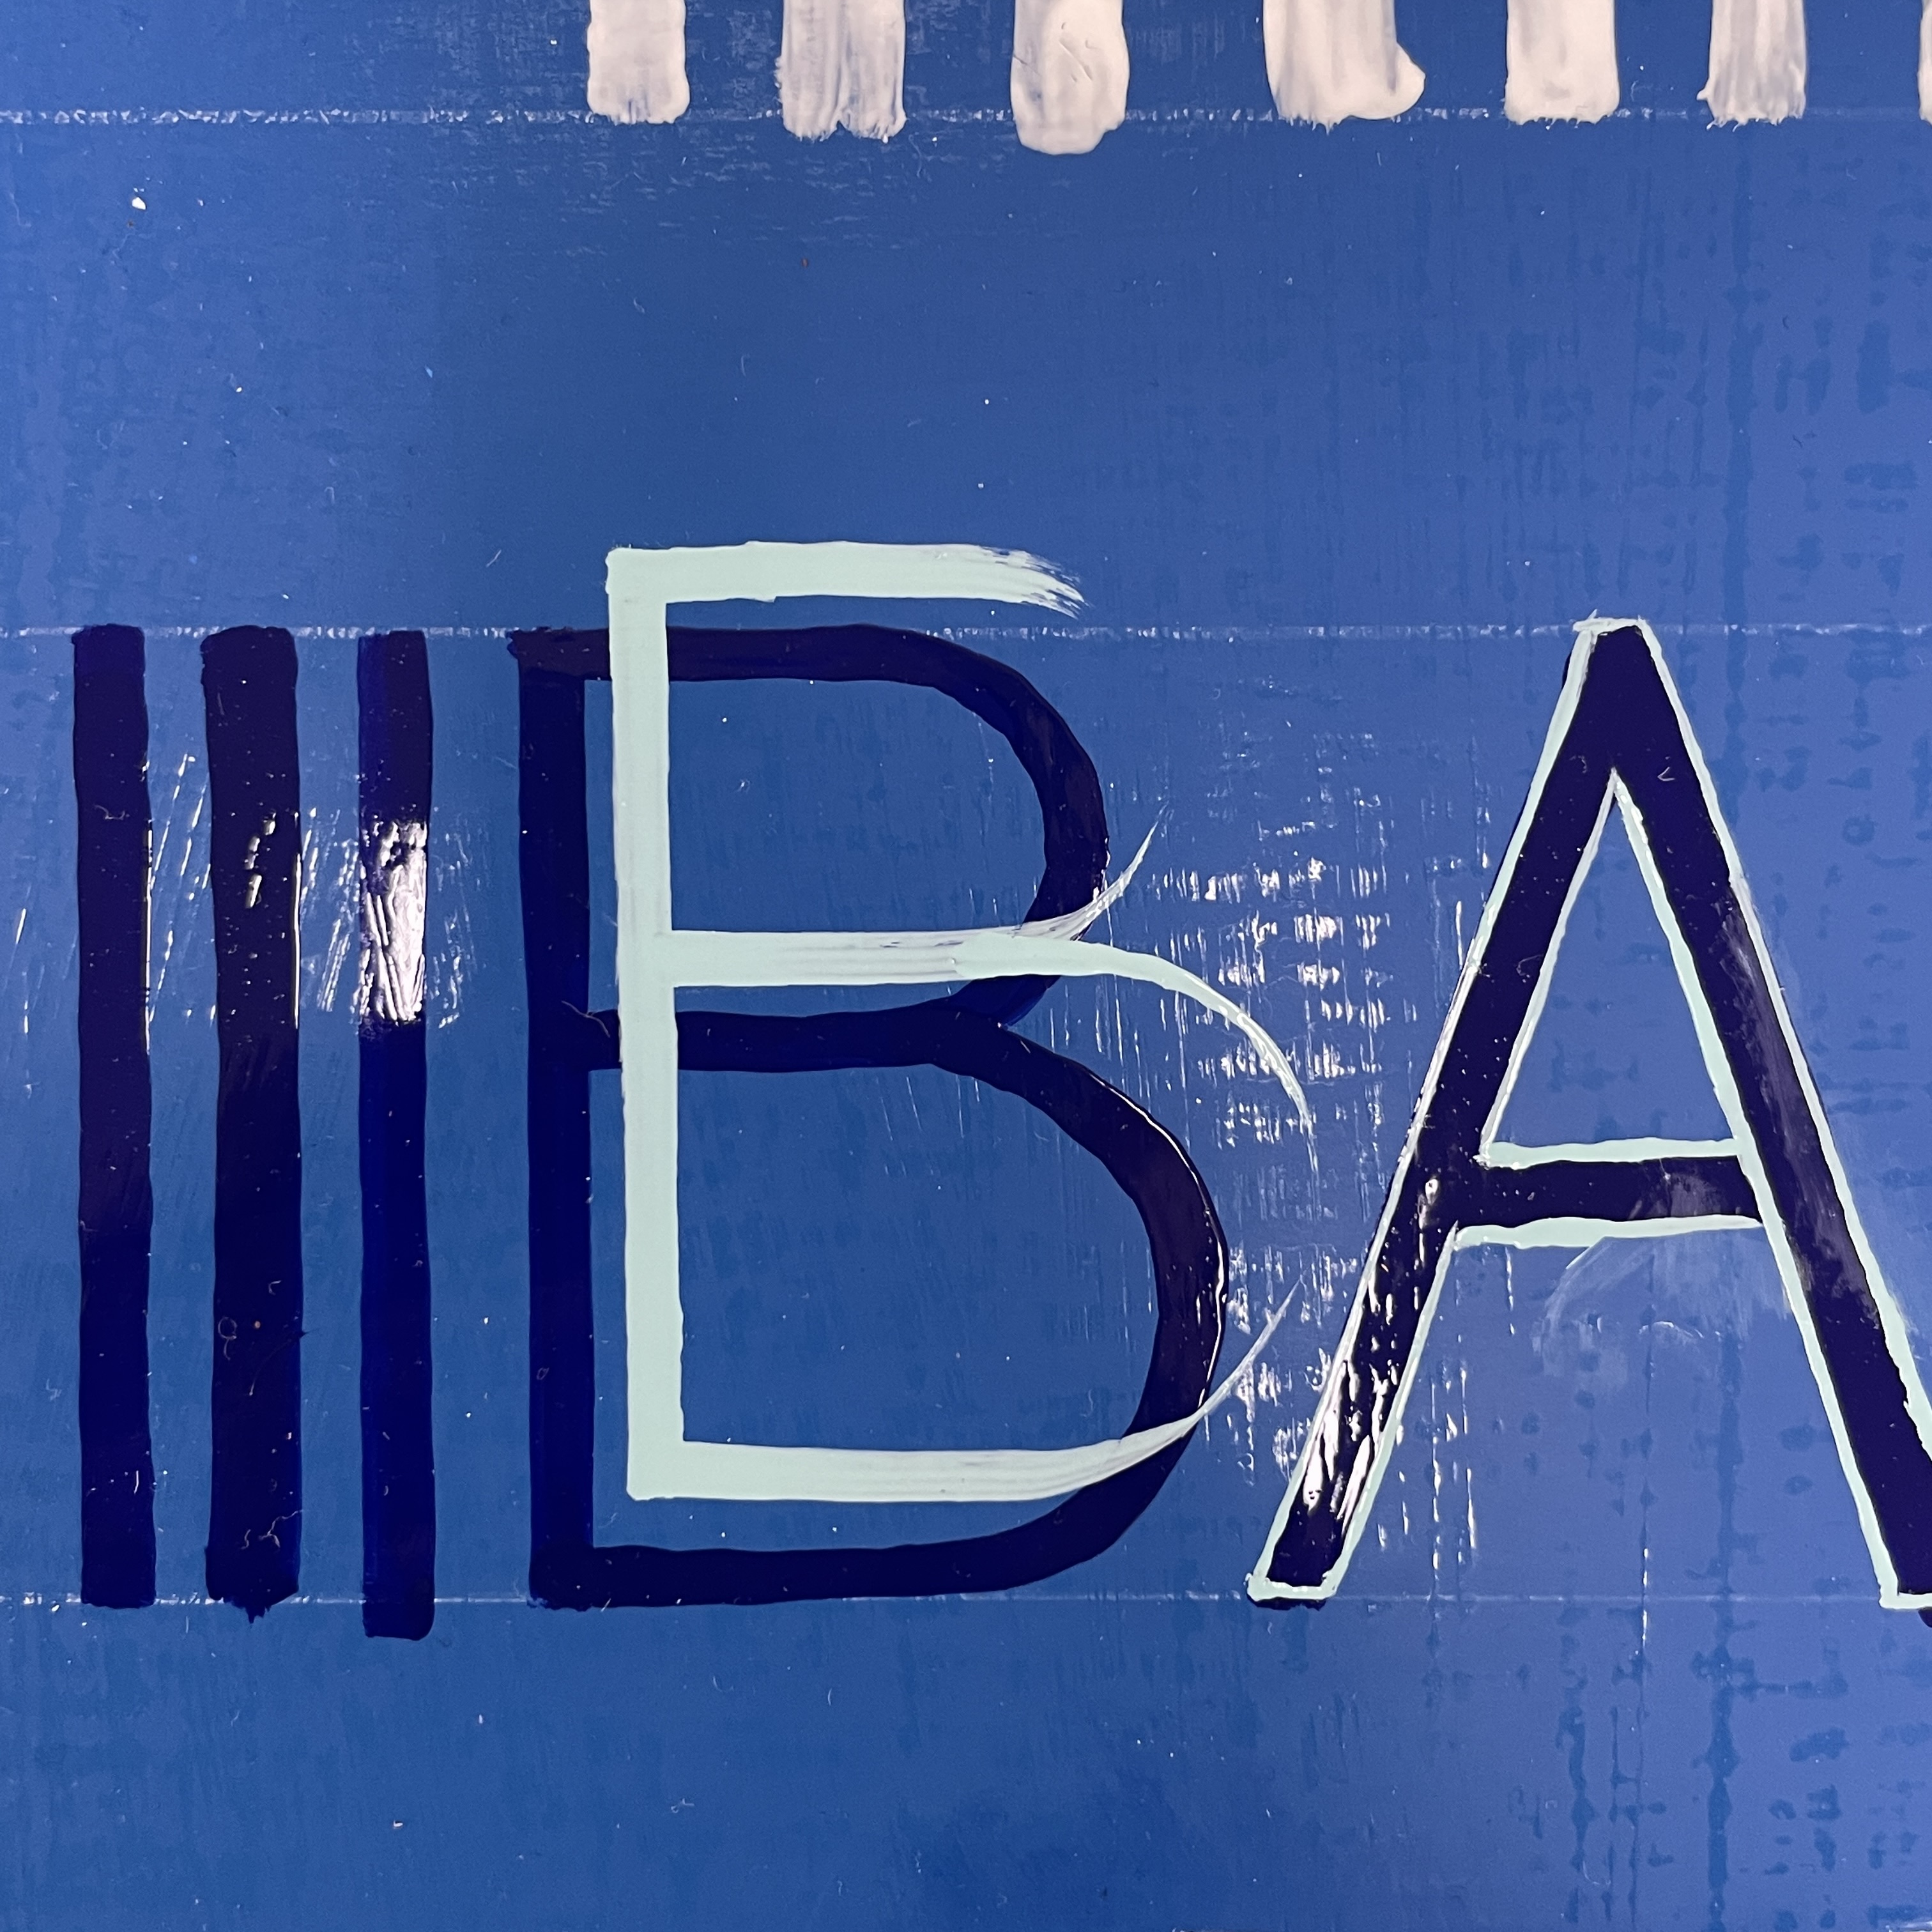
Painting the letters free hand gave me a feel for the paint and the brushes but it was clear that I needed to practise the exact letters I was going to paint, especially the rounded ones.
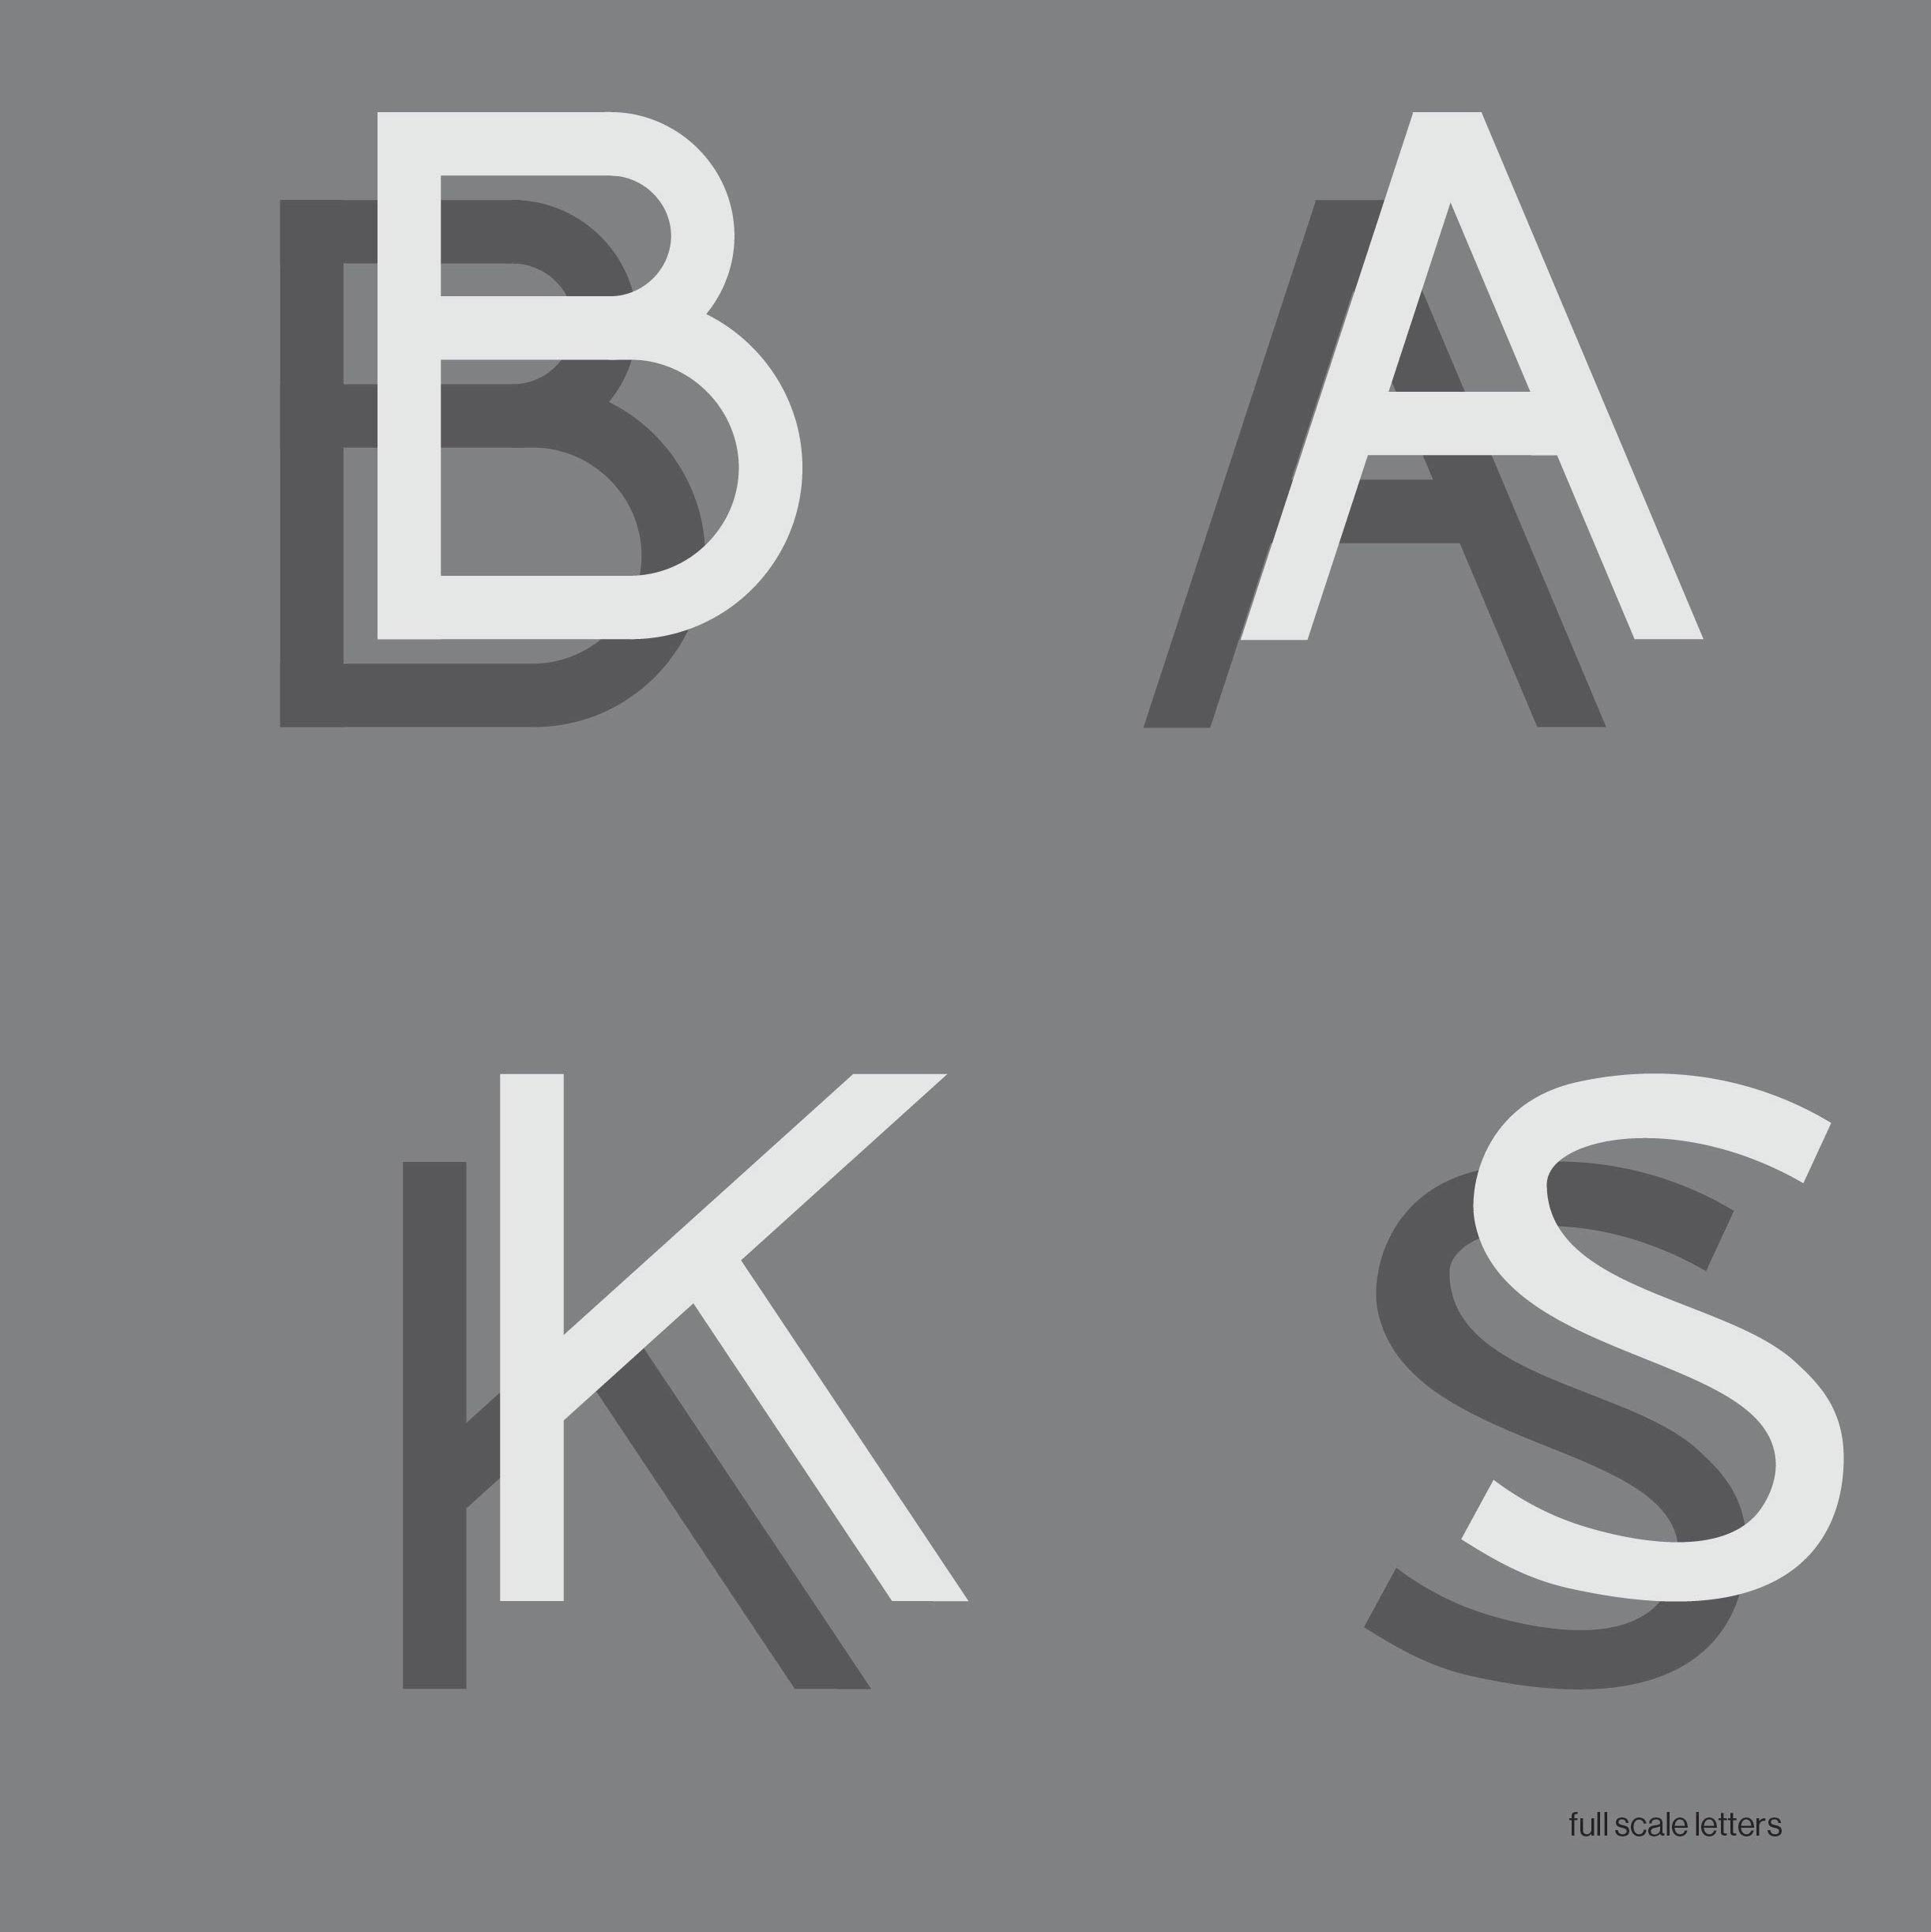
To transfer the design to the board we printed the design full scale and used copy paper to trace the design on, Fig. 12-13. I don’t believe this is strictly the traditional method, but for our circumstance it worked well. I did try ‘snapping’ the lines onto the wood, a method of chalking up a piece of string and securing it to the wood at either end, then simple pulling it back and releasing it so it ‘snaps’ onto the wood and draws a straight line.
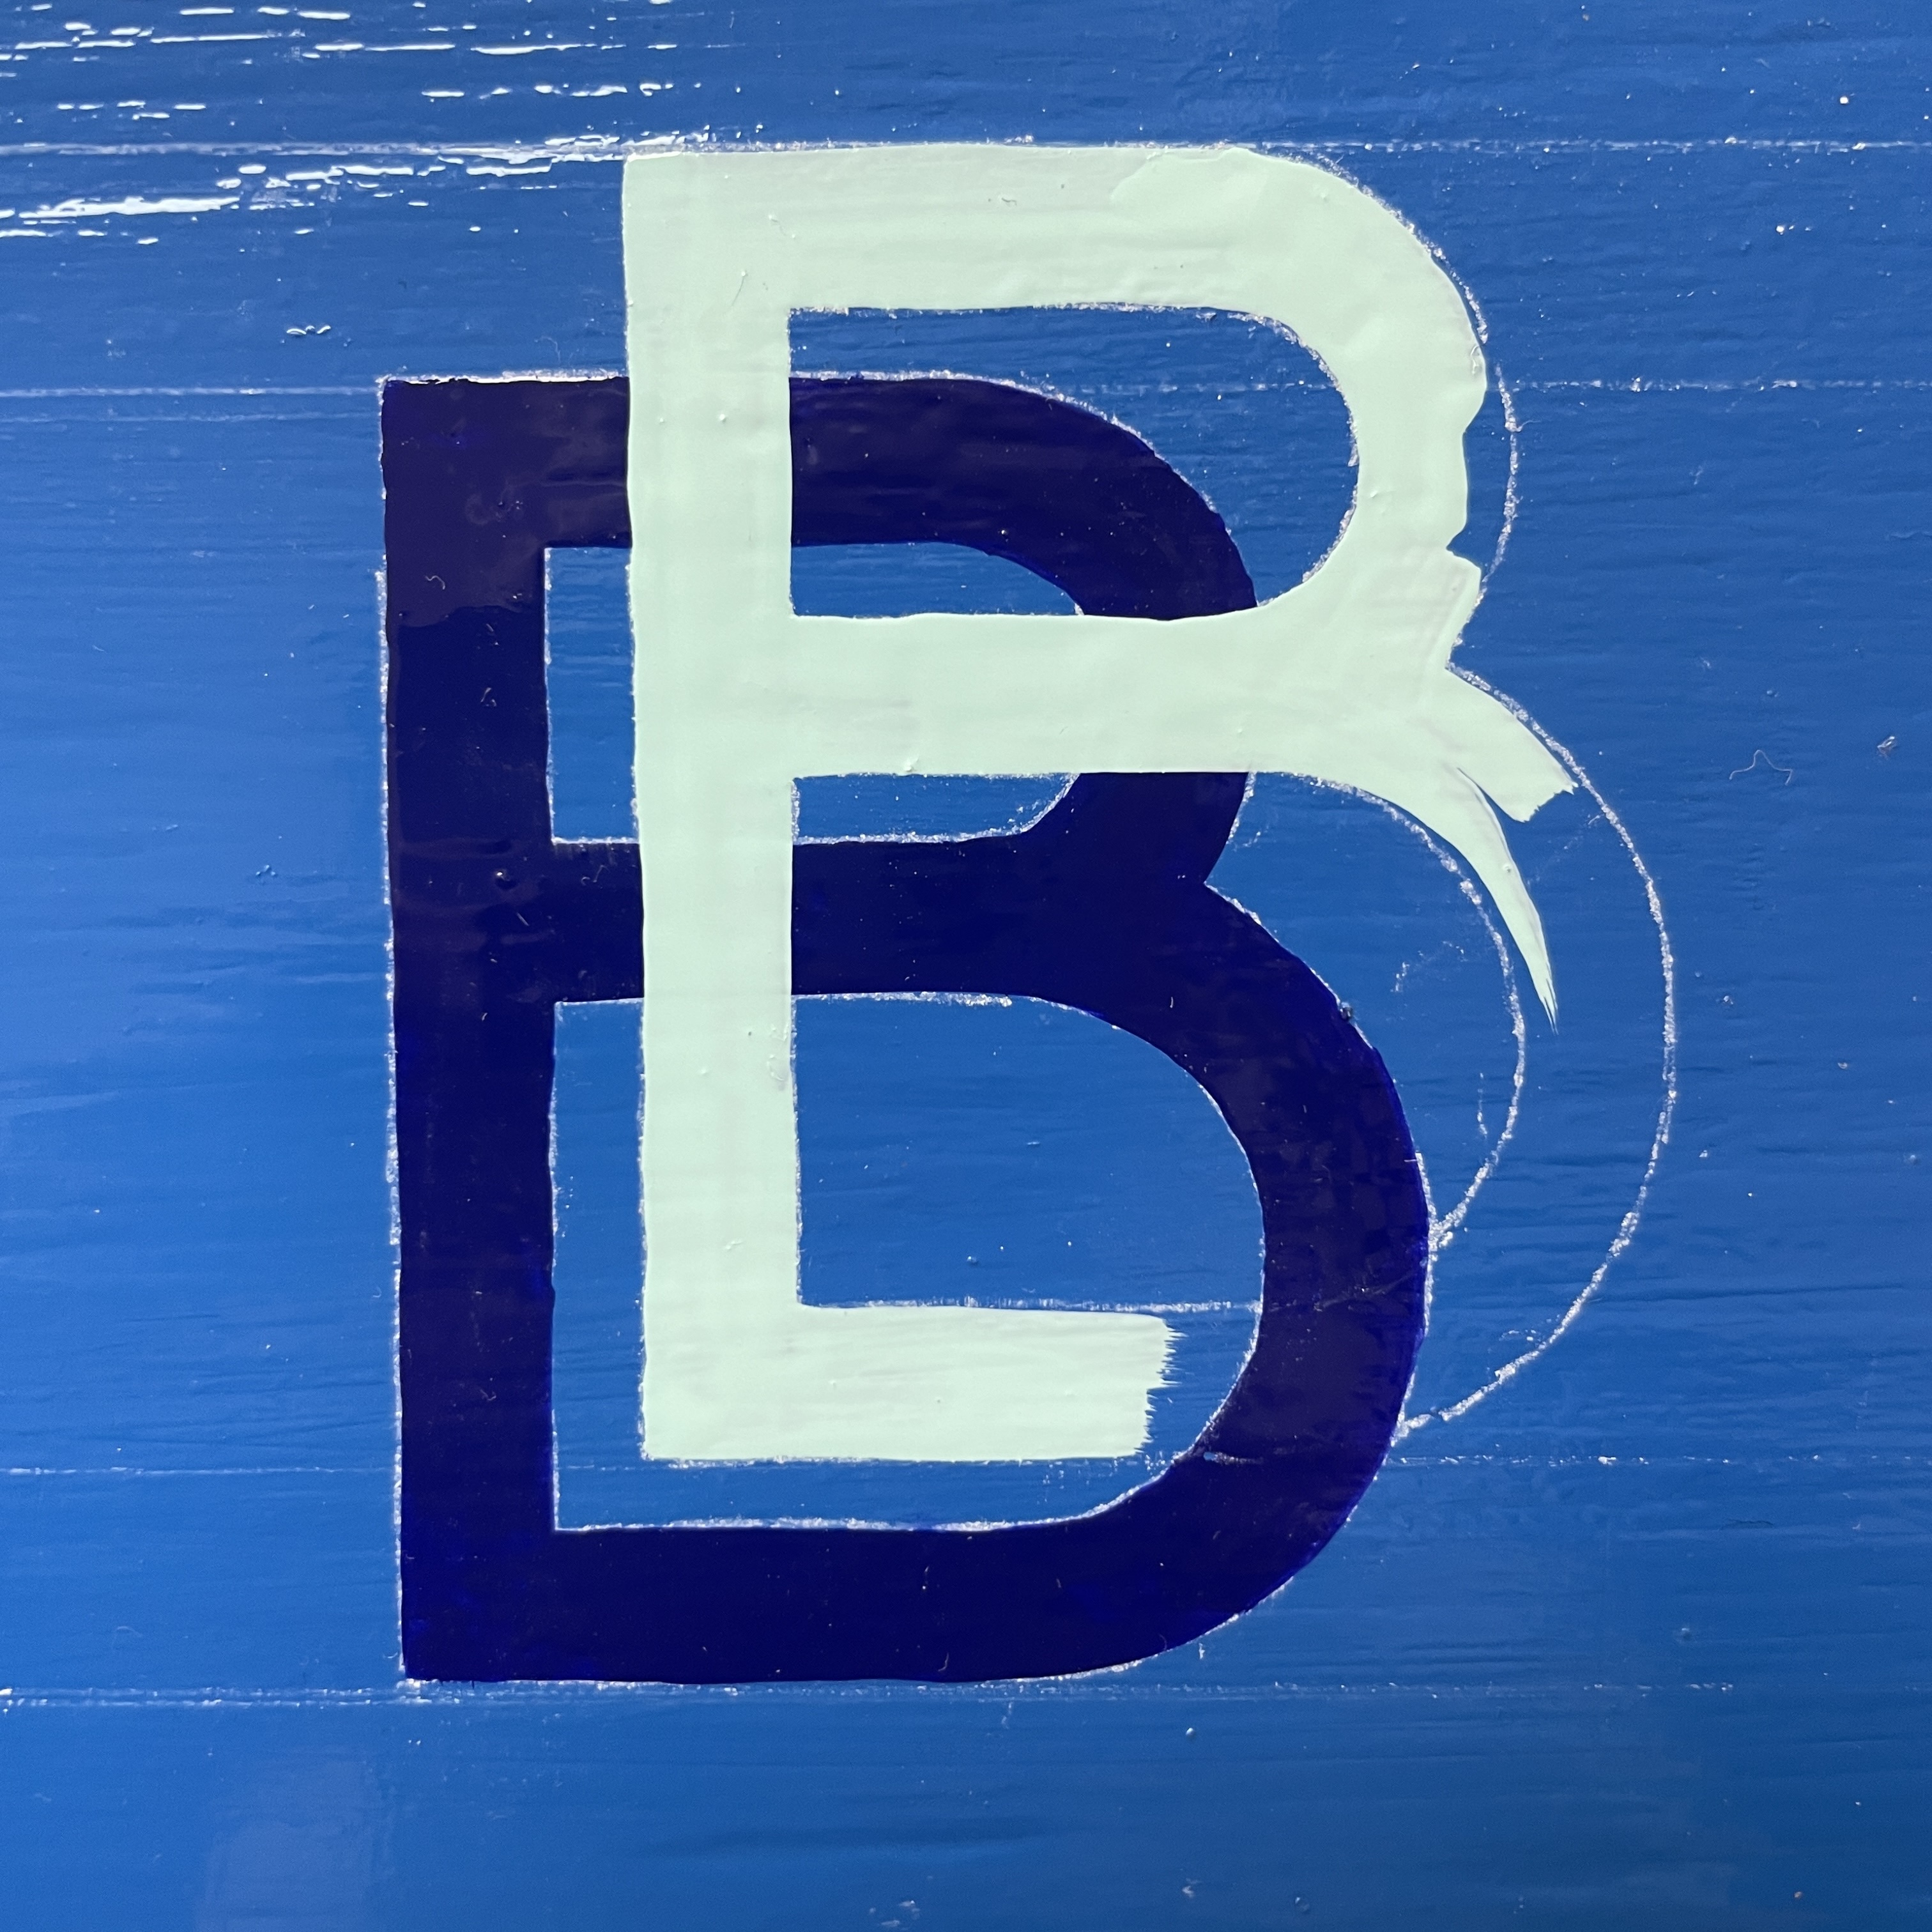
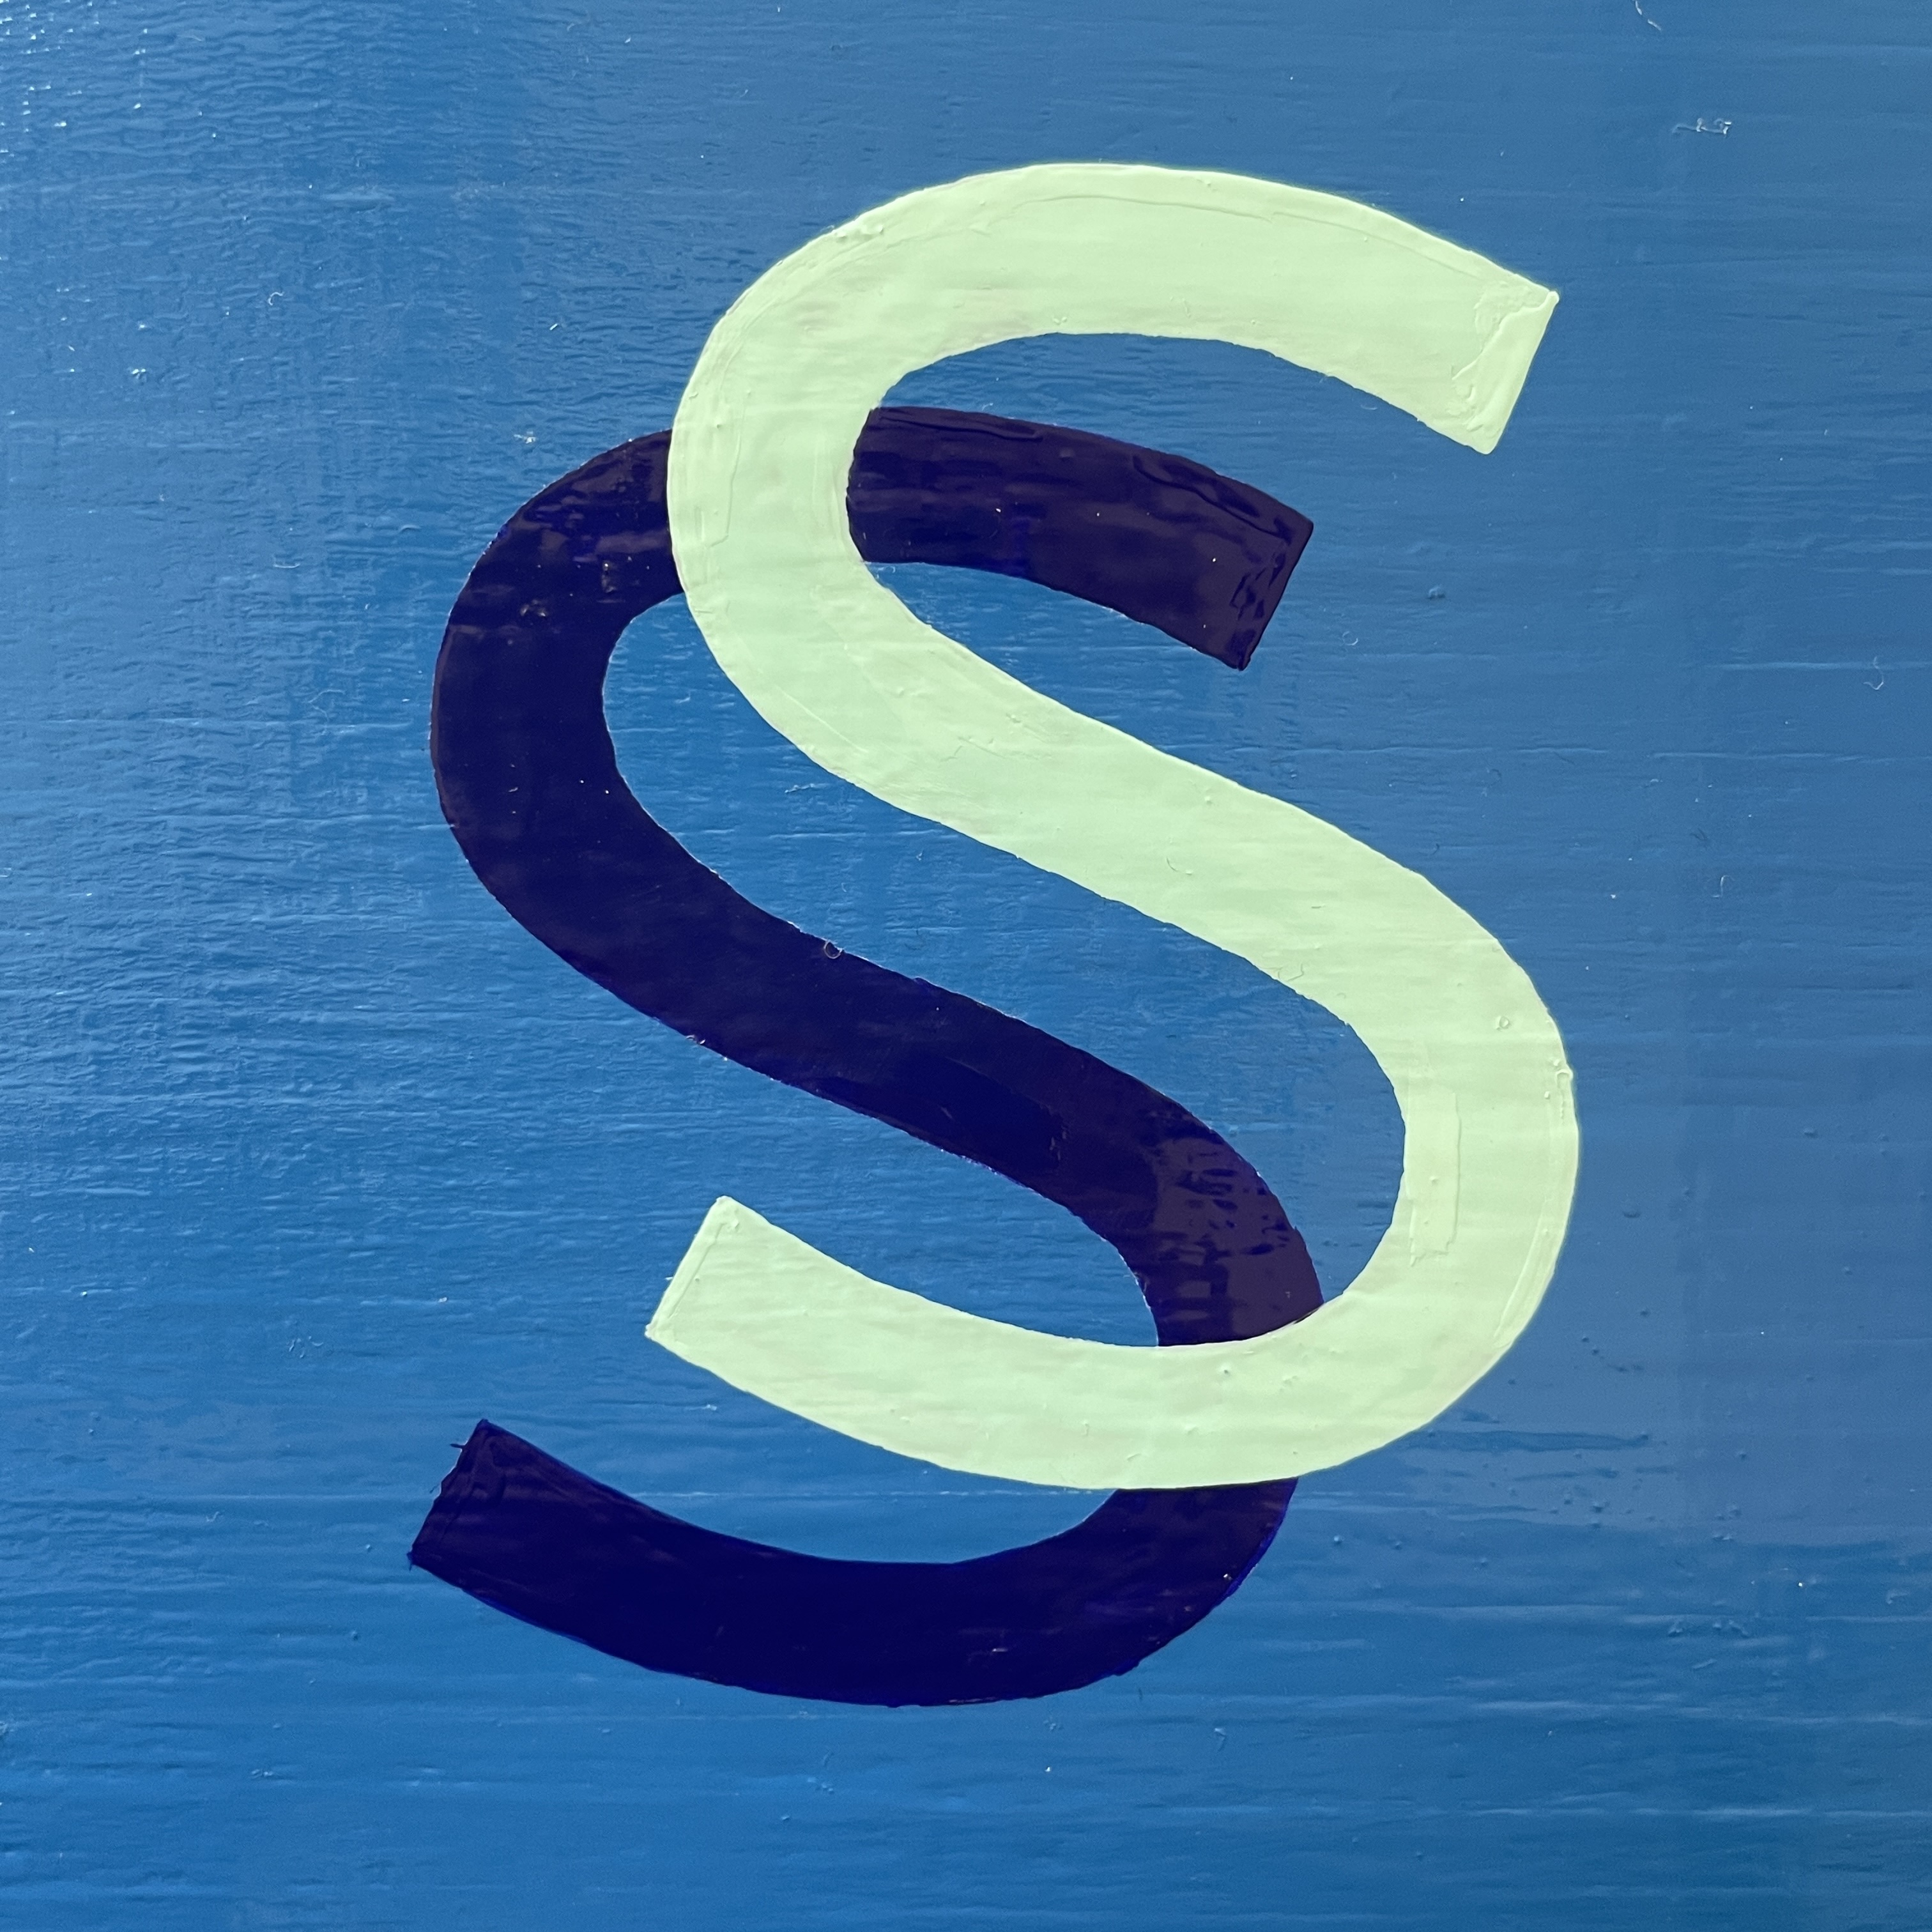
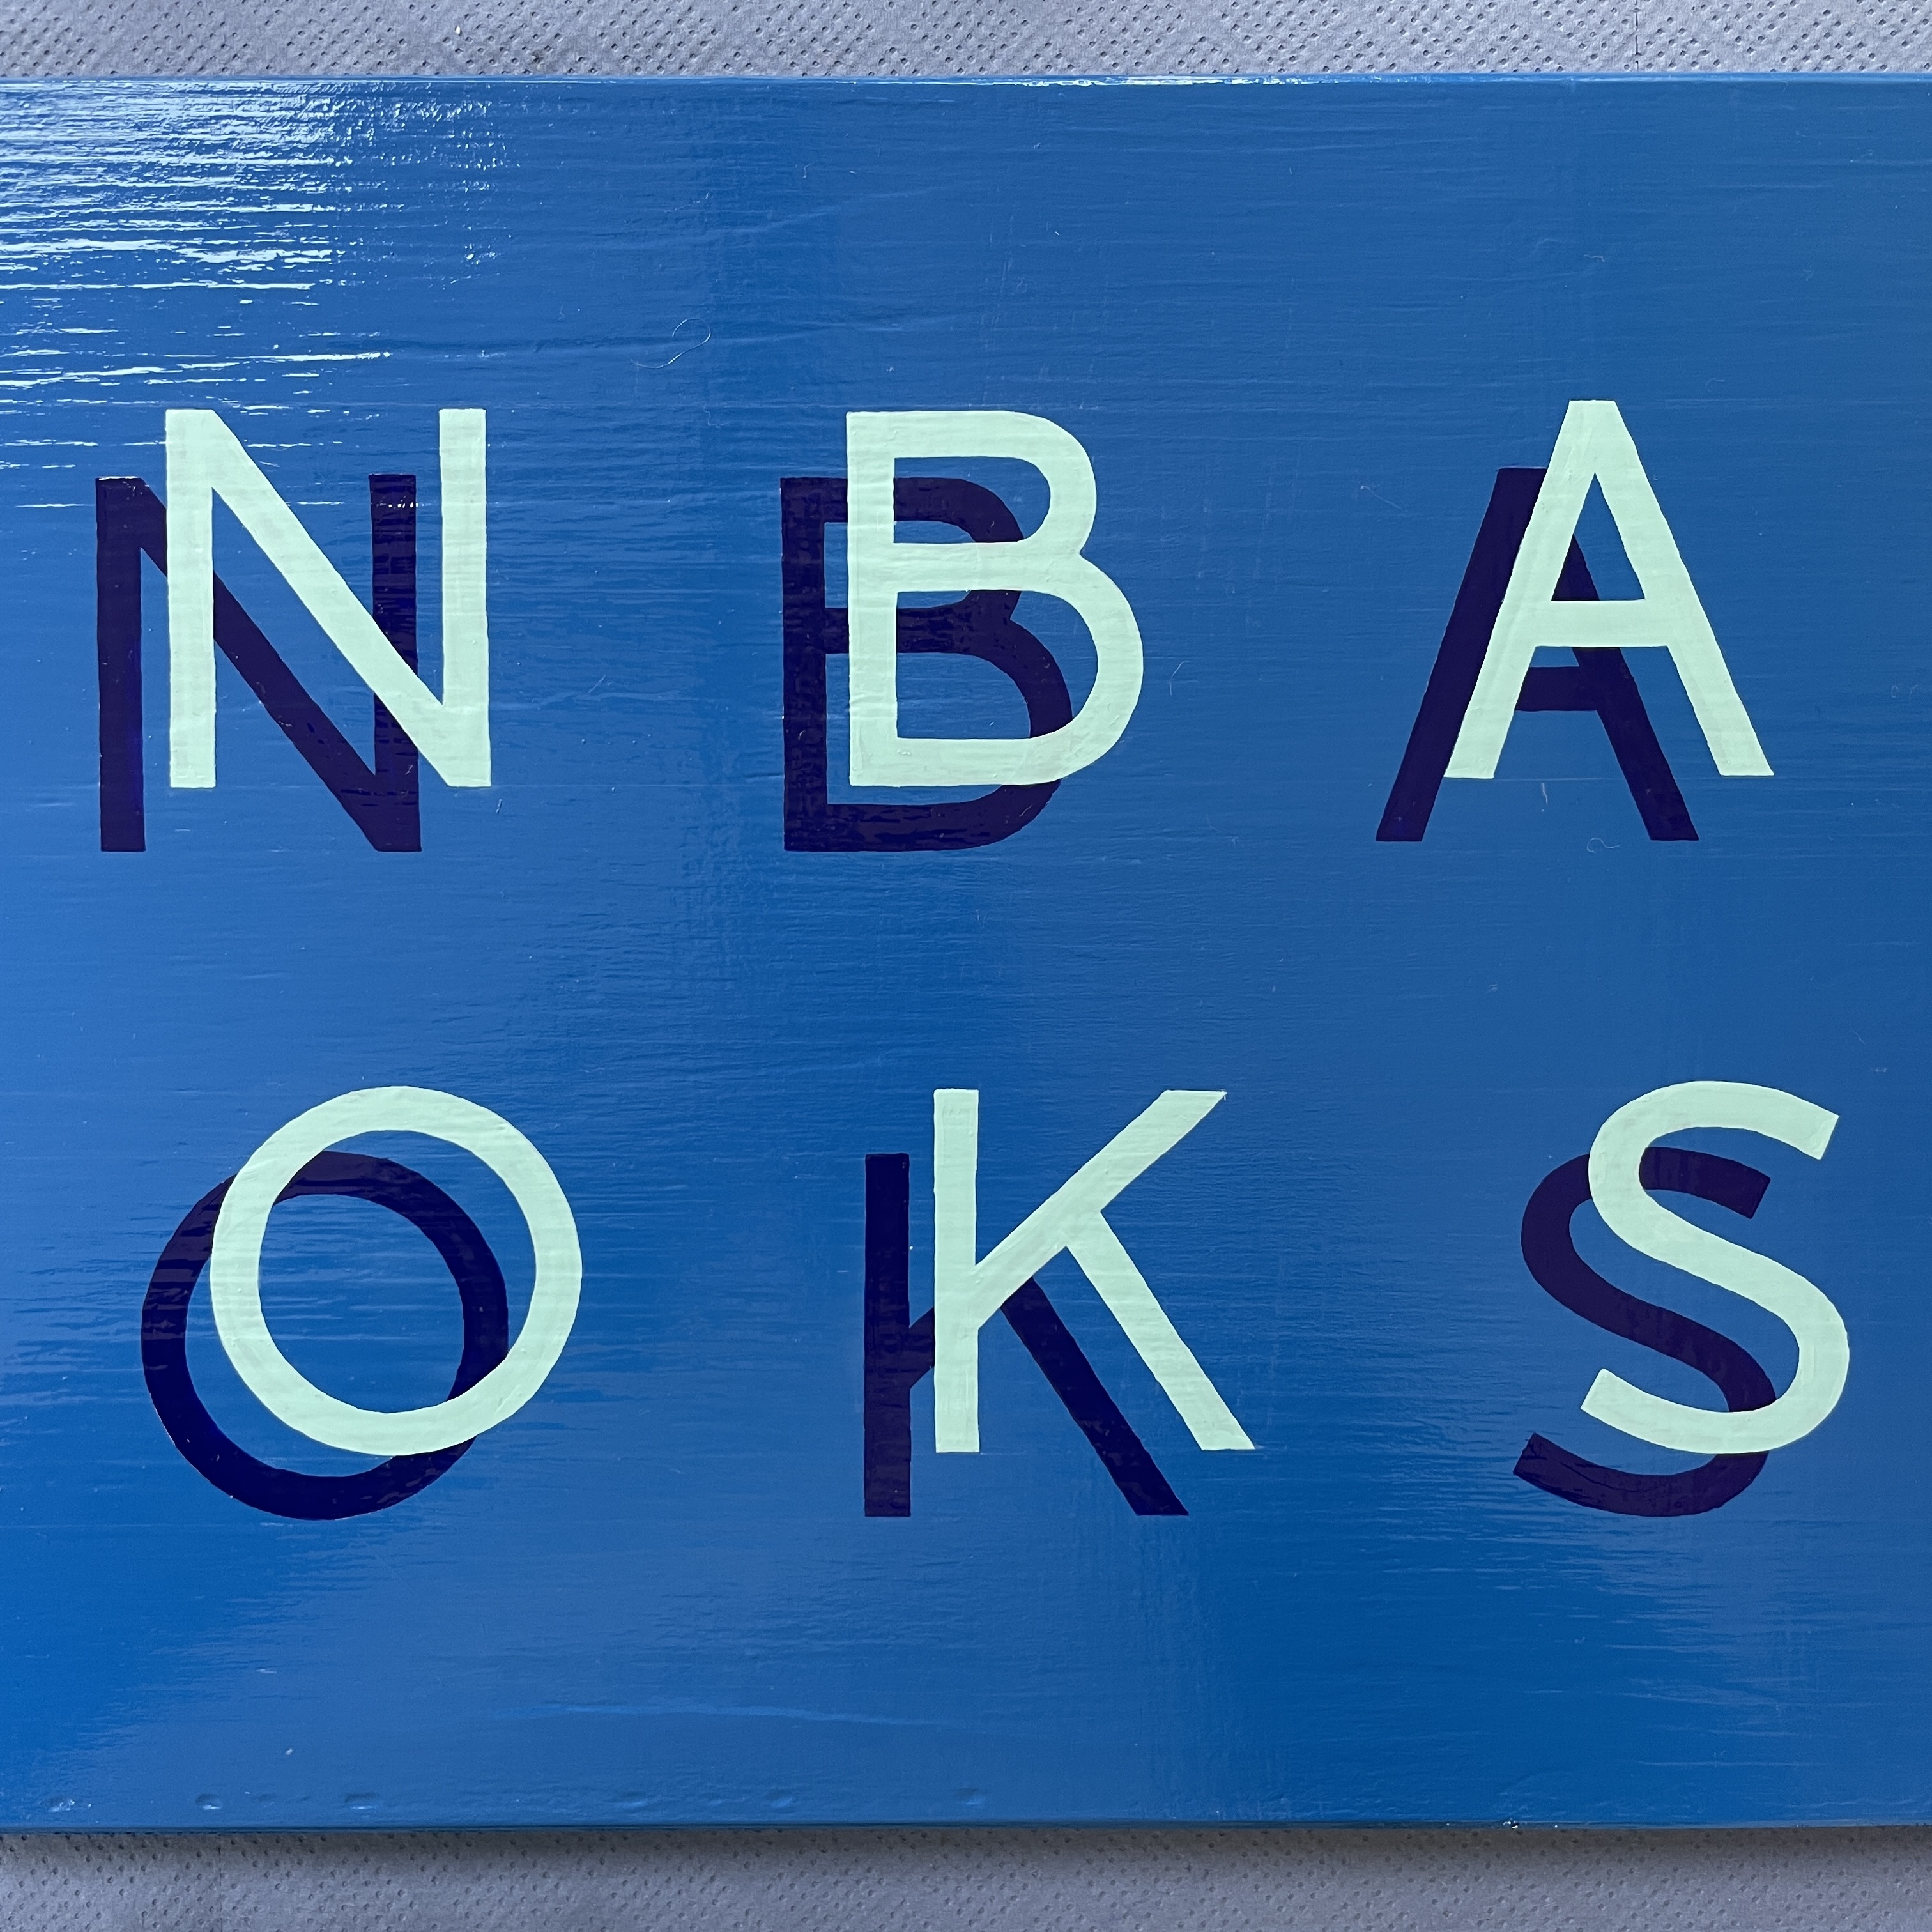
I first painted the drop shadow and the following day the top letters, Fig. 14-15. I then when over the whole piece and neatened the corners, Fig. 16-19. This actually made a substantial difference to the overall look of the piece, even if it might not be necessary be the traditional technique.

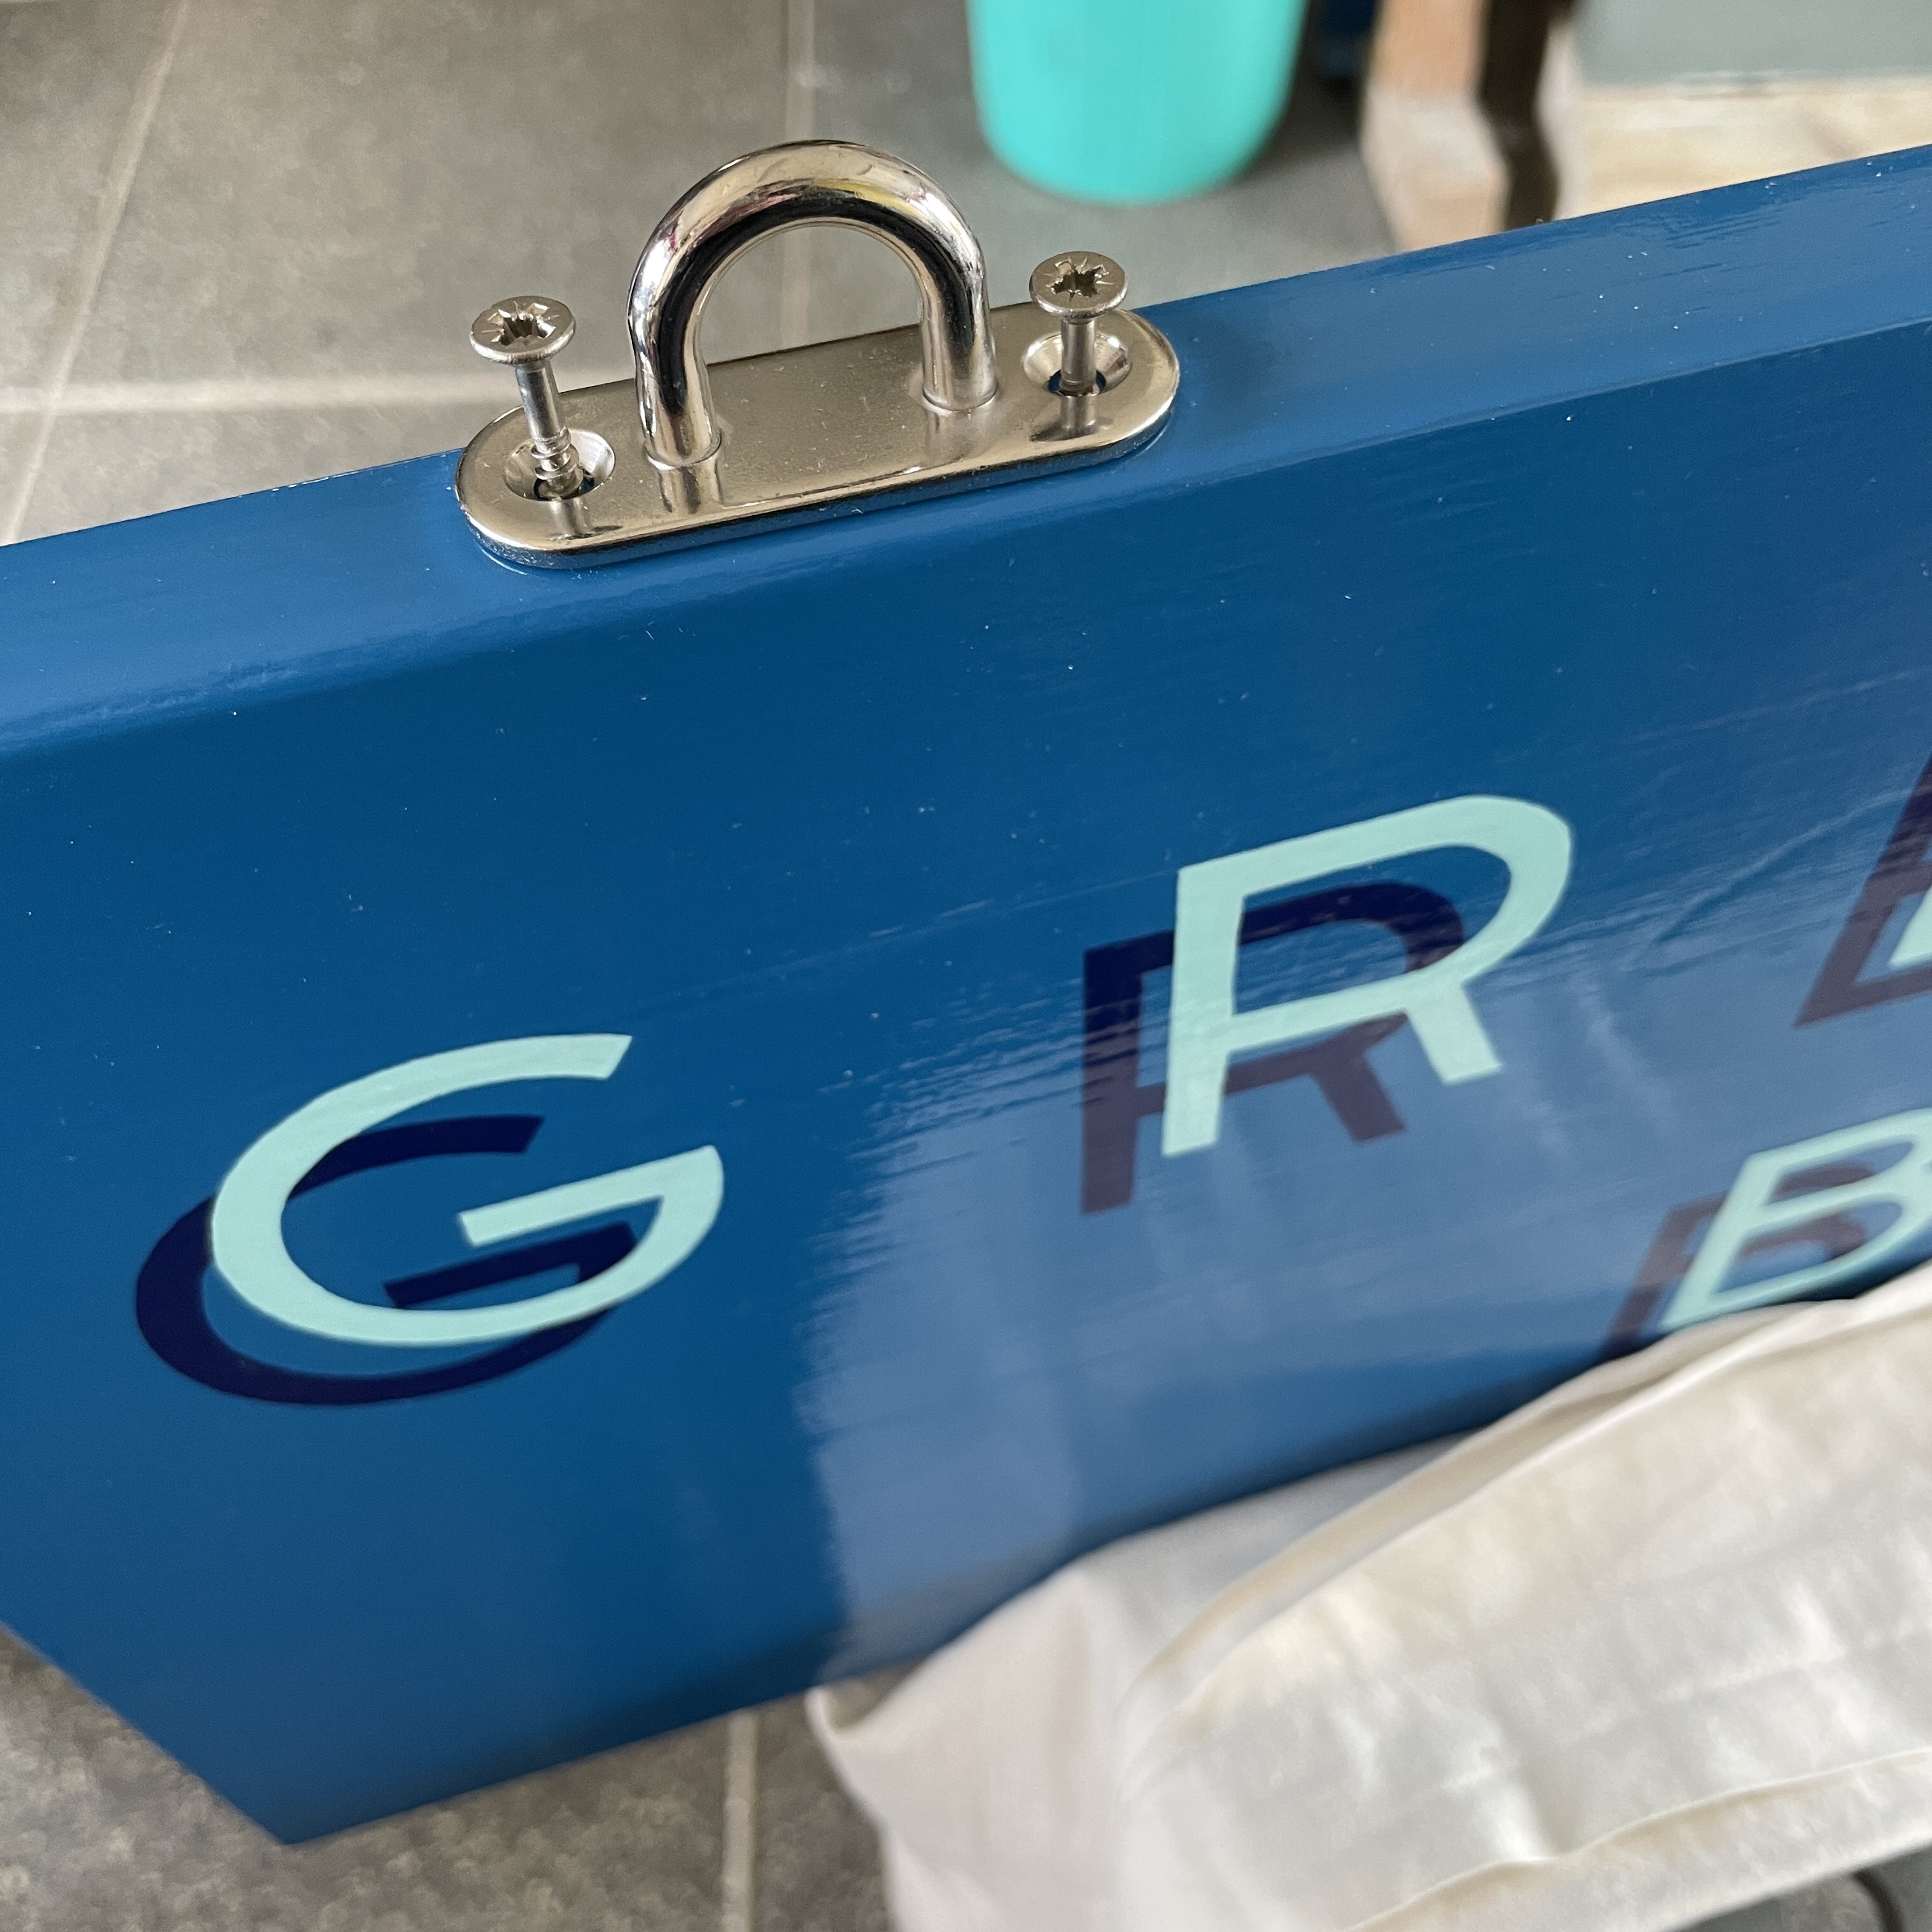
We’d ordered a couple of metal ‘D’ rings to attach to the top of the board, as the piece was to be hung from the ceiling on the inside of a shop. These were easily attached with screws, Fig. 20.
11. Low Relief ︎︎︎