01 Trajan Alphabet
02 ‘torc’
03 Lowercase
04 ‘S’
05 Italics
06 Sign Writing
07 Low Relief
08 Nereids
09 Flourishes
10 ‘26 Connections’
11 Woodcarving
11 Woodcarving
In the second week of September 2024, I did Robbie Schneider’s wood carving course at Little Sparta. Little Sparta is the home and garden of the poet Ian Hamilton-Finlay (IHF), figs. 1-3, where there are hundreds of text based works in stone and wood situated around the garden, made by dozens of contemporary letter carvers.
![1]()
![2]()
![3]()
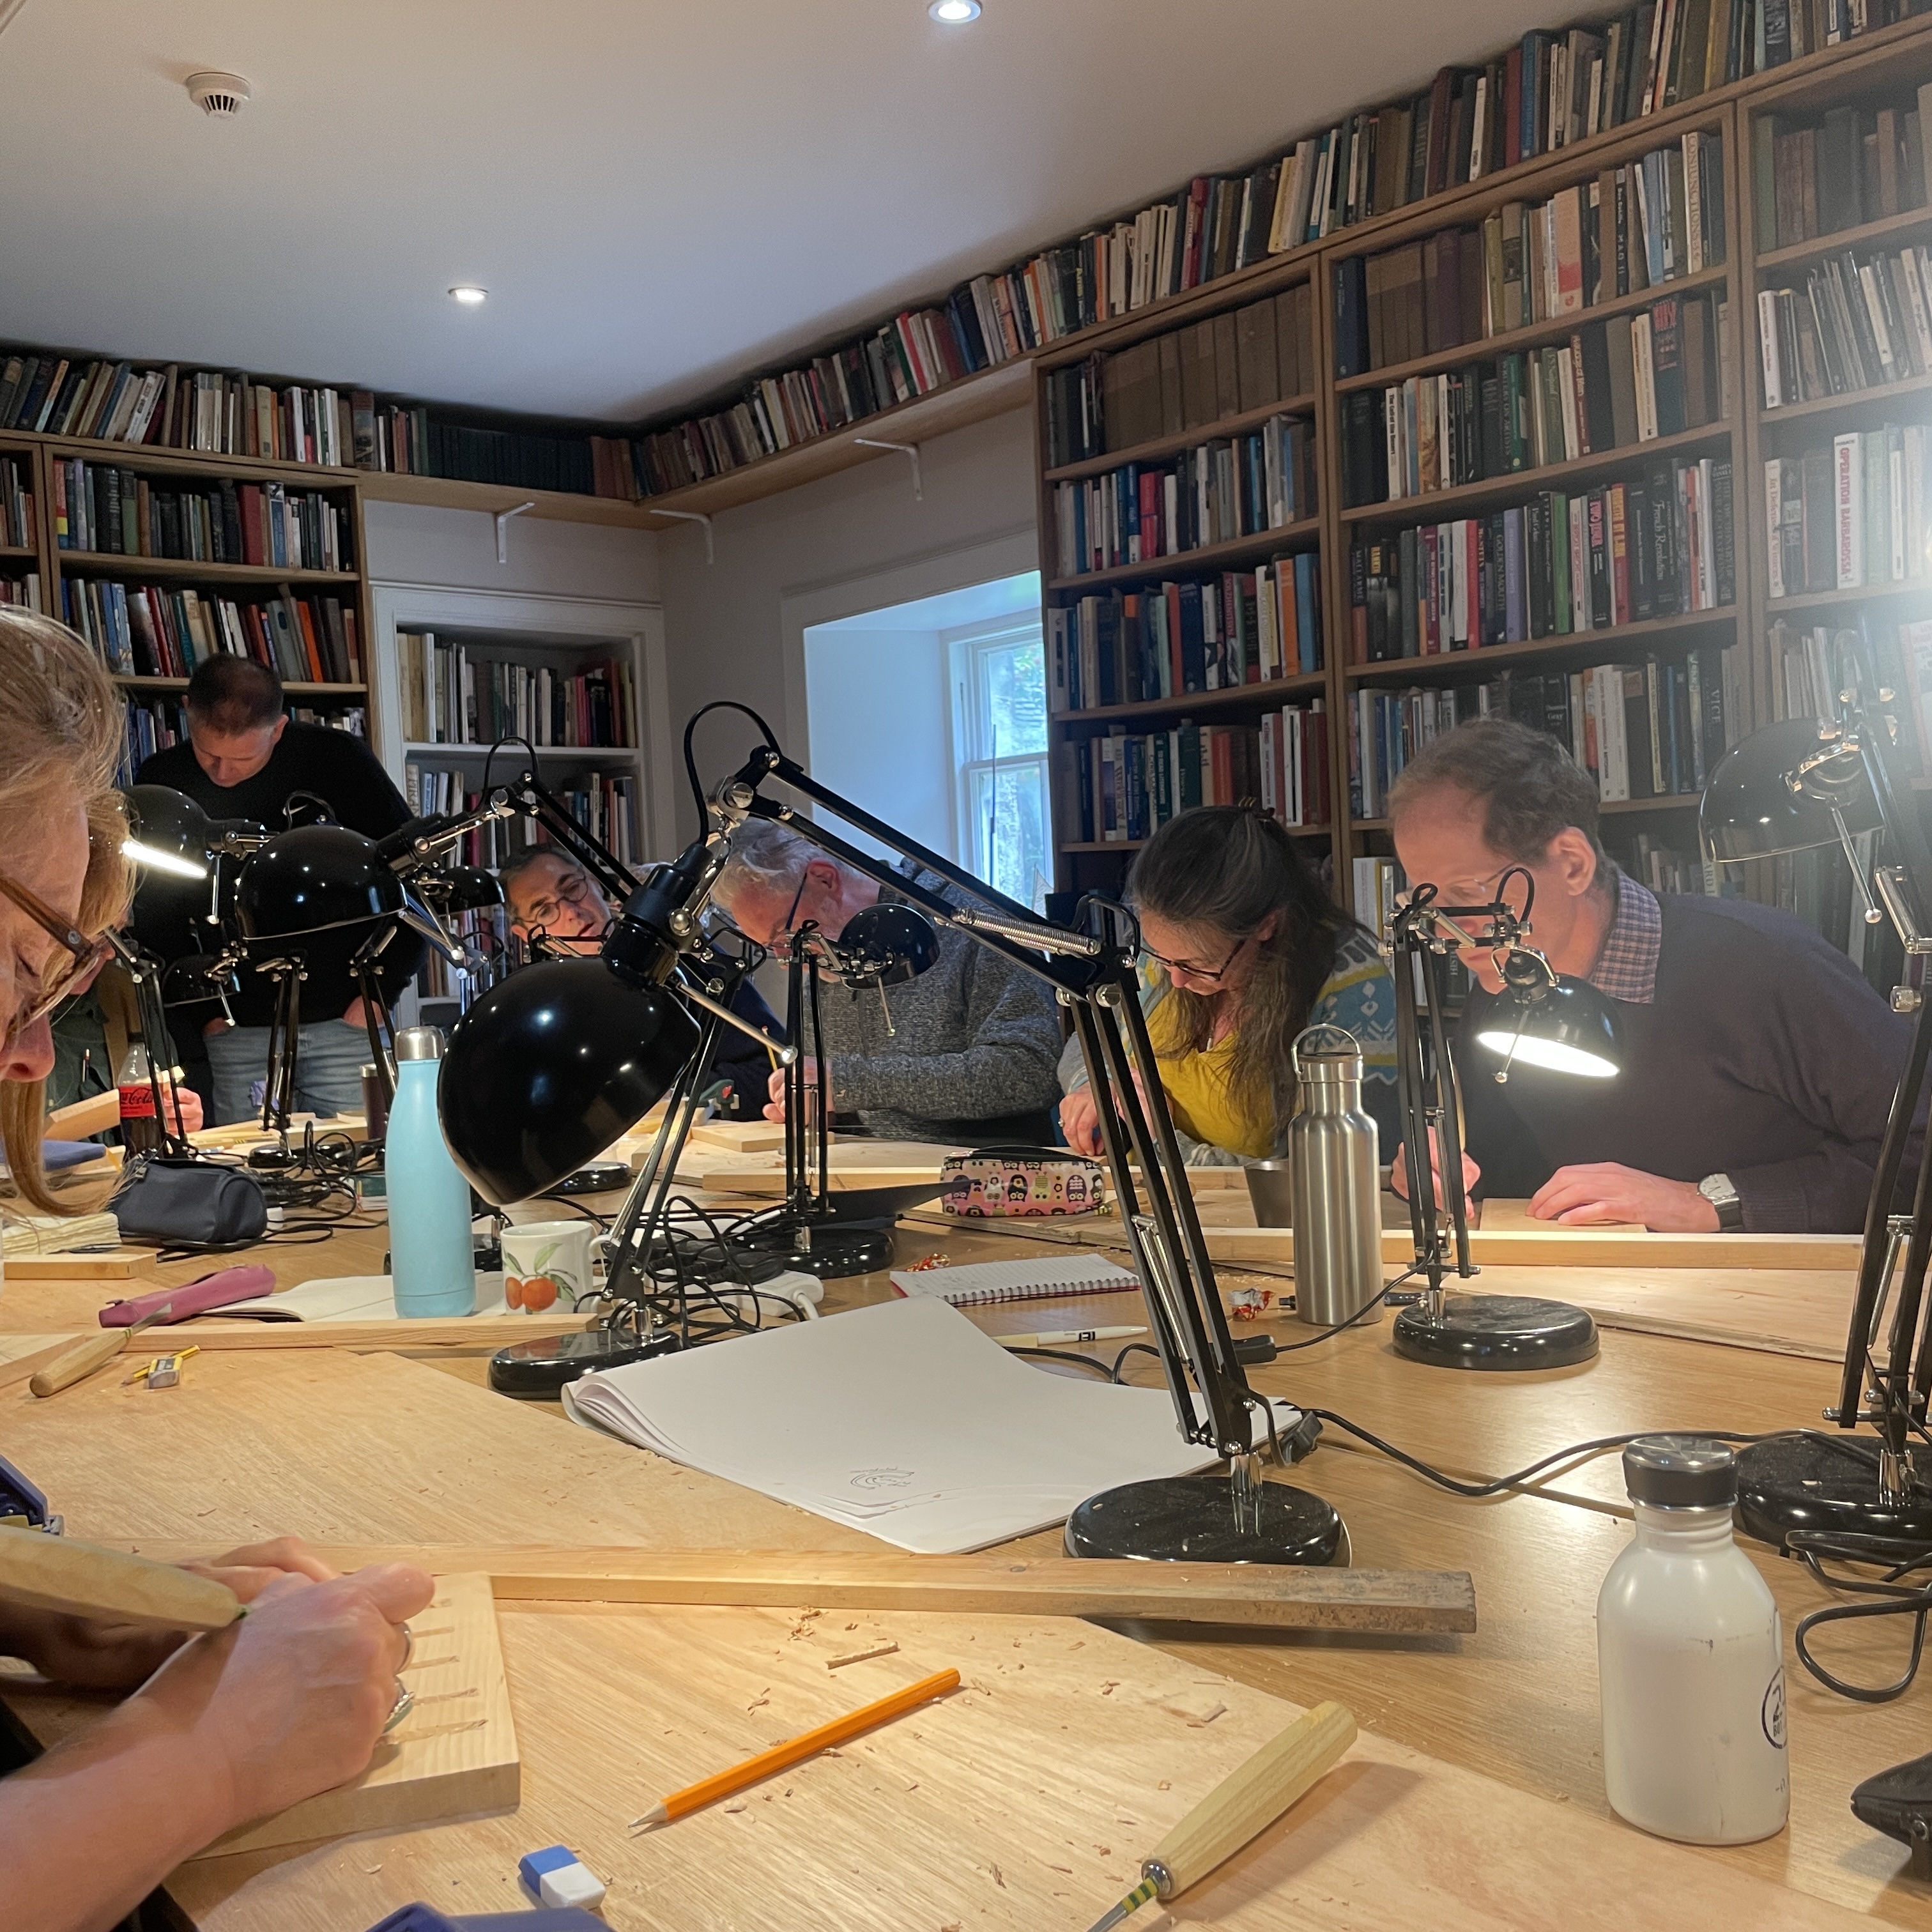
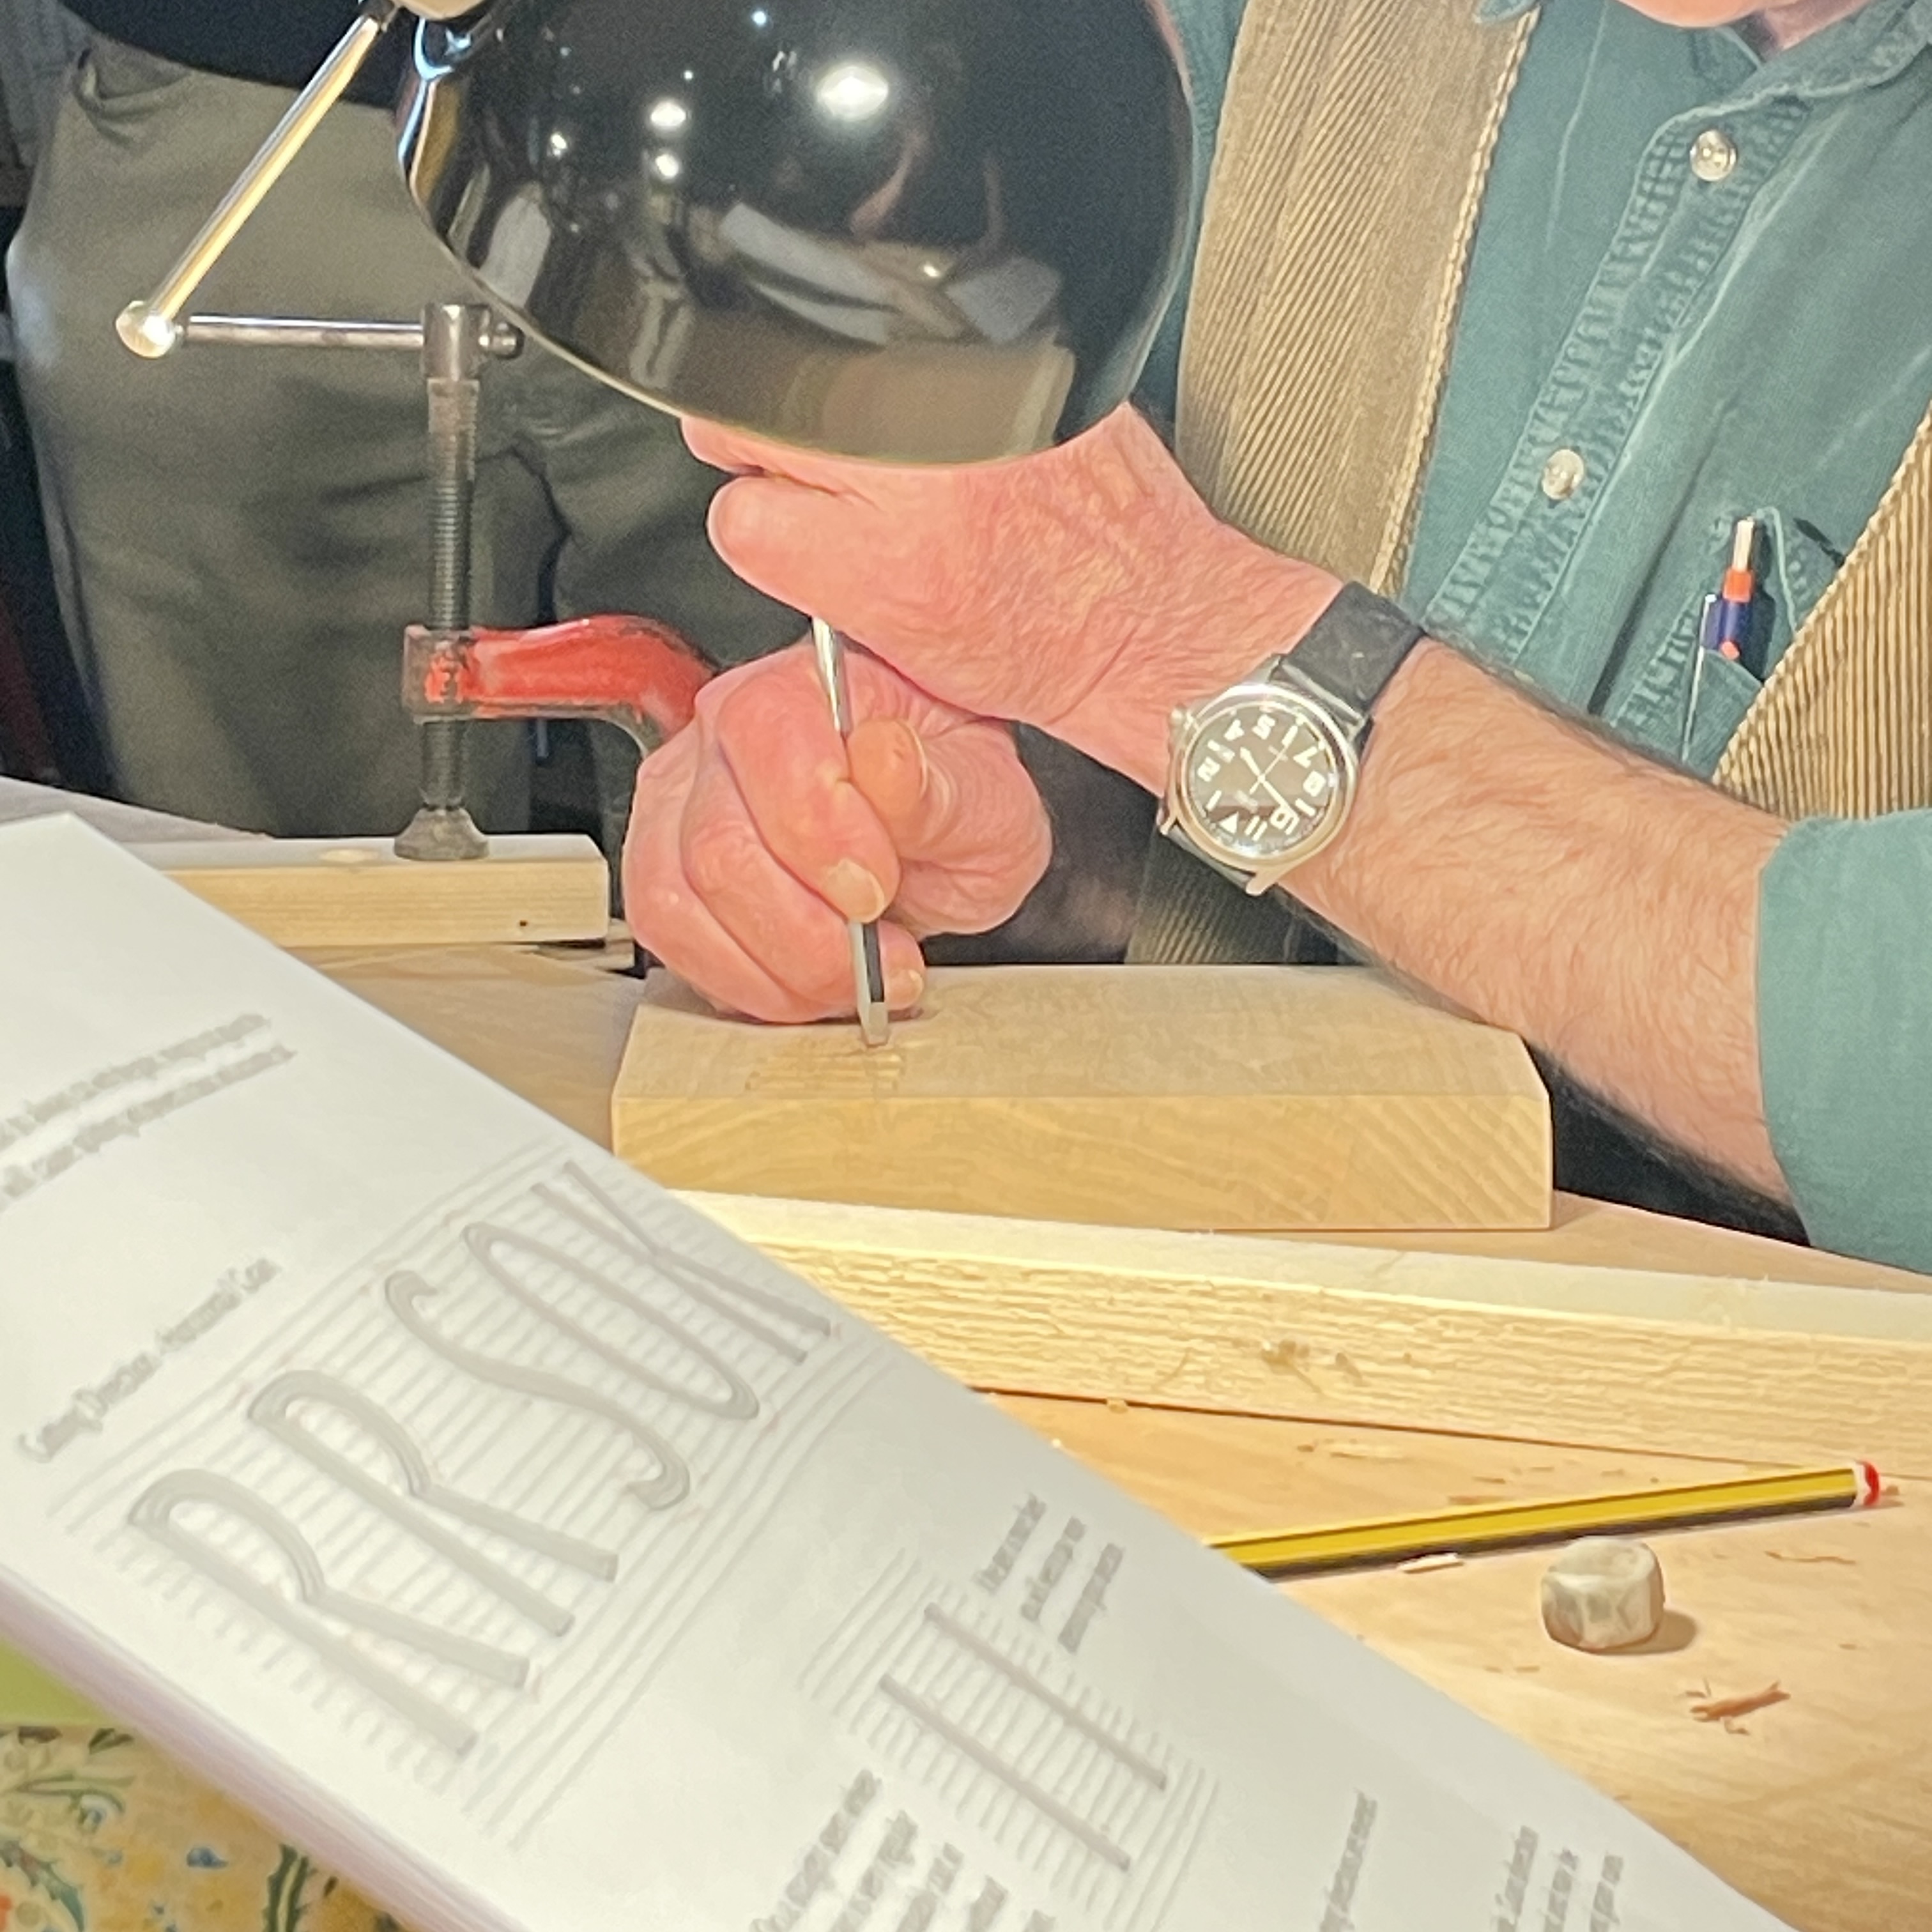
![4]() Robbie’s course is a three day intensive introduction to letter carving in wood, assisted by fellow letter carver Beatrice Searle, they teach the course in the library of IHF’s house, fog. 4, set up with small directional table lights, and a beam of wood as a stop, clamped to the table. They provided all the tools, we used Pfeil chisels, mainly ‘1/8’, ‘3/8’, ’5/8’, ‘3/5’ in size. We all started with a piece of Lime wood with the grain running from left to right.
Robbie’s course is a three day intensive introduction to letter carving in wood, assisted by fellow letter carver Beatrice Searle, they teach the course in the library of IHF’s house, fog. 4, set up with small directional table lights, and a beam of wood as a stop, clamped to the table. They provided all the tools, we used Pfeil chisels, mainly ‘1/8’, ‘3/8’, ’5/8’, ‘3/5’ in size. We all started with a piece of Lime wood with the grain running from left to right.
The course covered the different techniques that can be used to carve (remove) wood. Chopping into the wood with the blade of the chisel parallel to the cutting surface; a chop slice, holding the chisel at 45° to the cutting surface; and a sliding cut, where instead of cutting down into the wood you cut along the wood. These different techniques can be useful for different stages of cutting a letter.
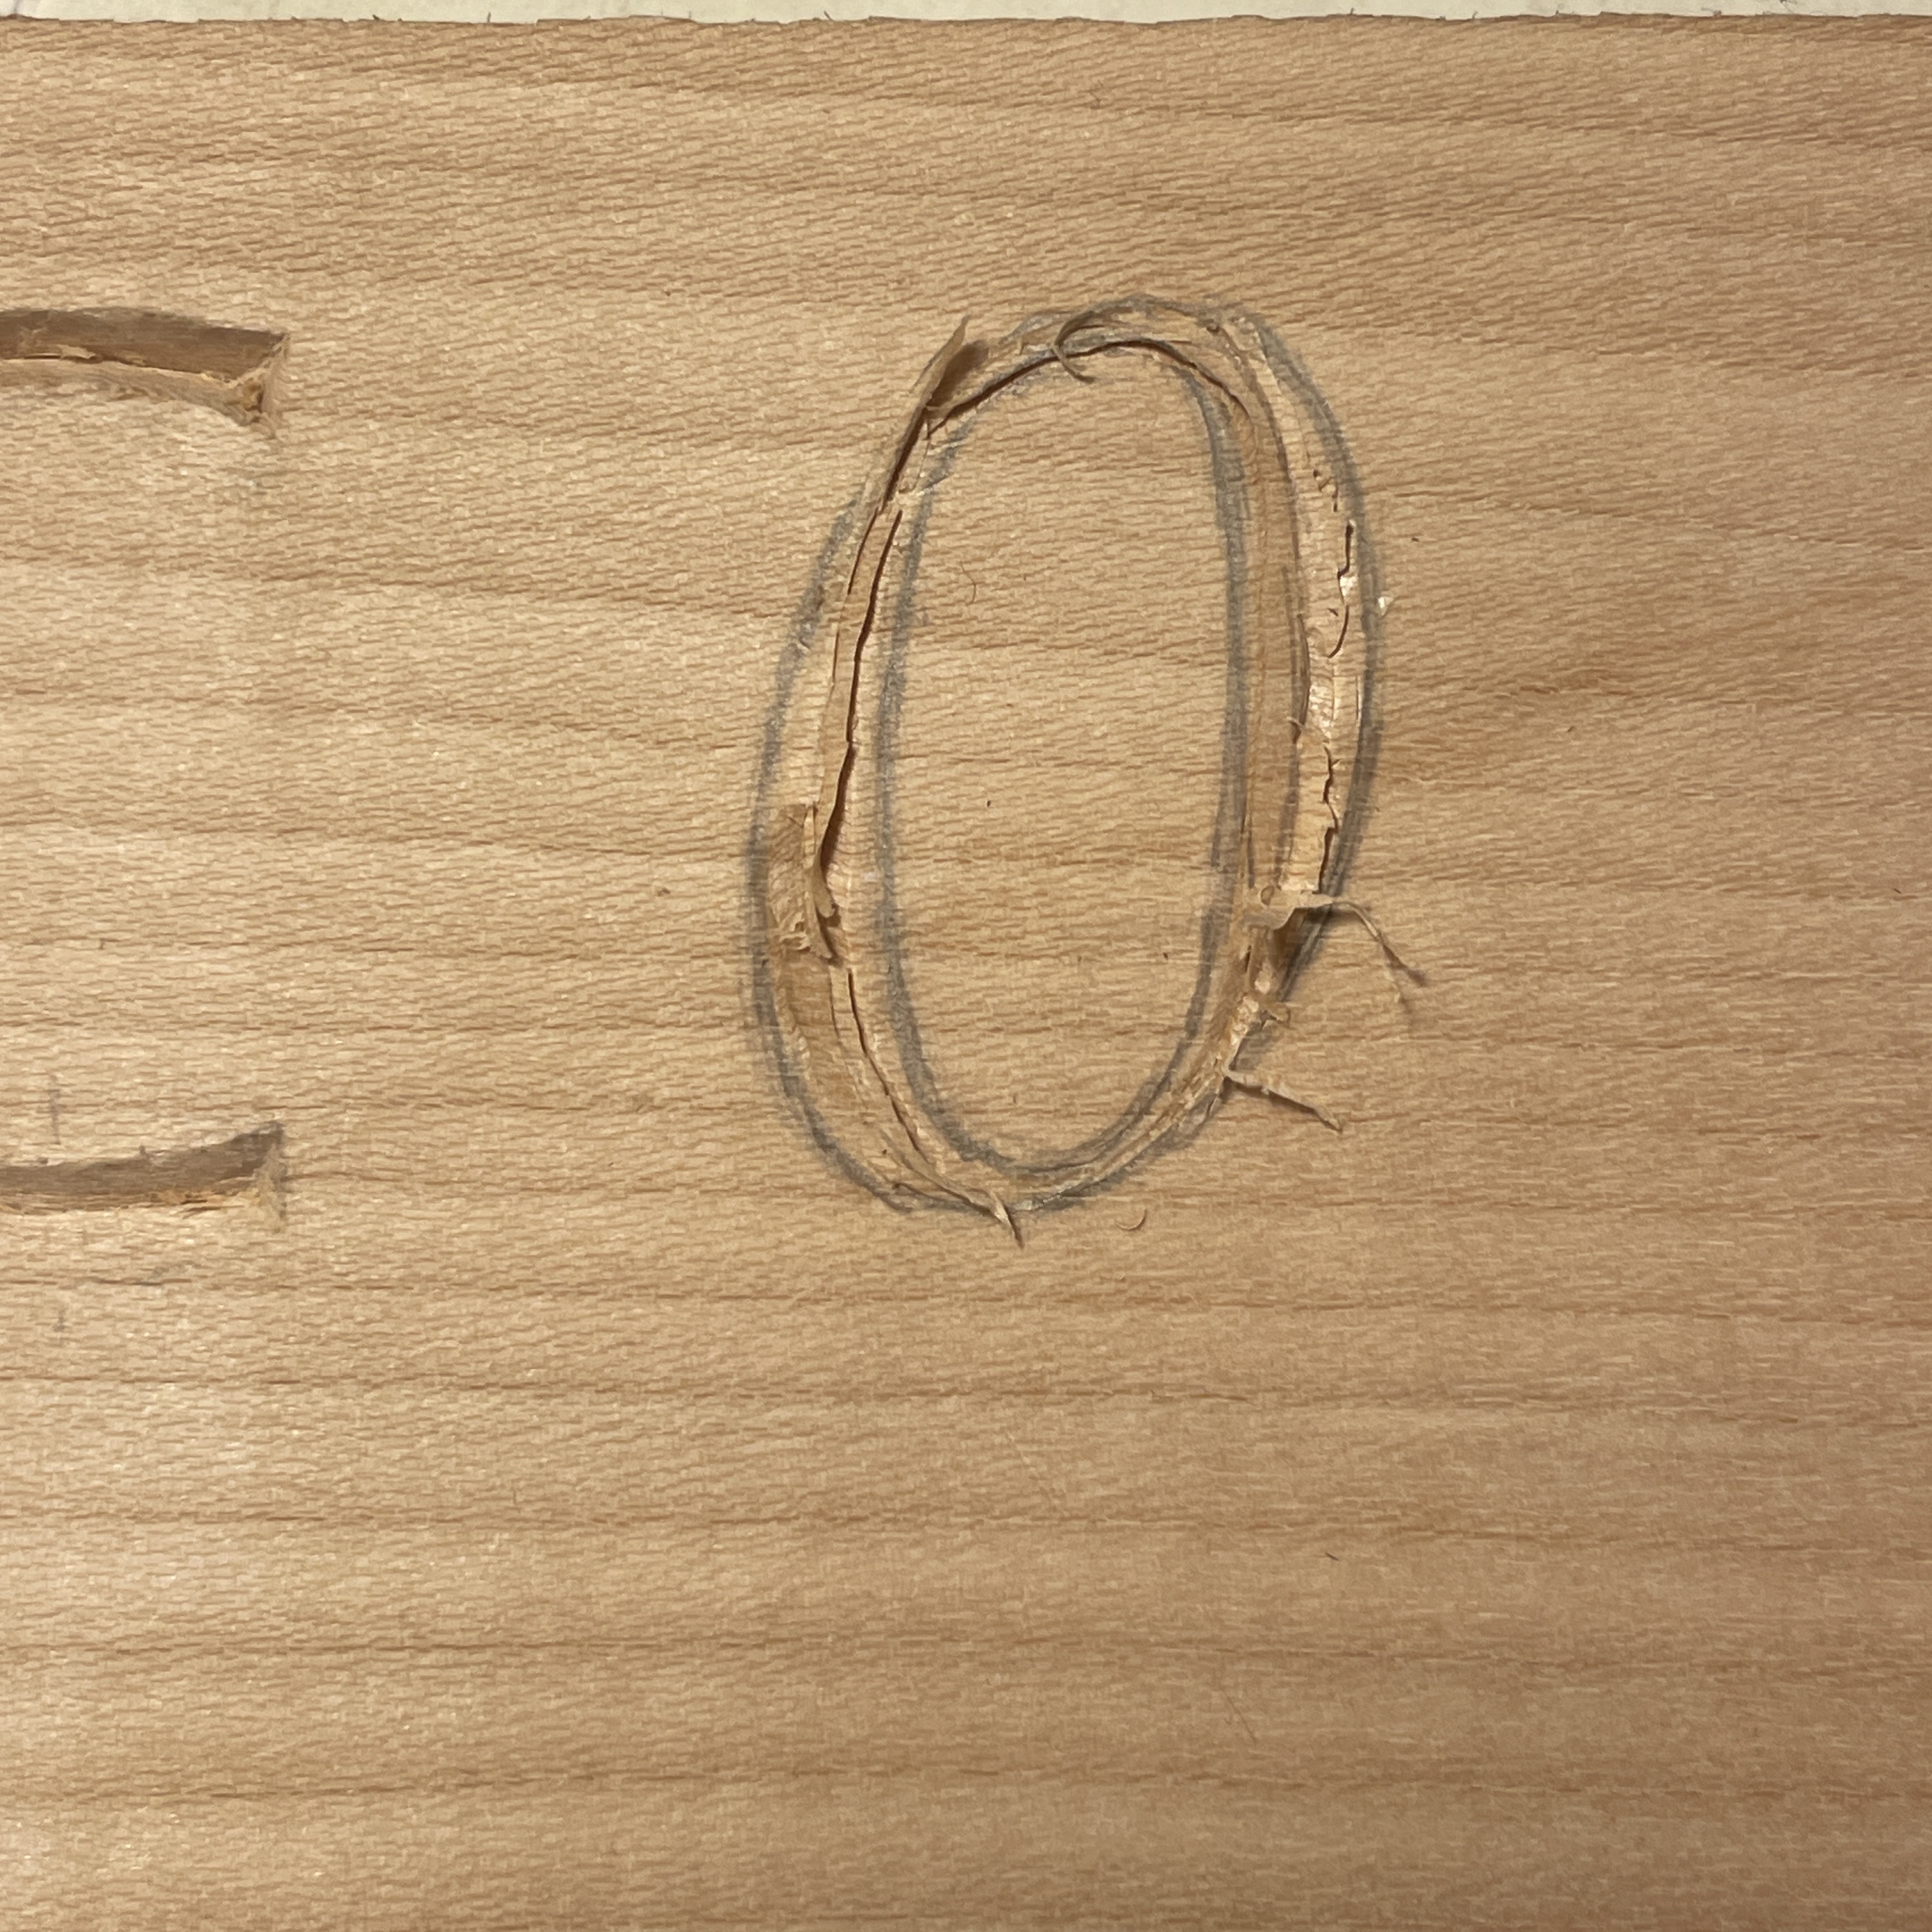
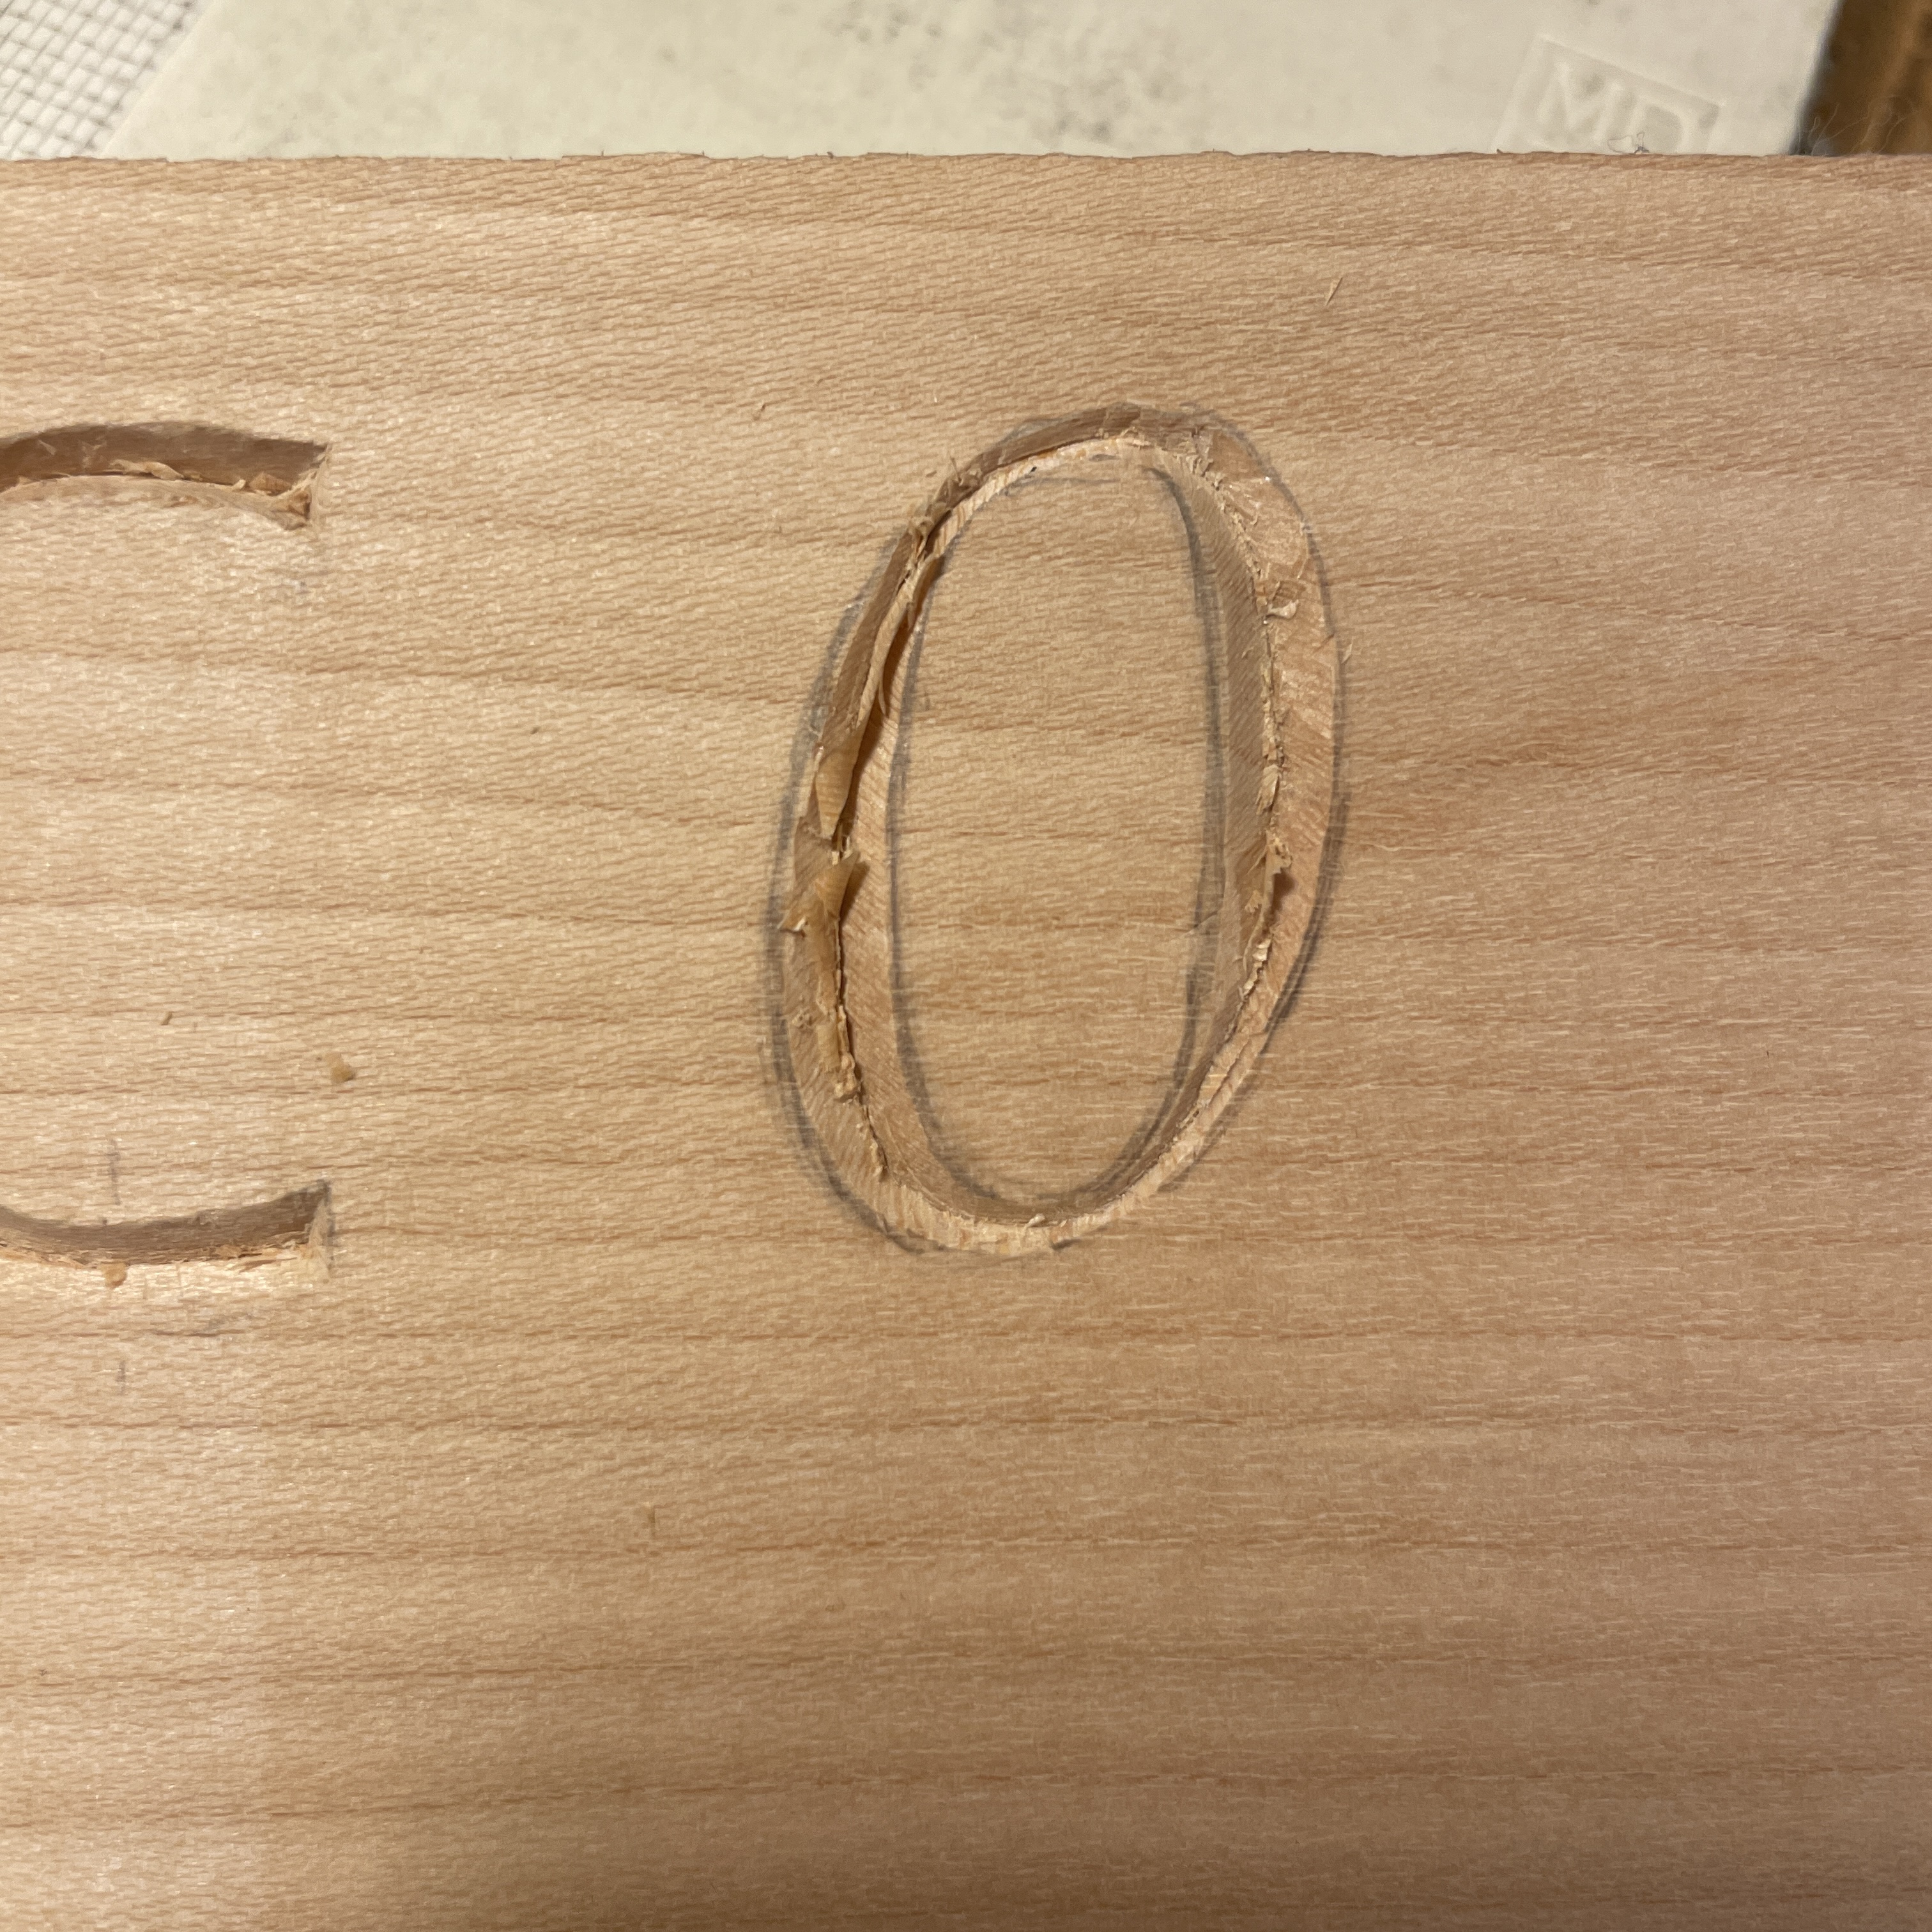
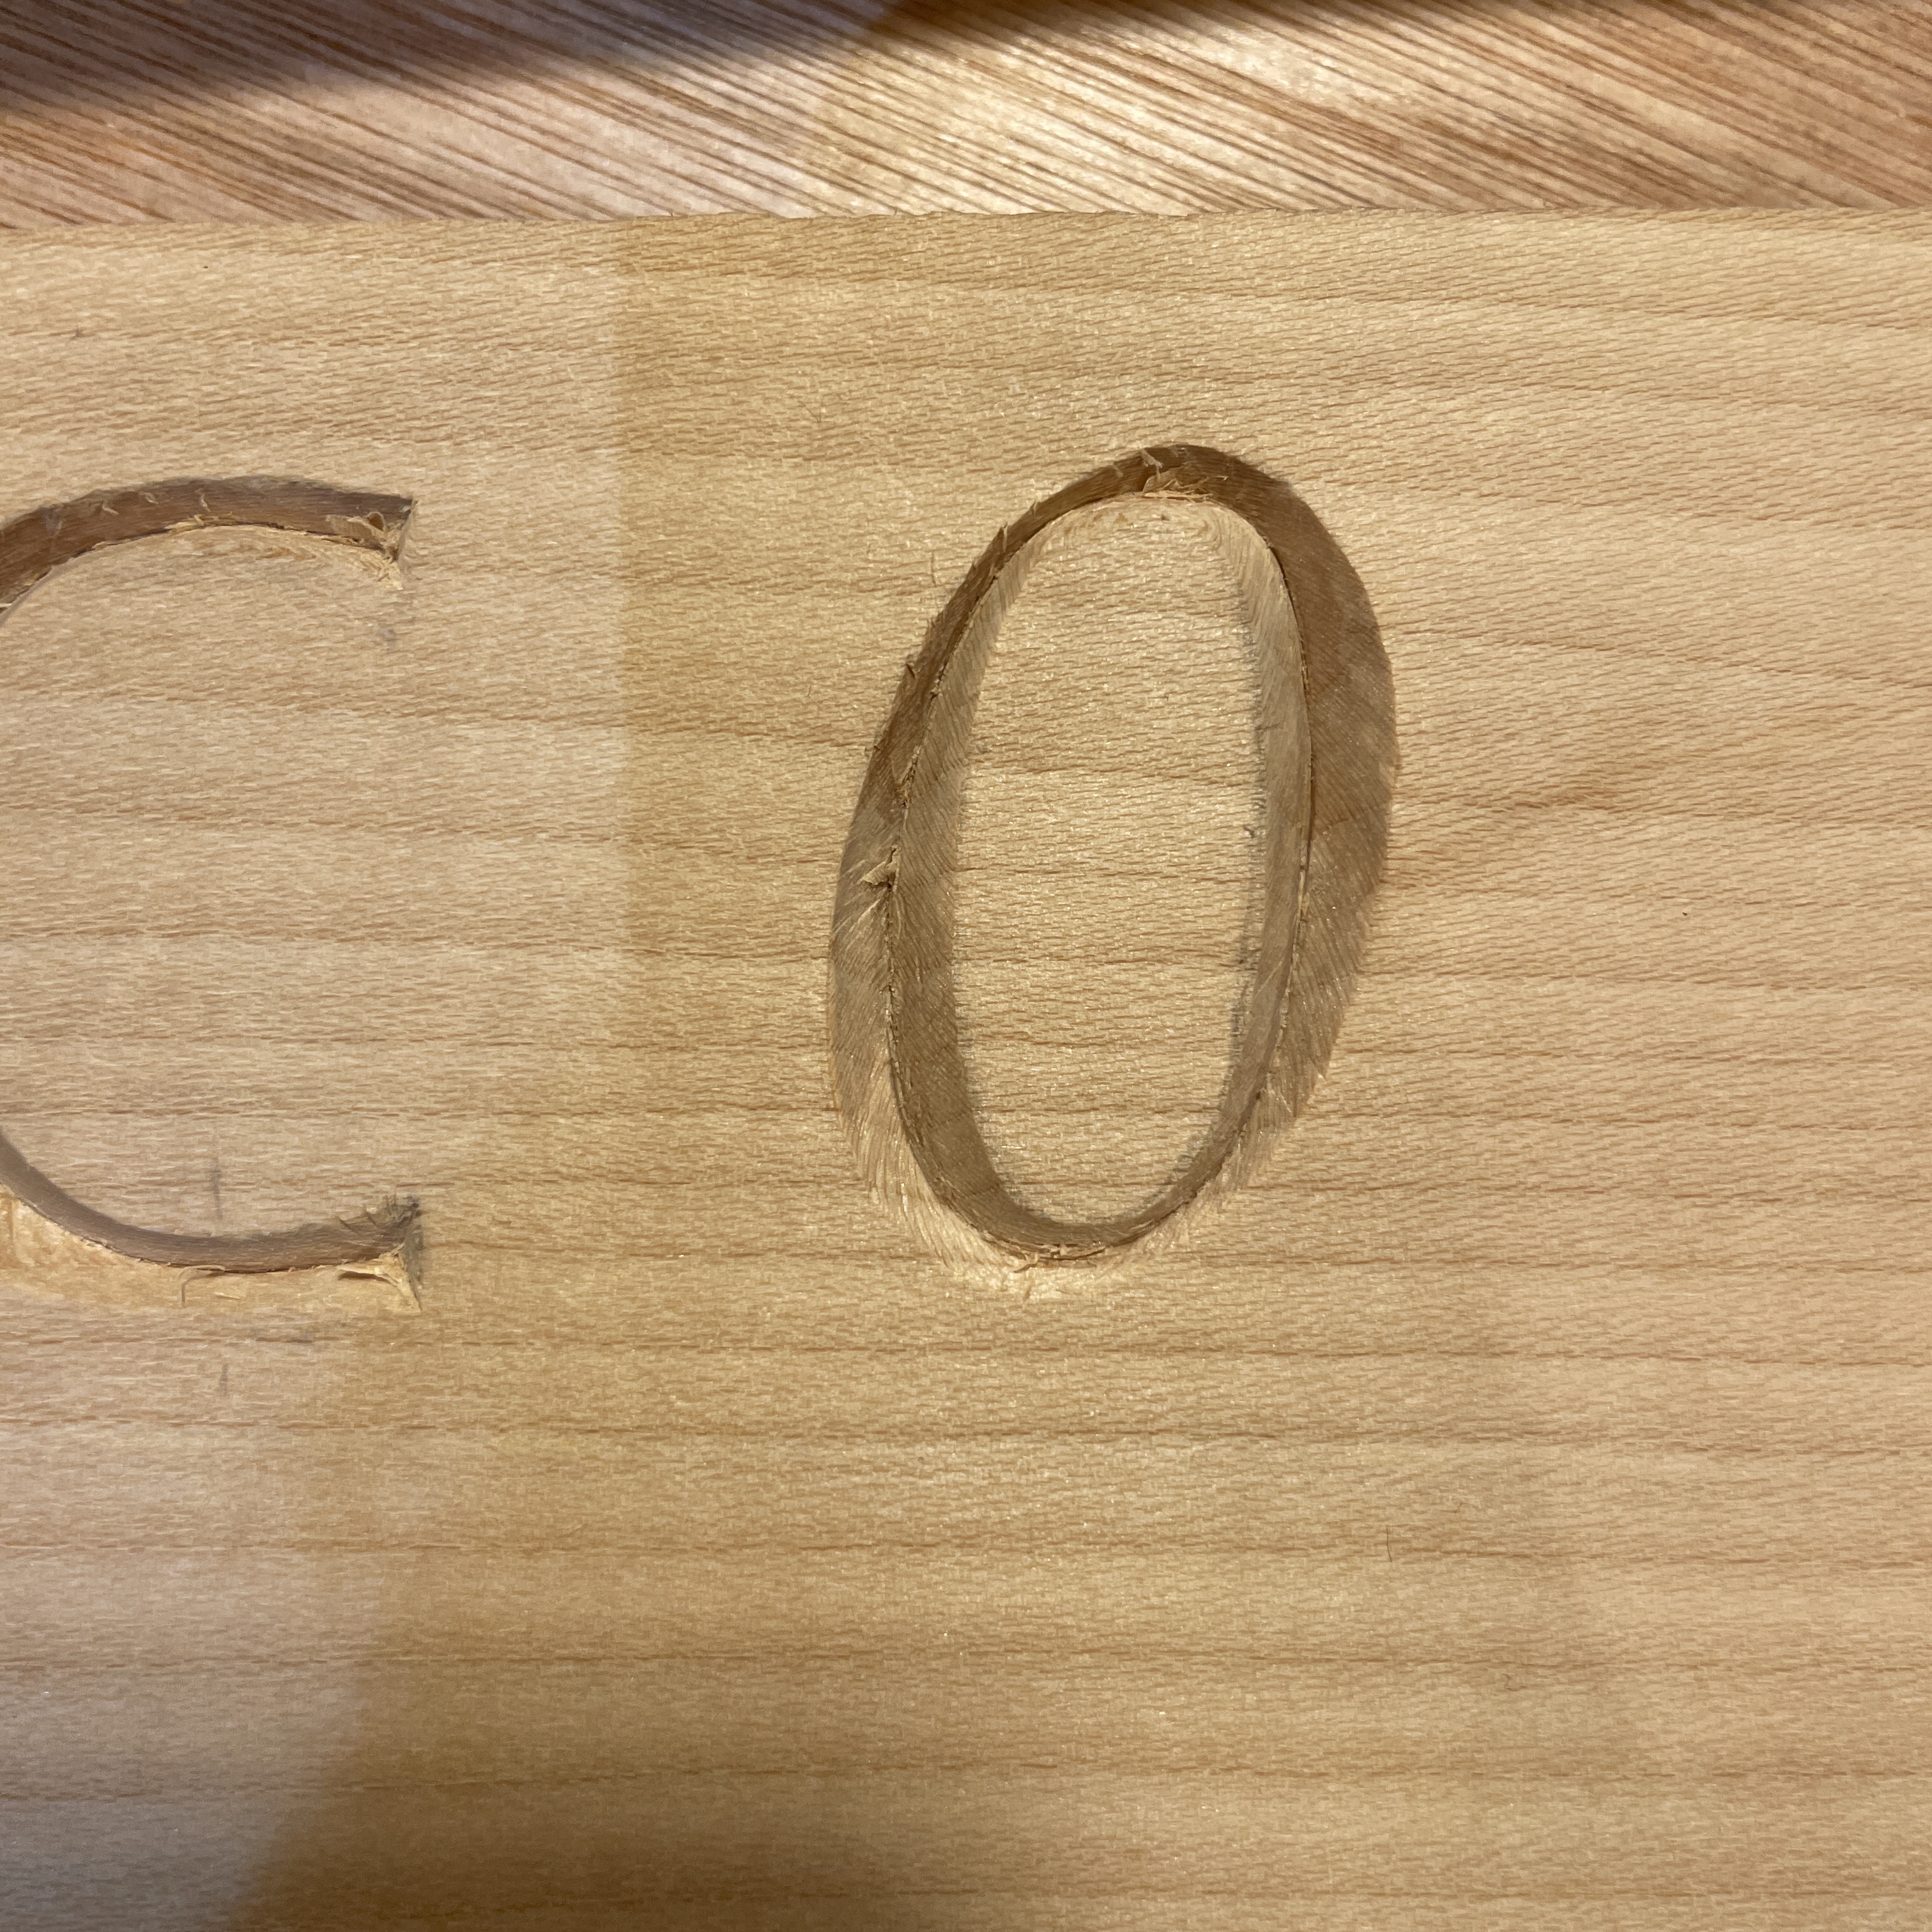
We started by cutting ‘I’s’ with the different techniques and moved on to letters with curves, figs. 5-10. For a curved letter we used a gouge chisel with the same curvature as the letter. To cut a ‘C’ we used the straight chisel for the inner curve and the gouge chisel for the outer curve.
![5]()
![6]()
![7]()
![8]()
![9]()
![10]() At this point Robbie introduced us to the ‘the grain’ and how to change the direction of cut so that you go ‘with’ rather than ‘against’ the grain, to achieve a better cut and to make carving less strenuous, fig. 11.
At this point Robbie introduced us to the ‘the grain’ and how to change the direction of cut so that you go ‘with’ rather than ‘against’ the grain, to achieve a better cut and to make carving less strenuous, fig. 11.
![11]()
![12]()
![13]()
On the second day some of us started carving in Cherry wood, fig. 14-16. We also had a go at letters with junctions and serifs. Although cherry is a harder wood compared to Lime this actually helped produce a cleaner cut, as lime is so soft and fibrous. Cutting more letters and at a larger scale took us into the third day, towards the end of the course we also had a go at raised carving, where the negative space around a letter is cut away, fig, 17. We also covered a little bit on sharpening, both using a strop and with a water stone.
![14]()
![15]()
![16]()
![17]()
The course gave me a perfect introduction into the techniques of carving letters in wood and has allowed me to go on and work on a piece back at the studio in a piece of English oak.
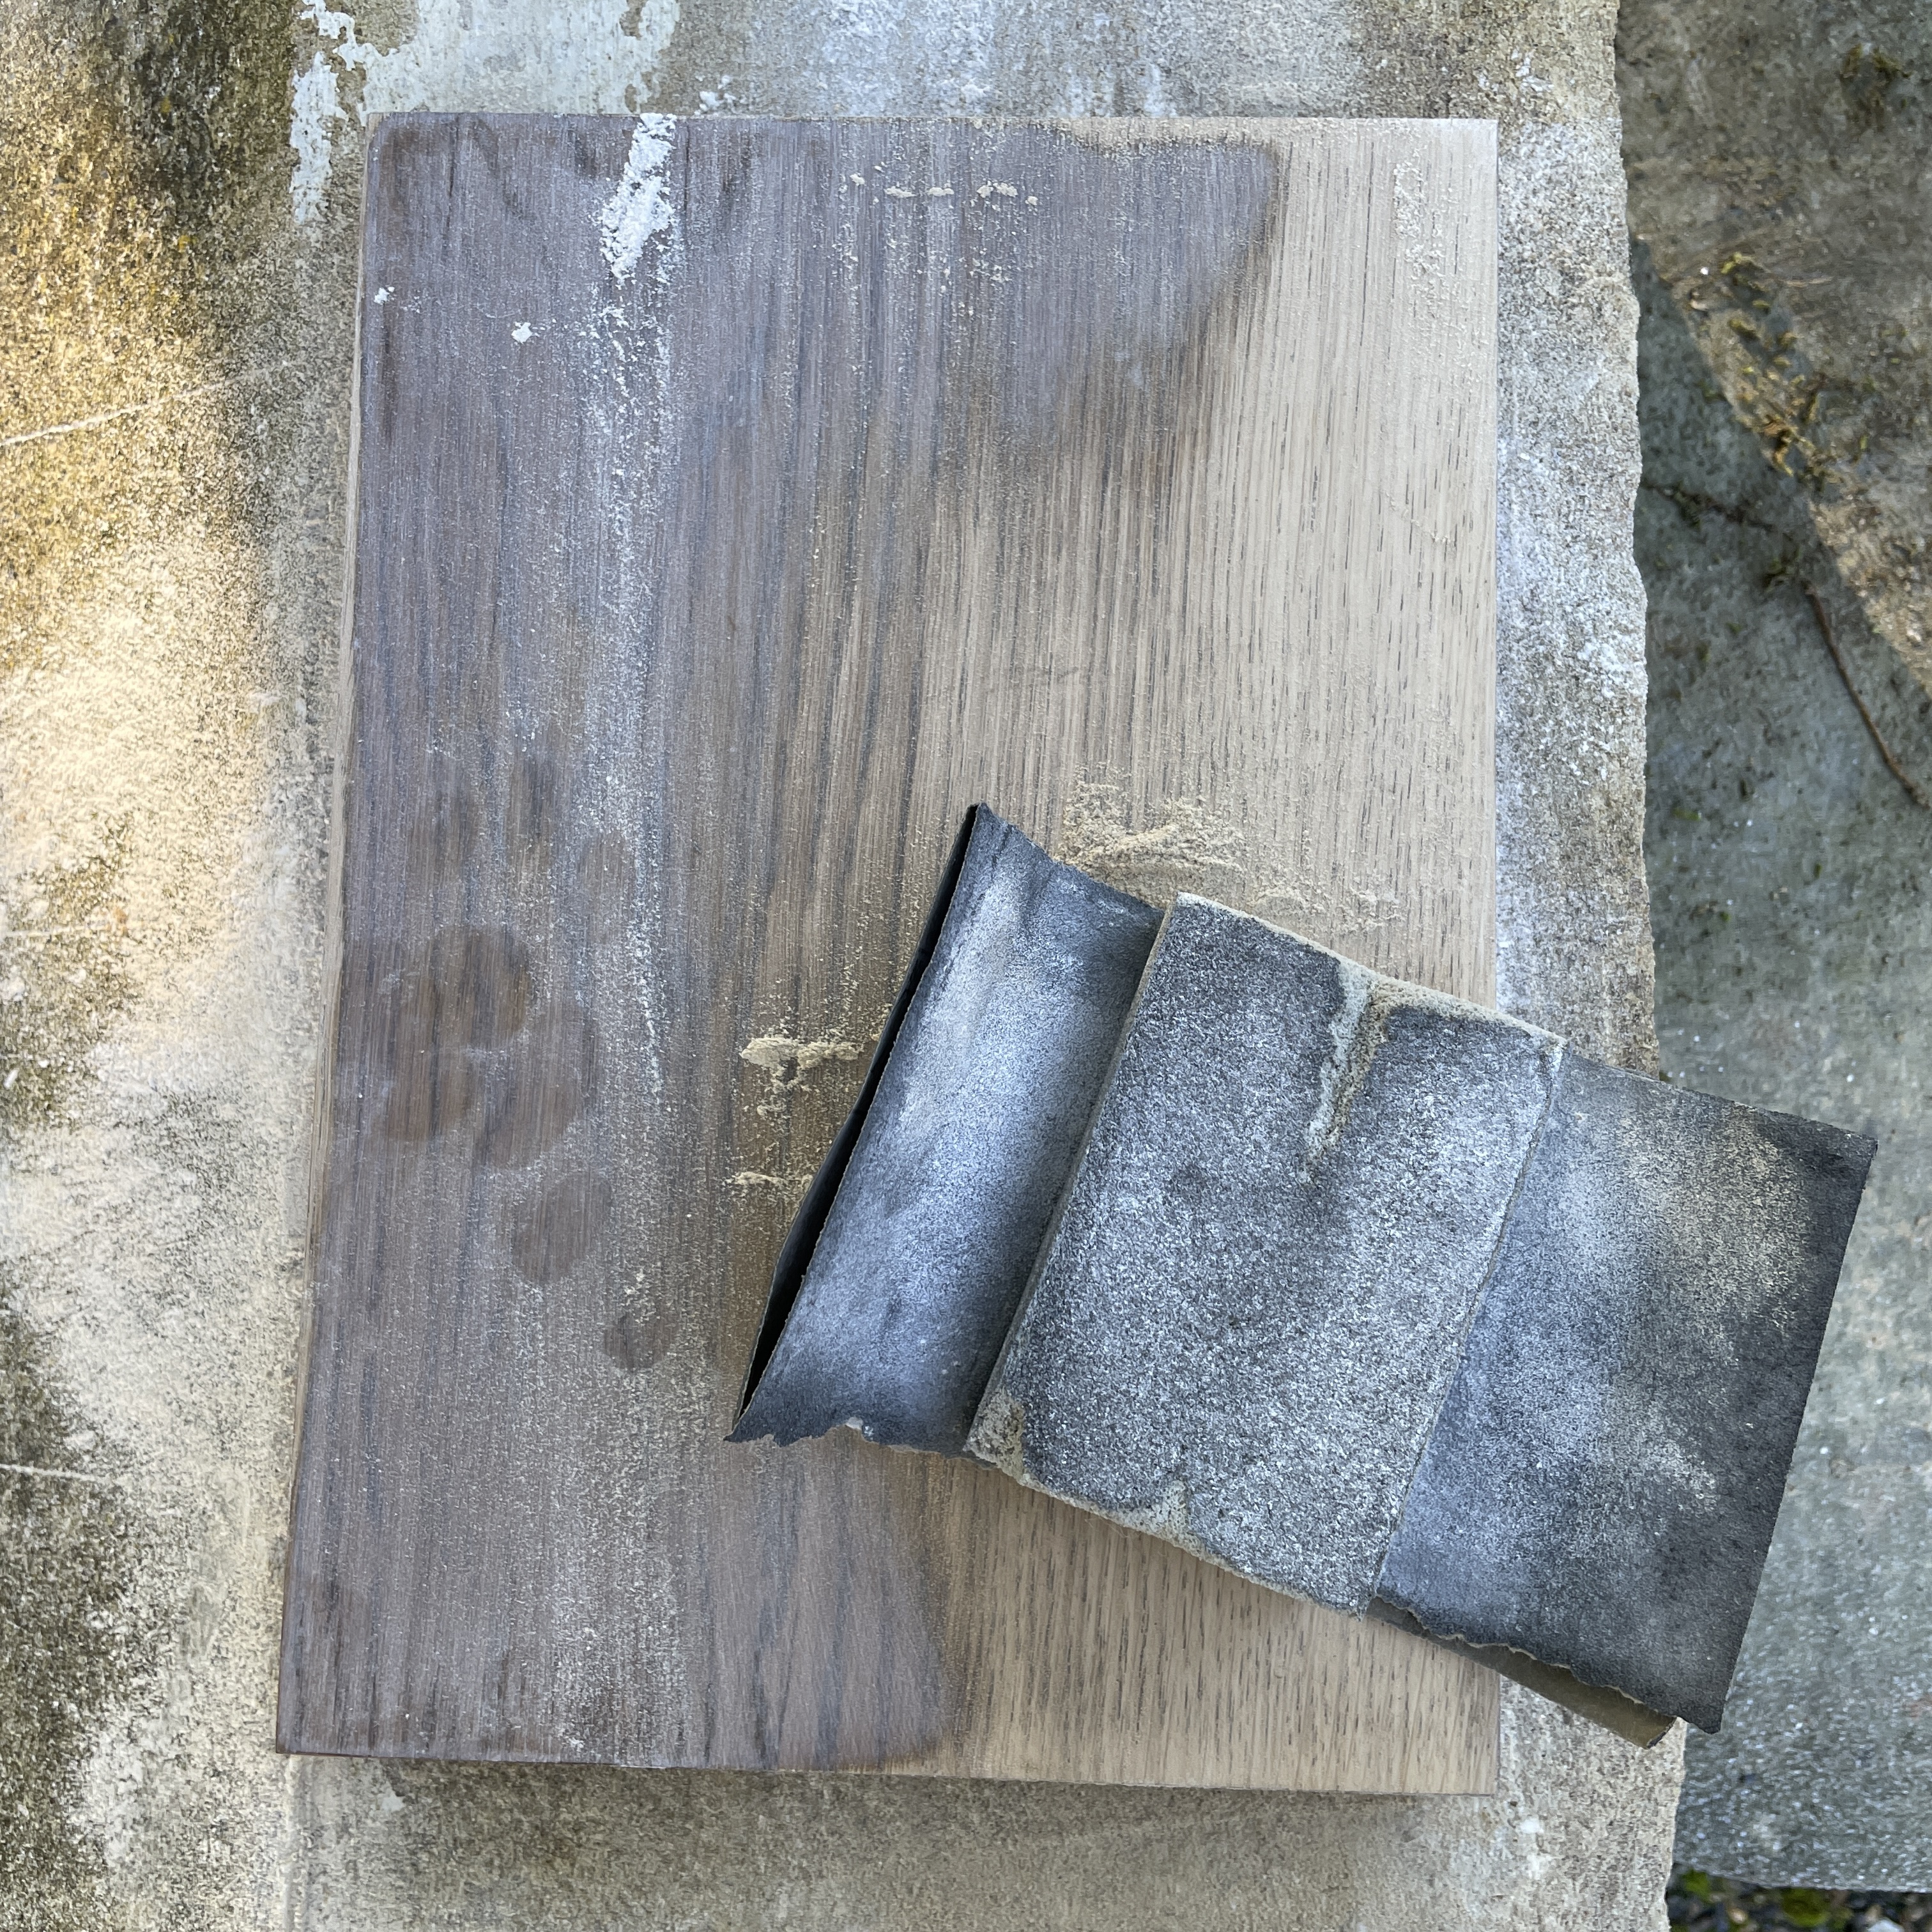
Charlotte had a few pieces of English oak that she had used as samples for another piece, which she offered to me to use. They had different finishes on them, such as a stains and a ‘soaped’ effect. I picked one that was a good size but had a fire retardant dark brown stain which I ended up sanding off, fig. 18-19.
![18]()
![19]()
I had recently repainted a piece for Charlotte that was by her step father, who was also a letter carver. The piece was a small stone with the incription, ‘Ars Longa Vita Brevis’, from the saying by Hippocrates:
Vita brevis, ars longa, occāsiō praeceps, experīmentum perīvulōsum, iūdicium difficile.
Life is short, and craft is long, opportunity fleeting, experimentations perilous, and judgement difficult.
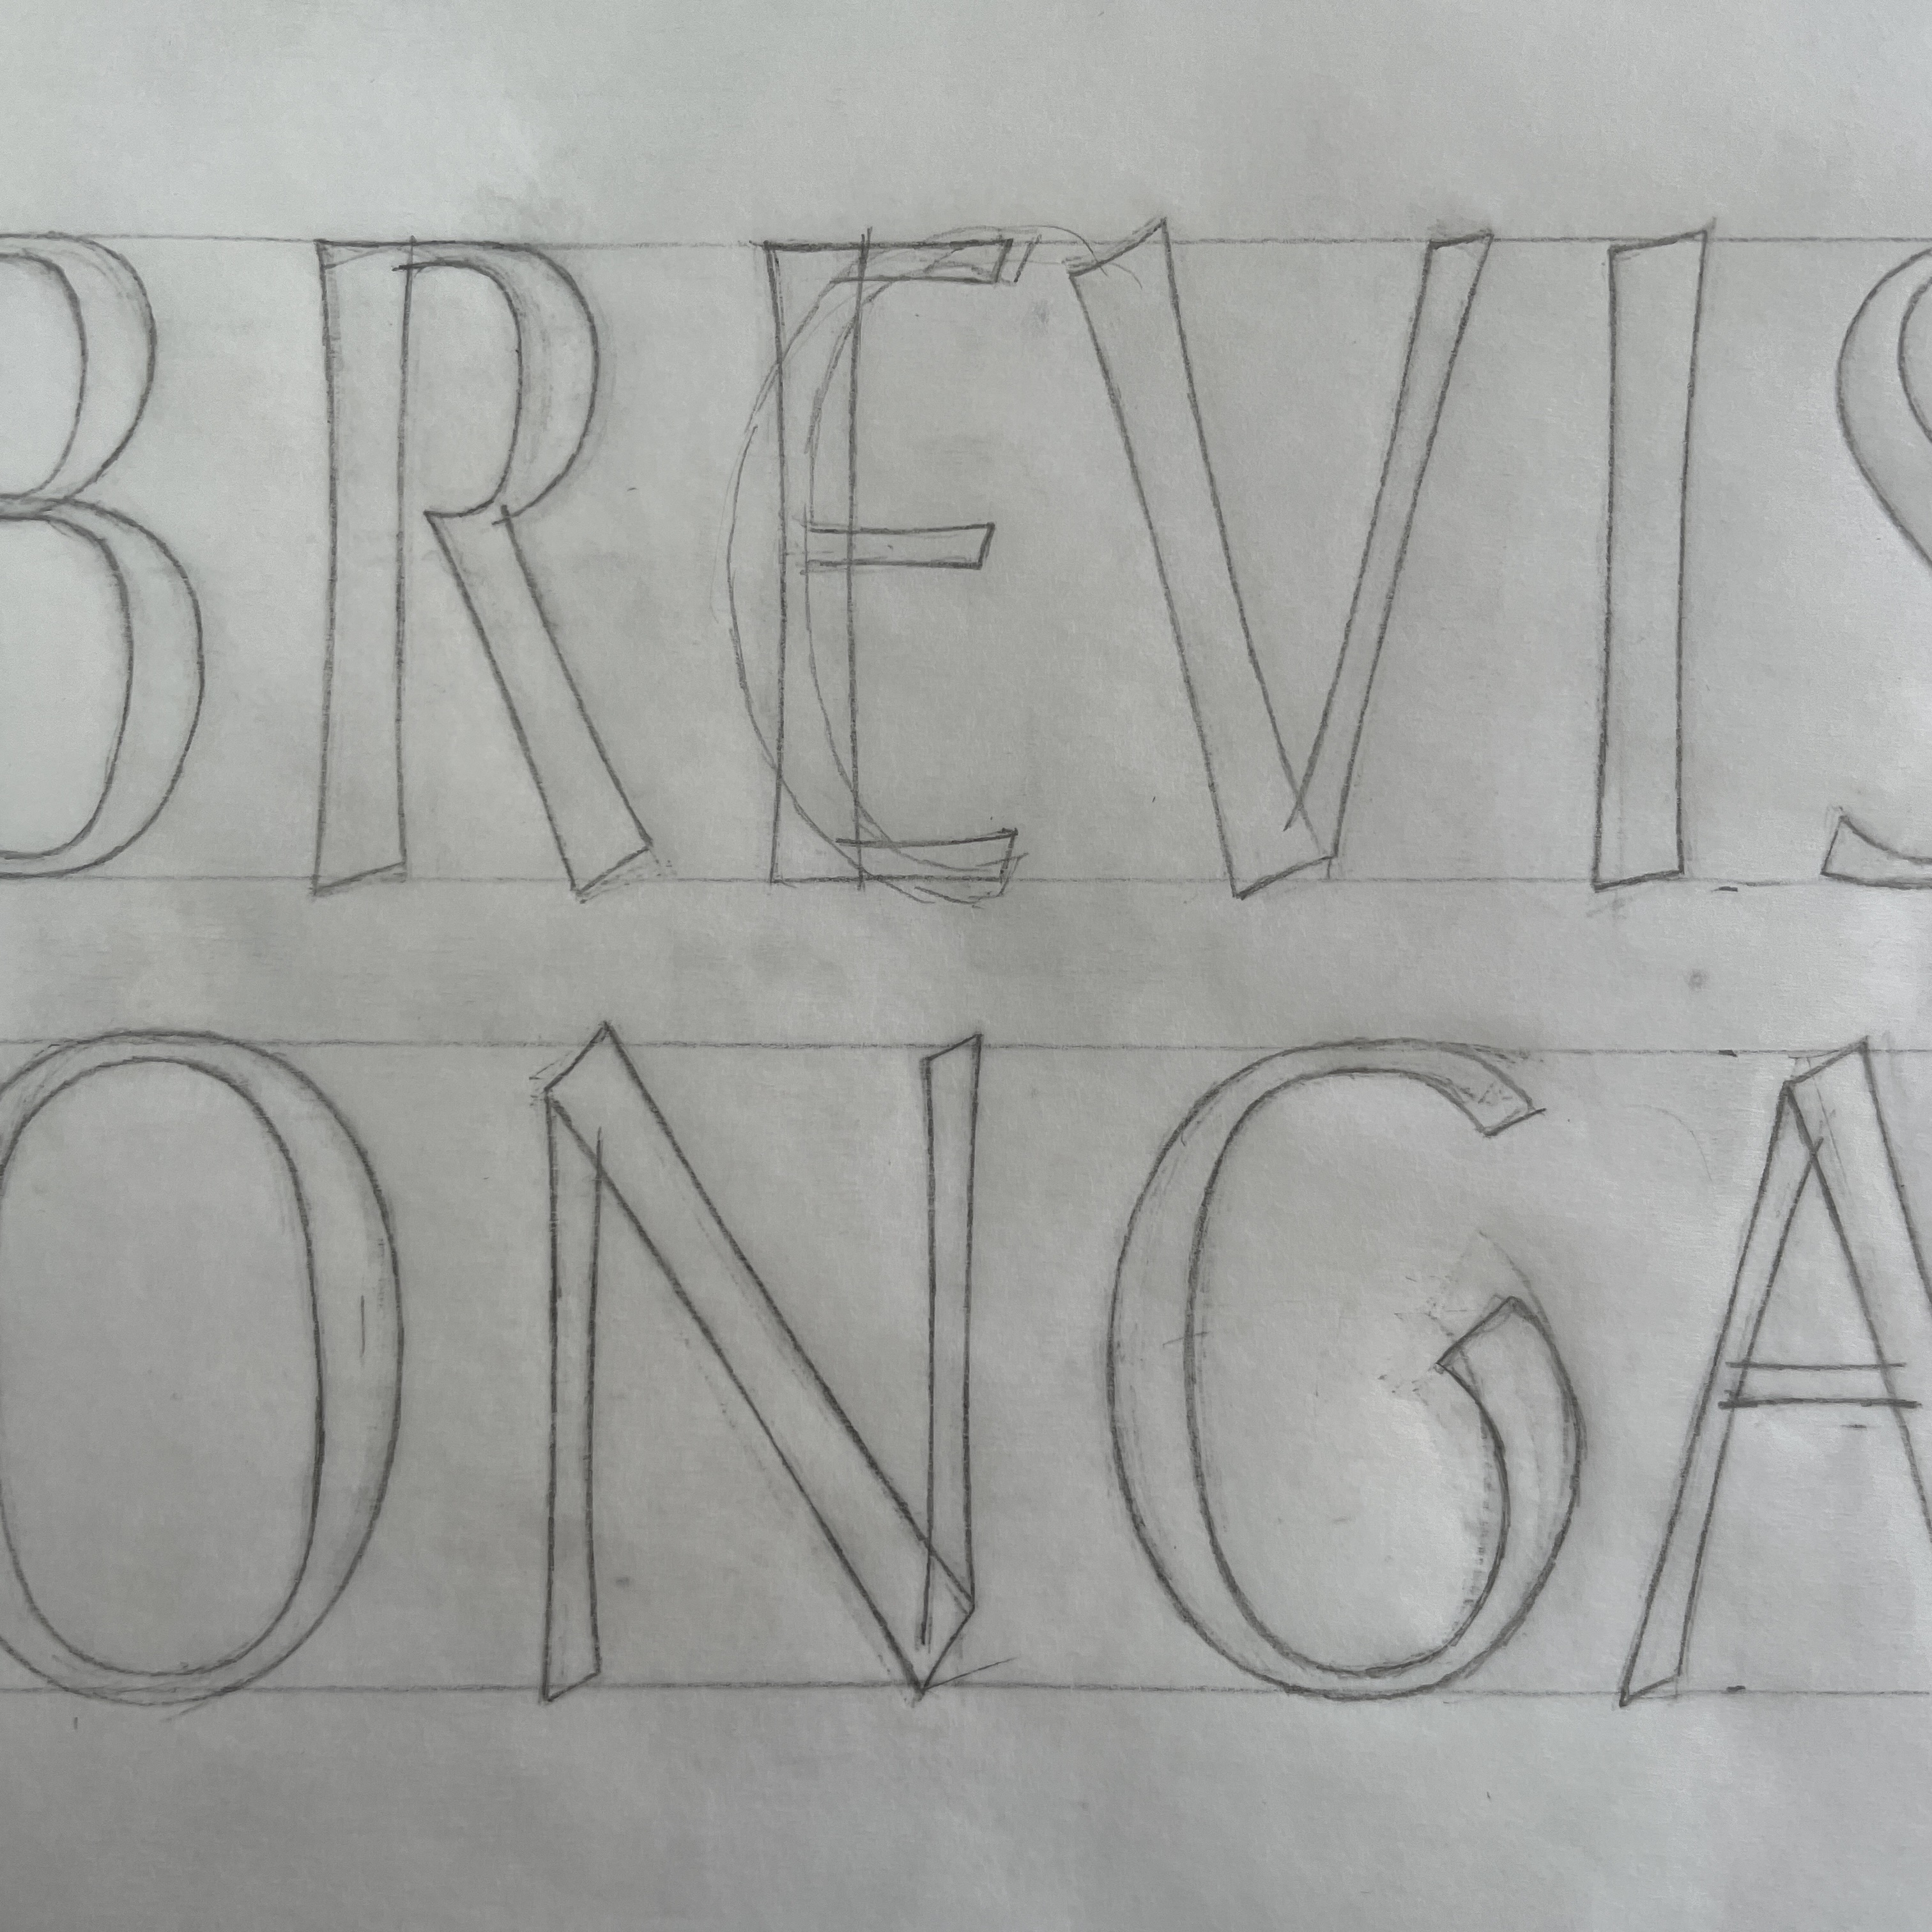
The words seemed poignant to the stage I am at with my apprenticeship, so I decided to also carve the first two lines. Having done some trial carvings in another piece of oak, ‘with’ and ‘across’ the grain, I took note of the grain direction for my piece. A landscape orientation would mean that I carved across the grain, so this determined the layout of the design. My thumbnails show a variety of ideas in this orientation.
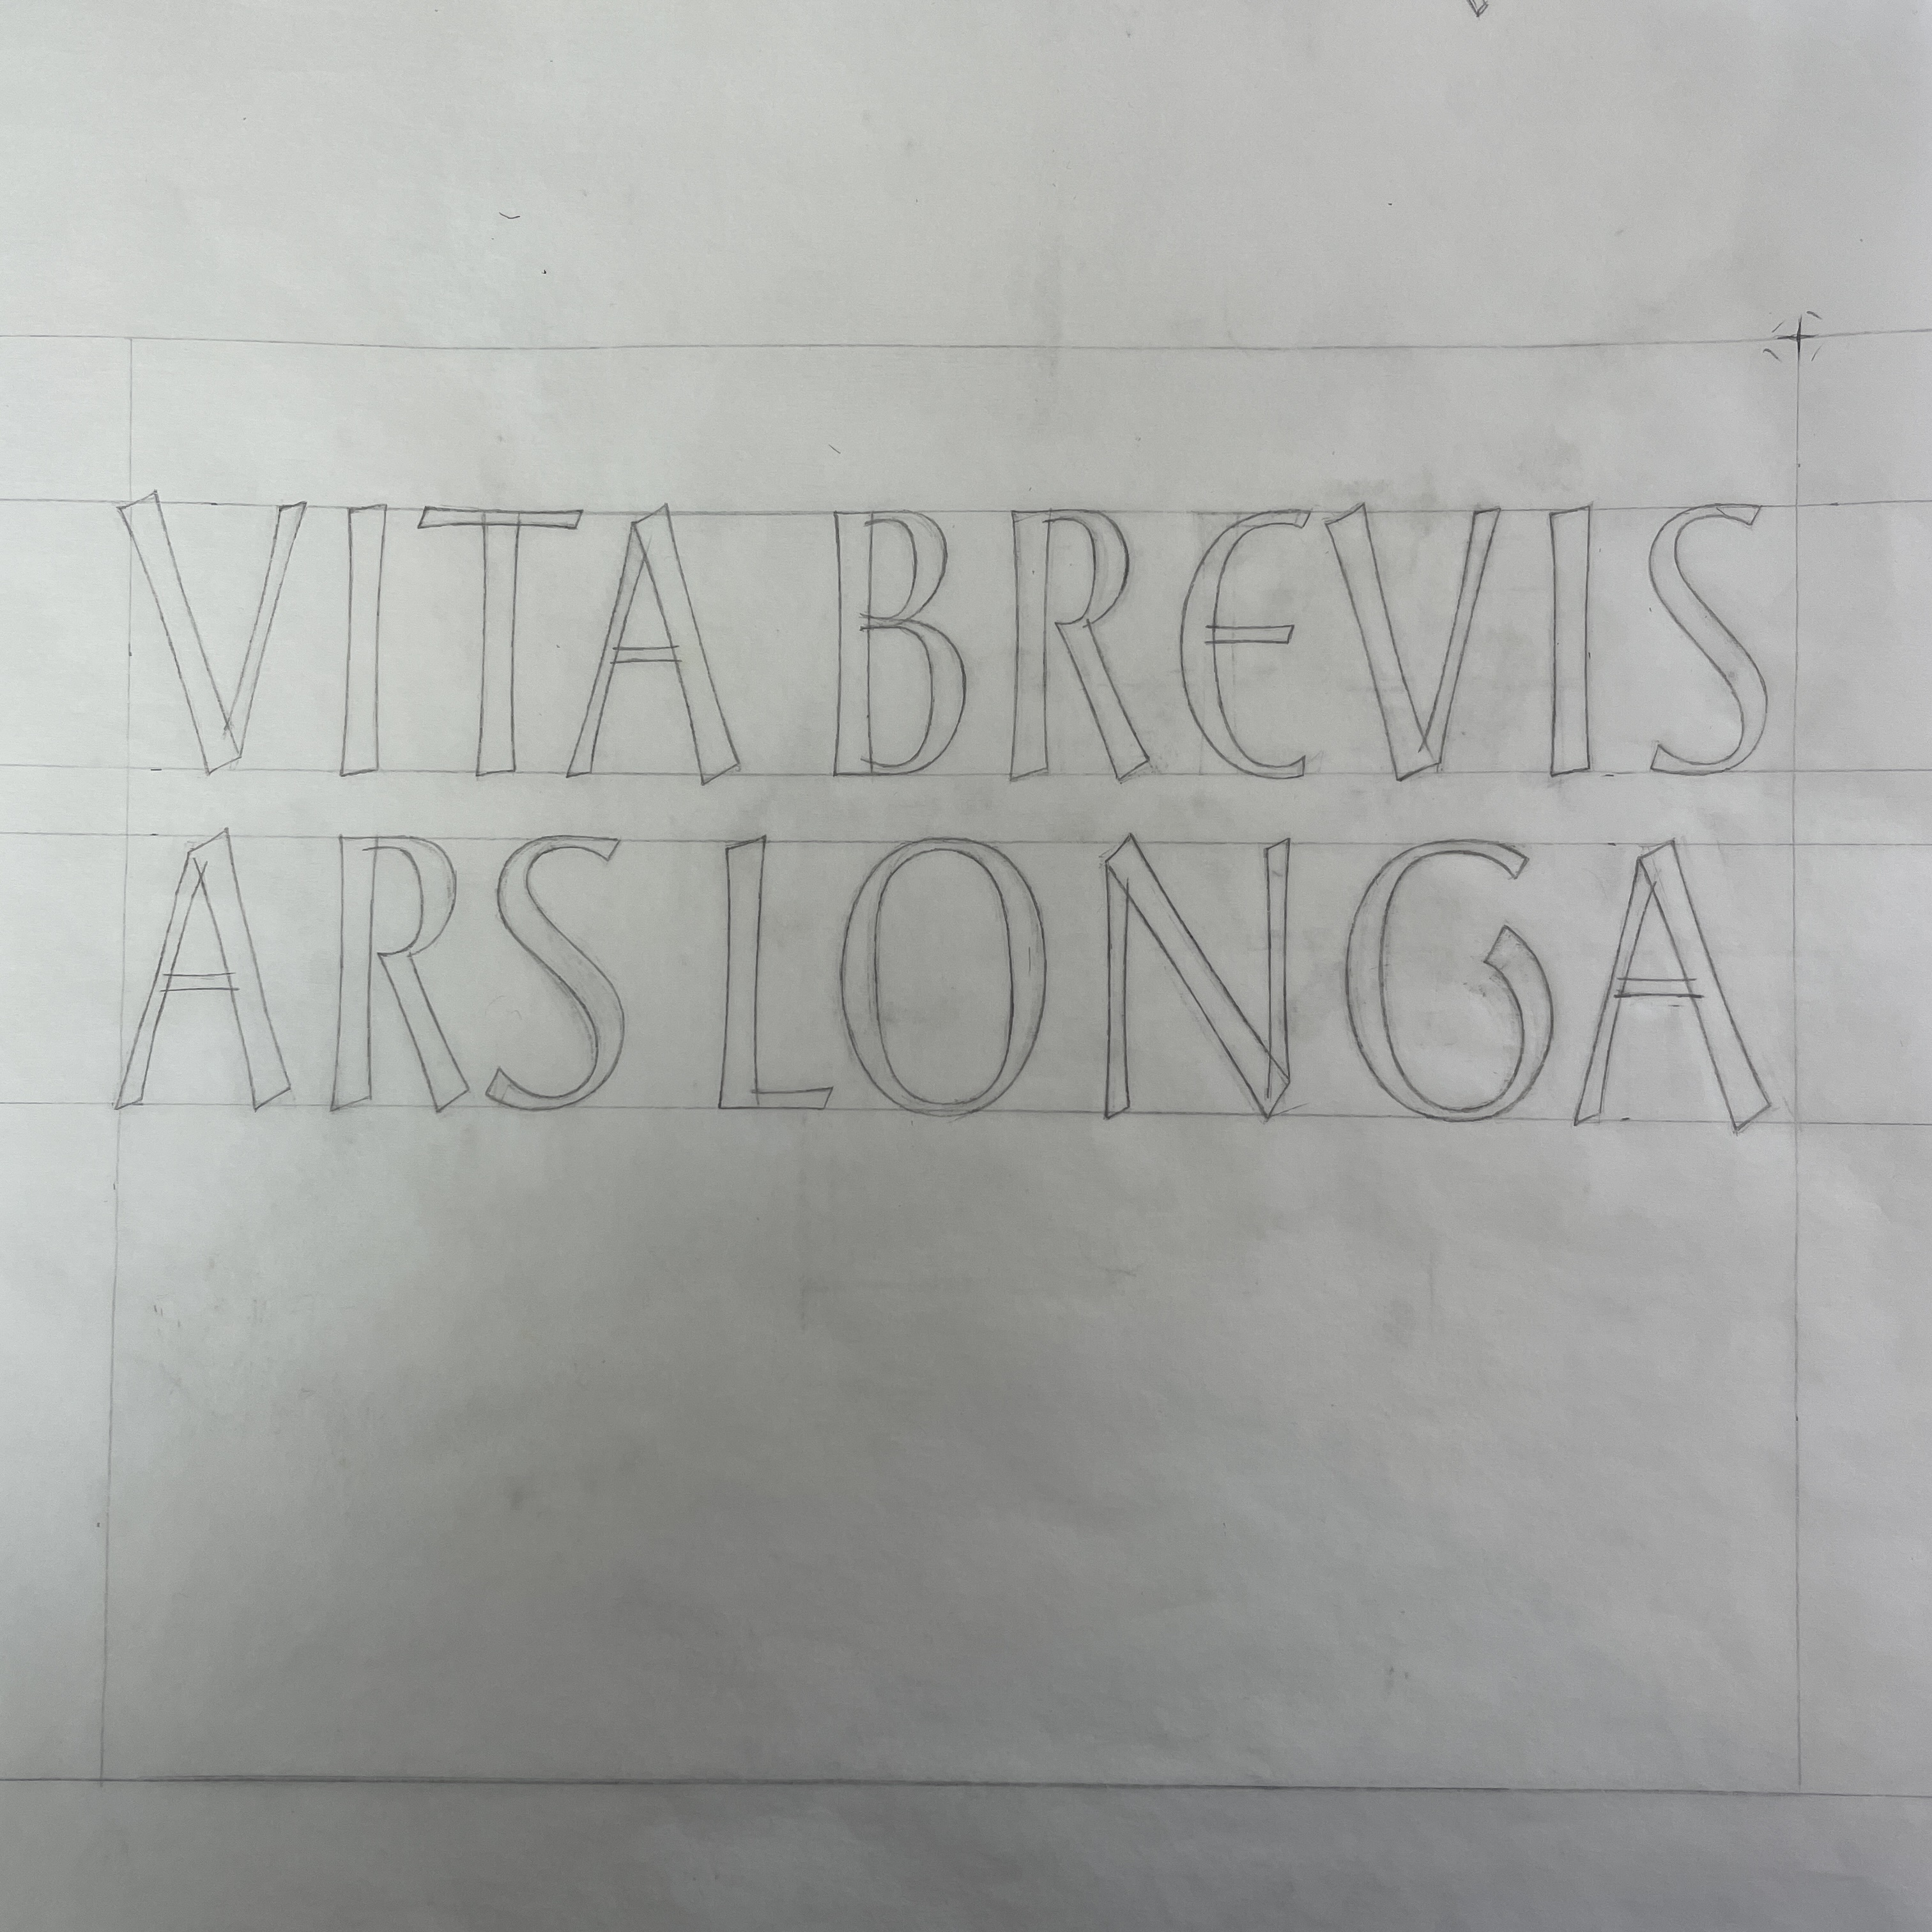
It became apparent that with the layout I had chosen, and the close line spacing, that the placement of the words could be misread vertically, as ‘Ars Vita, Longa Brevis’ because of the ‘river of white’ that ran between the words. So I decided to switch the lines around, as is found in some original versions of the text, fig. 21.
![20]()
![21]()
Starting with a central cut I then used a mixture of chopping into the wood with a mallet, to remove most of it, and then a sliding cut to carefully flatten bumps and achieve the right depth, figs. 24-25. Charlotte showed me that by sliding the flat chisel along the central v-cut at the end can achieve a clean cut. At the end it was also necessary to use a skew chisel to get into the corners that were cut a little deeper.
I’ve drilled a hole on the back for fixing and may cut a slight bevel on the edges to finish it.
![22]()
![23]()
![24]()
![25]()
![26]()
02 ‘torc’
03 Lowercase
04 ‘S’
05 Italics
06 Sign Writing
07 Low Relief
08 Nereids
09 Flourishes
10 ‘26 Connections’
11 Woodcarving
11 Woodcarving
In the second week of September 2024, I did Robbie Schneider’s wood carving course at Little Sparta. Little Sparta is the home and garden of the poet Ian Hamilton-Finlay (IHF), figs. 1-3, where there are hundreds of text based works in stone and wood situated around the garden, made by dozens of contemporary letter carvers.


The course covered the different techniques that can be used to carve (remove) wood. Chopping into the wood with the blade of the chisel parallel to the cutting surface; a chop slice, holding the chisel at 45° to the cutting surface; and a sliding cut, where instead of cutting down into the wood you cut along the wood. These different techniques can be useful for different stages of cutting a letter.
We started by cutting ‘I’s’ with the different techniques and moved on to letters with curves, figs. 5-10. For a curved letter we used a gouge chisel with the same curvature as the letter. To cut a ‘C’ we used the straight chisel for the inner curve and the gouge chisel for the outer curve.
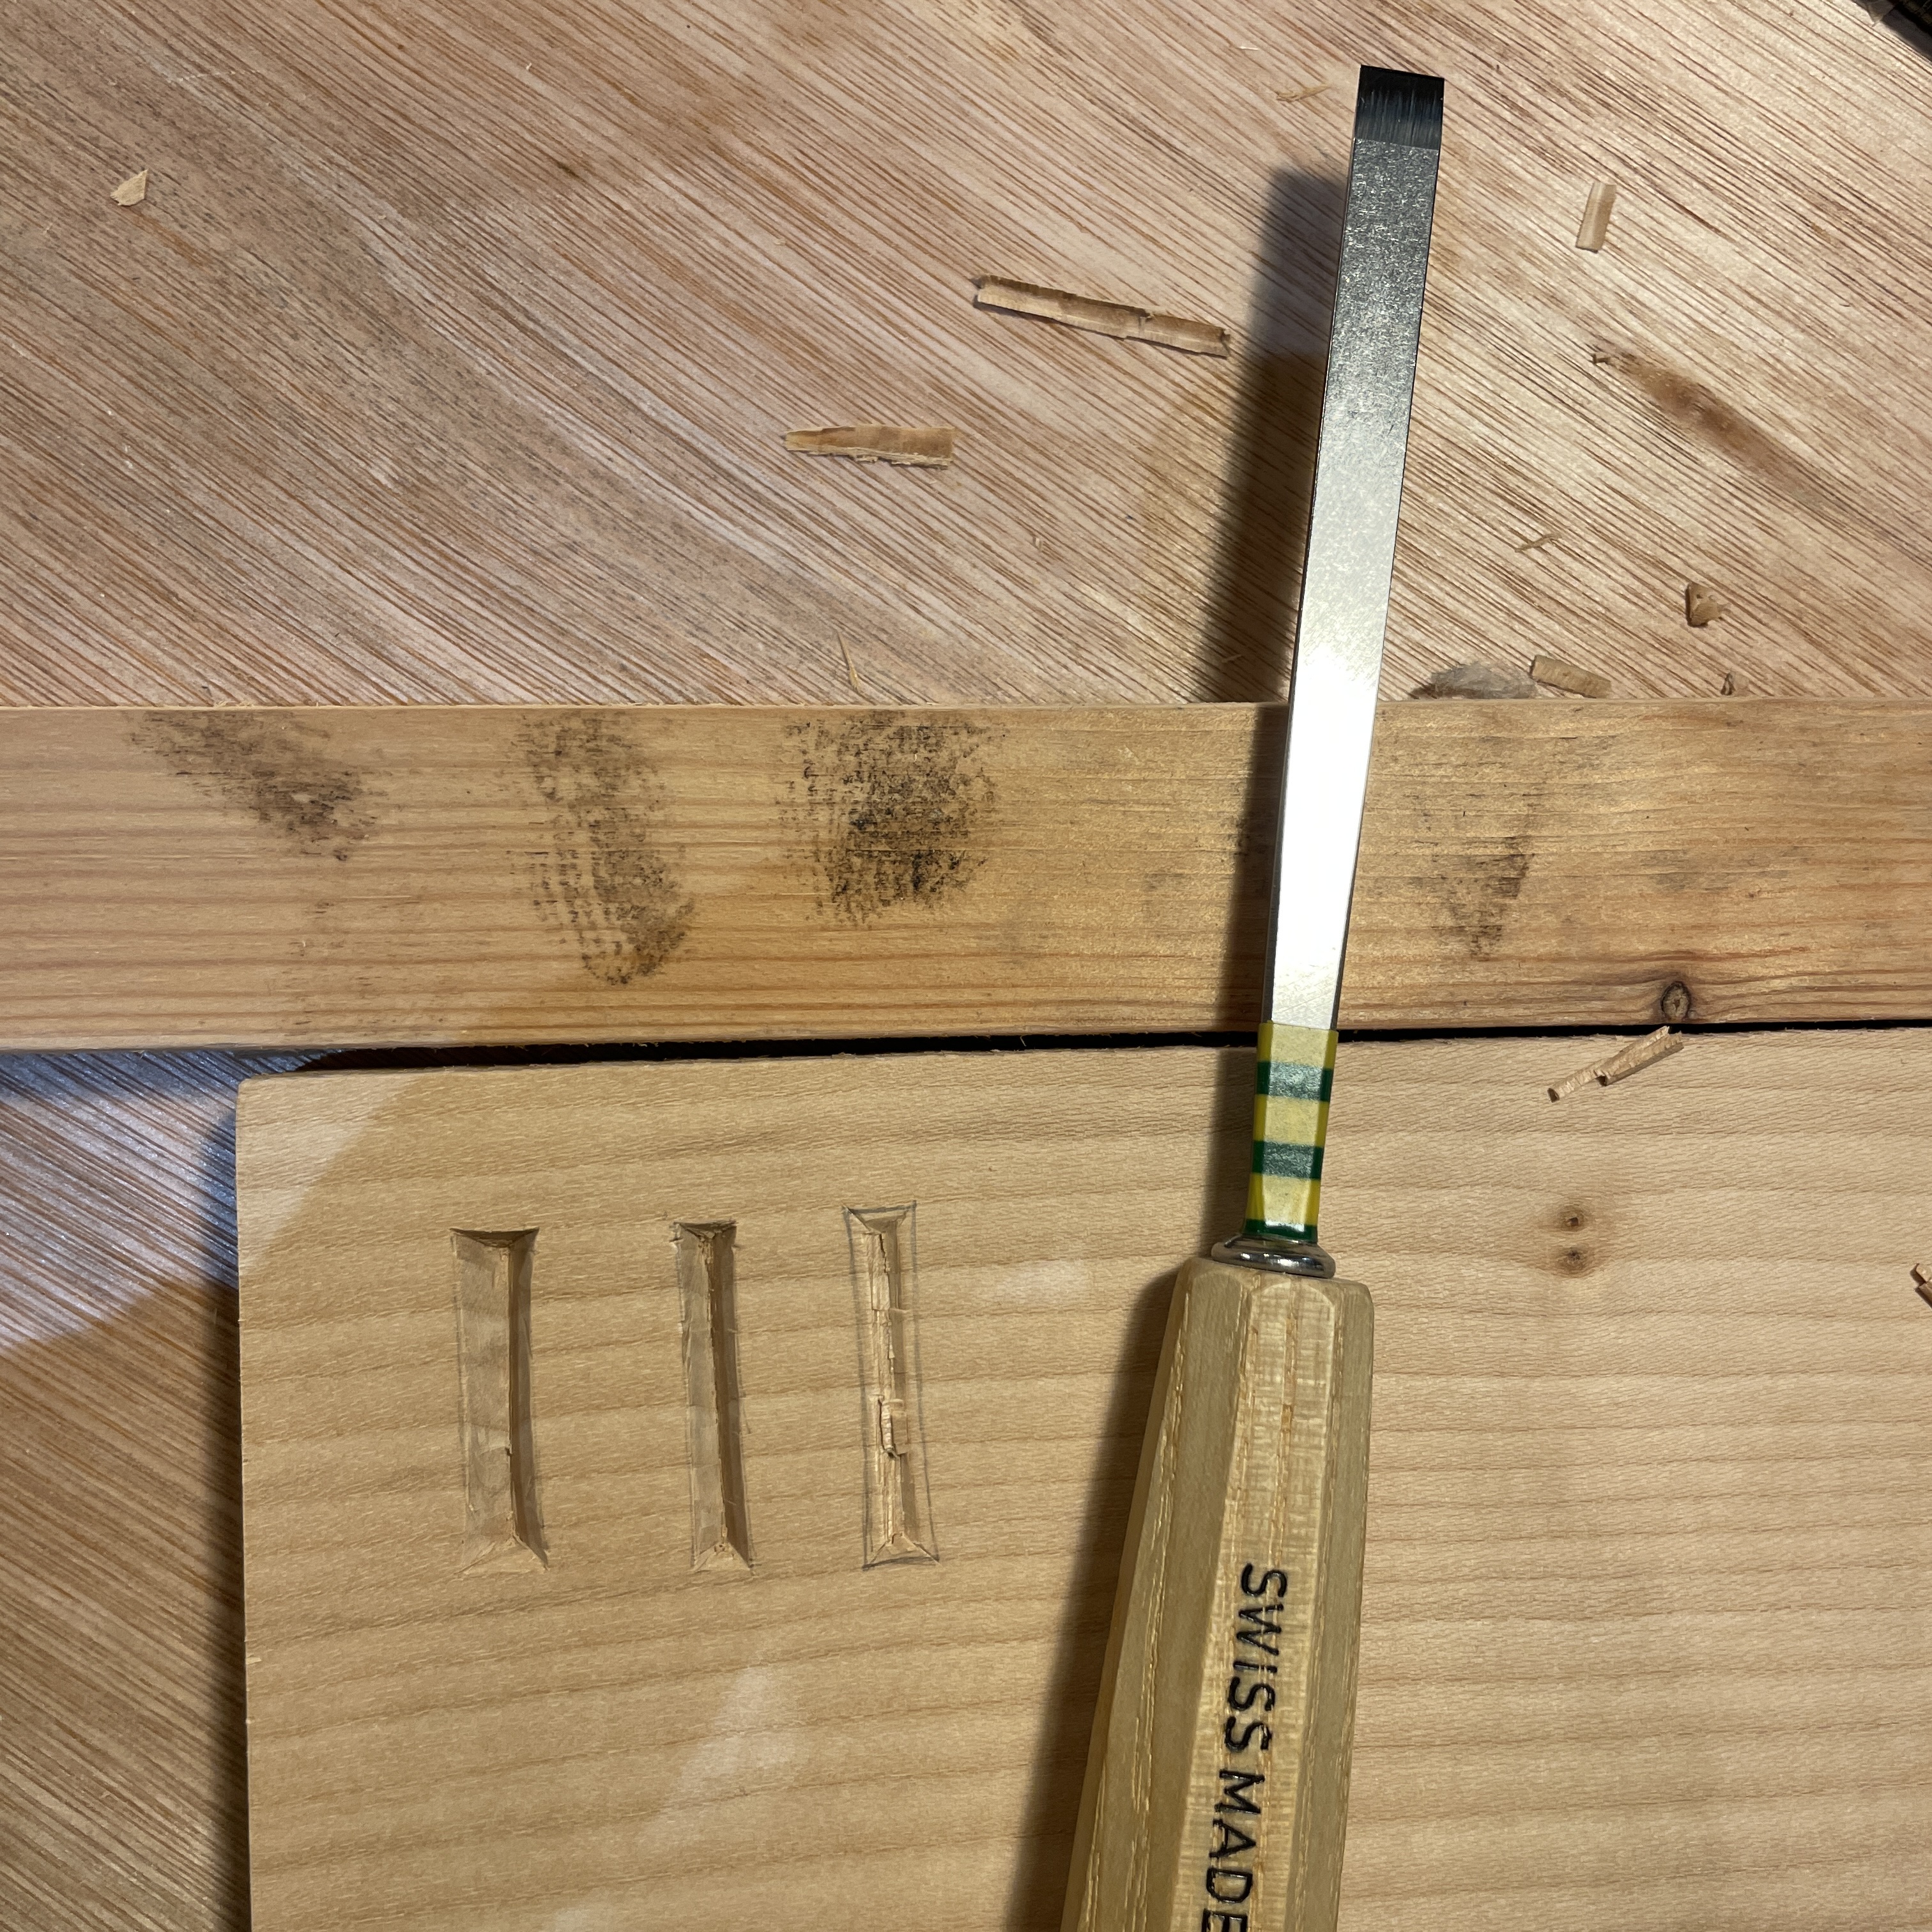



On the second day some of us started carving in Cherry wood, fig. 14-16. We also had a go at letters with junctions and serifs. Although cherry is a harder wood compared to Lime this actually helped produce a cleaner cut, as lime is so soft and fibrous. Cutting more letters and at a larger scale took us into the third day, towards the end of the course we also had a go at raised carving, where the negative space around a letter is cut away, fig, 17. We also covered a little bit on sharpening, both using a strop and with a water stone.


The course gave me a perfect introduction into the techniques of carving letters in wood and has allowed me to go on and work on a piece back at the studio in a piece of English oak.
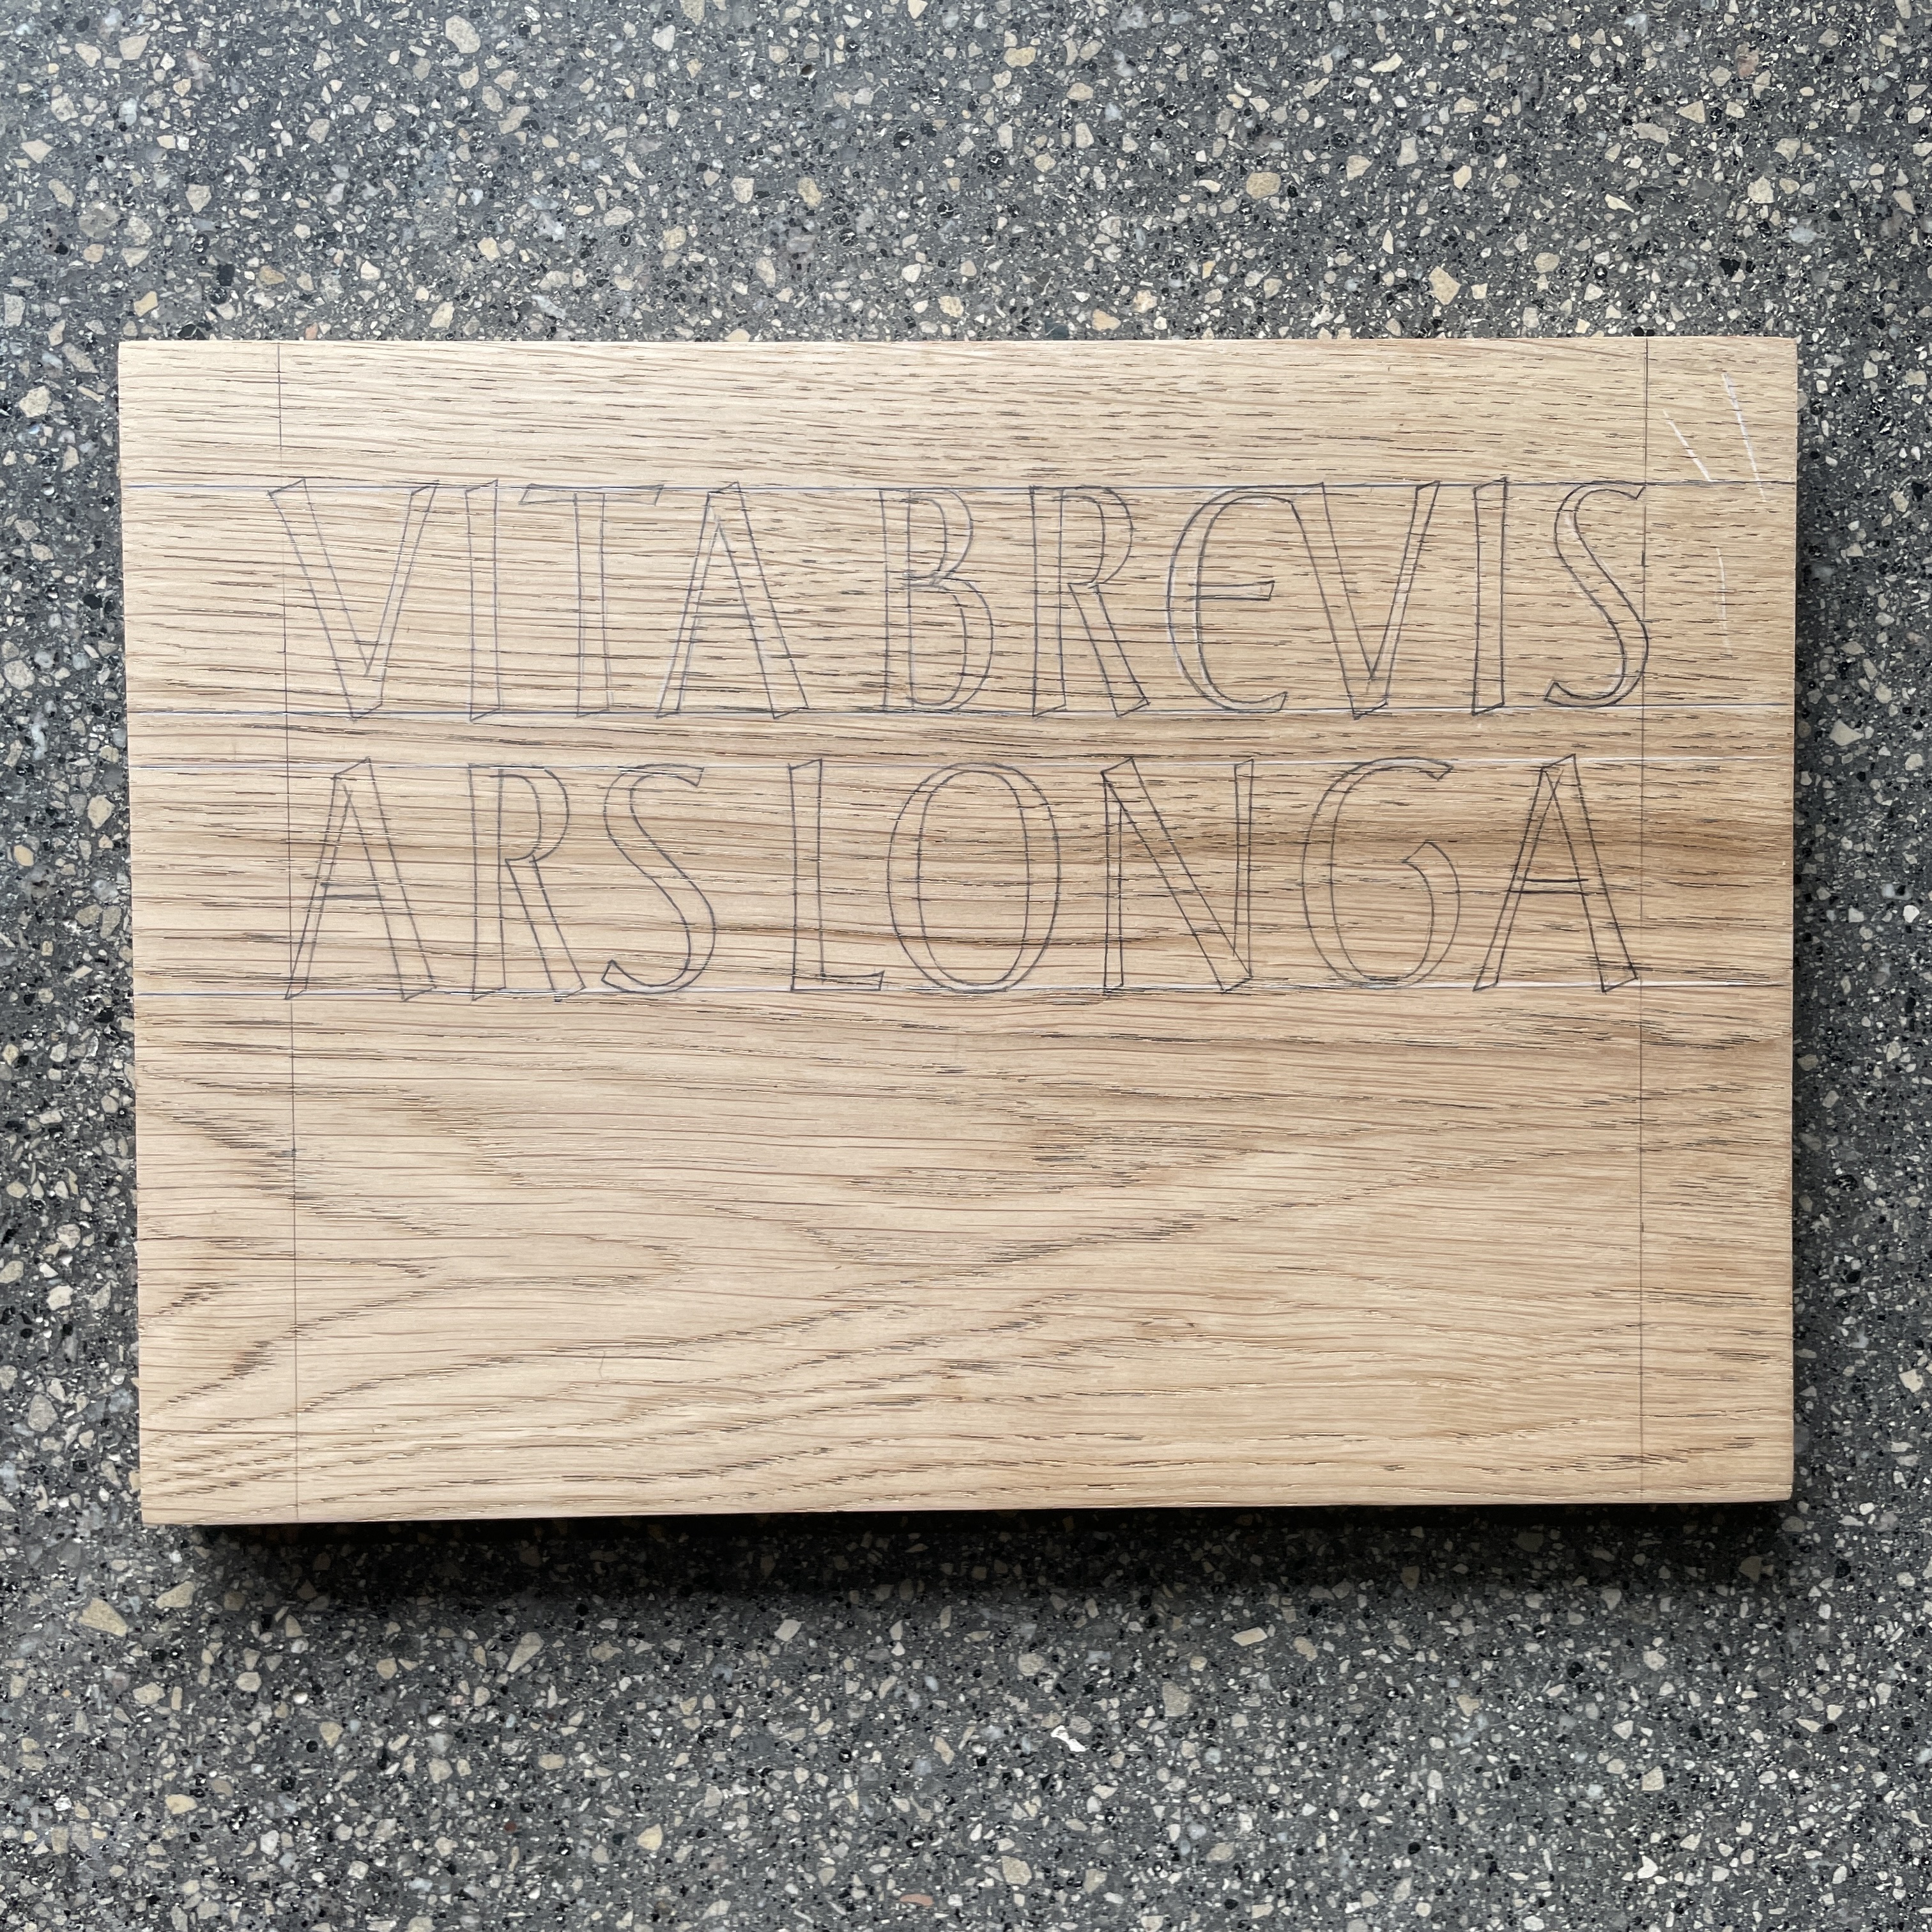
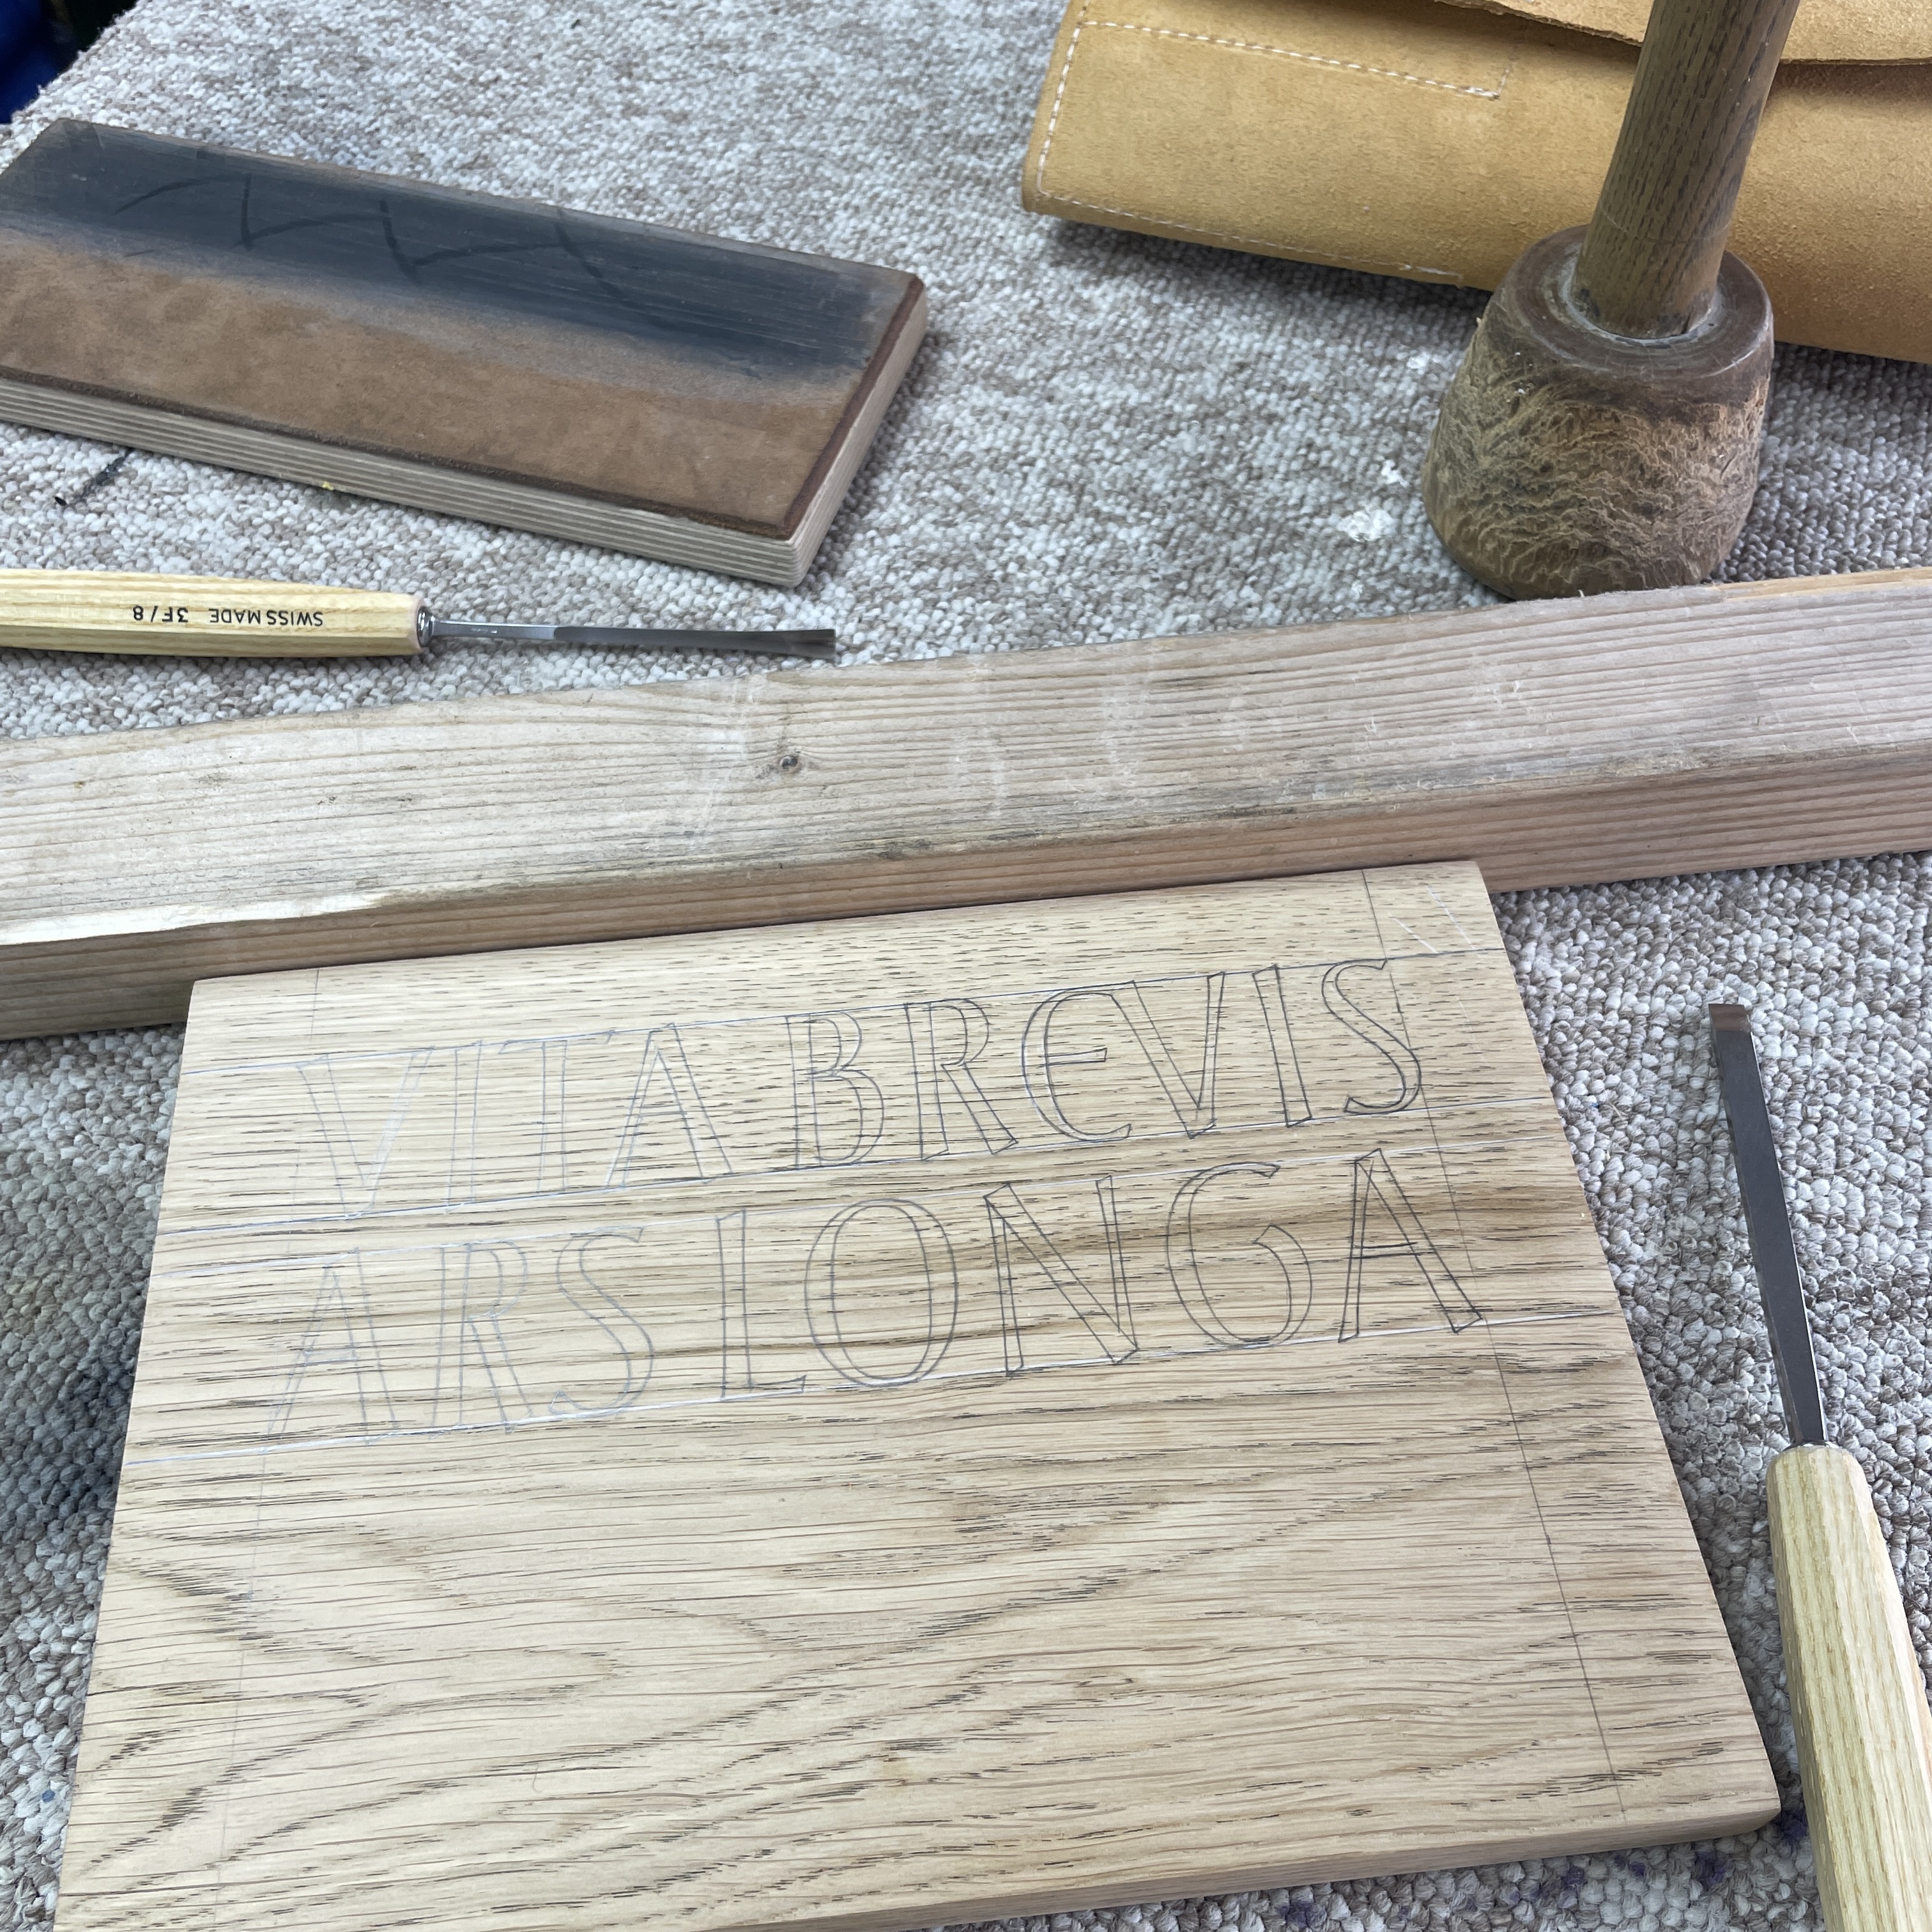
Charlotte had a few pieces of English oak that she had used as samples for another piece, which she offered to me to use. They had different finishes on them, such as a stains and a ‘soaped’ effect. I picked one that was a good size but had a fire retardant dark brown stain which I ended up sanding off, fig. 18-19.

I had recently repainted a piece for Charlotte that was by her step father, who was also a letter carver. The piece was a small stone with the incription, ‘Ars Longa Vita Brevis’, from the saying by Hippocrates:
Vita brevis, ars longa, occāsiō praeceps, experīmentum perīvulōsum, iūdicium difficile.
Life is short, and craft is long, opportunity fleeting, experimentations perilous, and judgement difficult.
The words seemed poignant to the stage I am at with my apprenticeship, so I decided to also carve the first two lines. Having done some trial carvings in another piece of oak, ‘with’ and ‘across’ the grain, I took note of the grain direction for my piece. A landscape orientation would mean that I carved across the grain, so this determined the layout of the design. My thumbnails show a variety of ideas in this orientation.
It became apparent that with the layout I had chosen, and the close line spacing, that the placement of the words could be misread vertically, as ‘Ars Vita, Longa Brevis’ because of the ‘river of white’ that ran between the words. So I decided to switch the lines around, as is found in some original versions of the text, fig. 21.
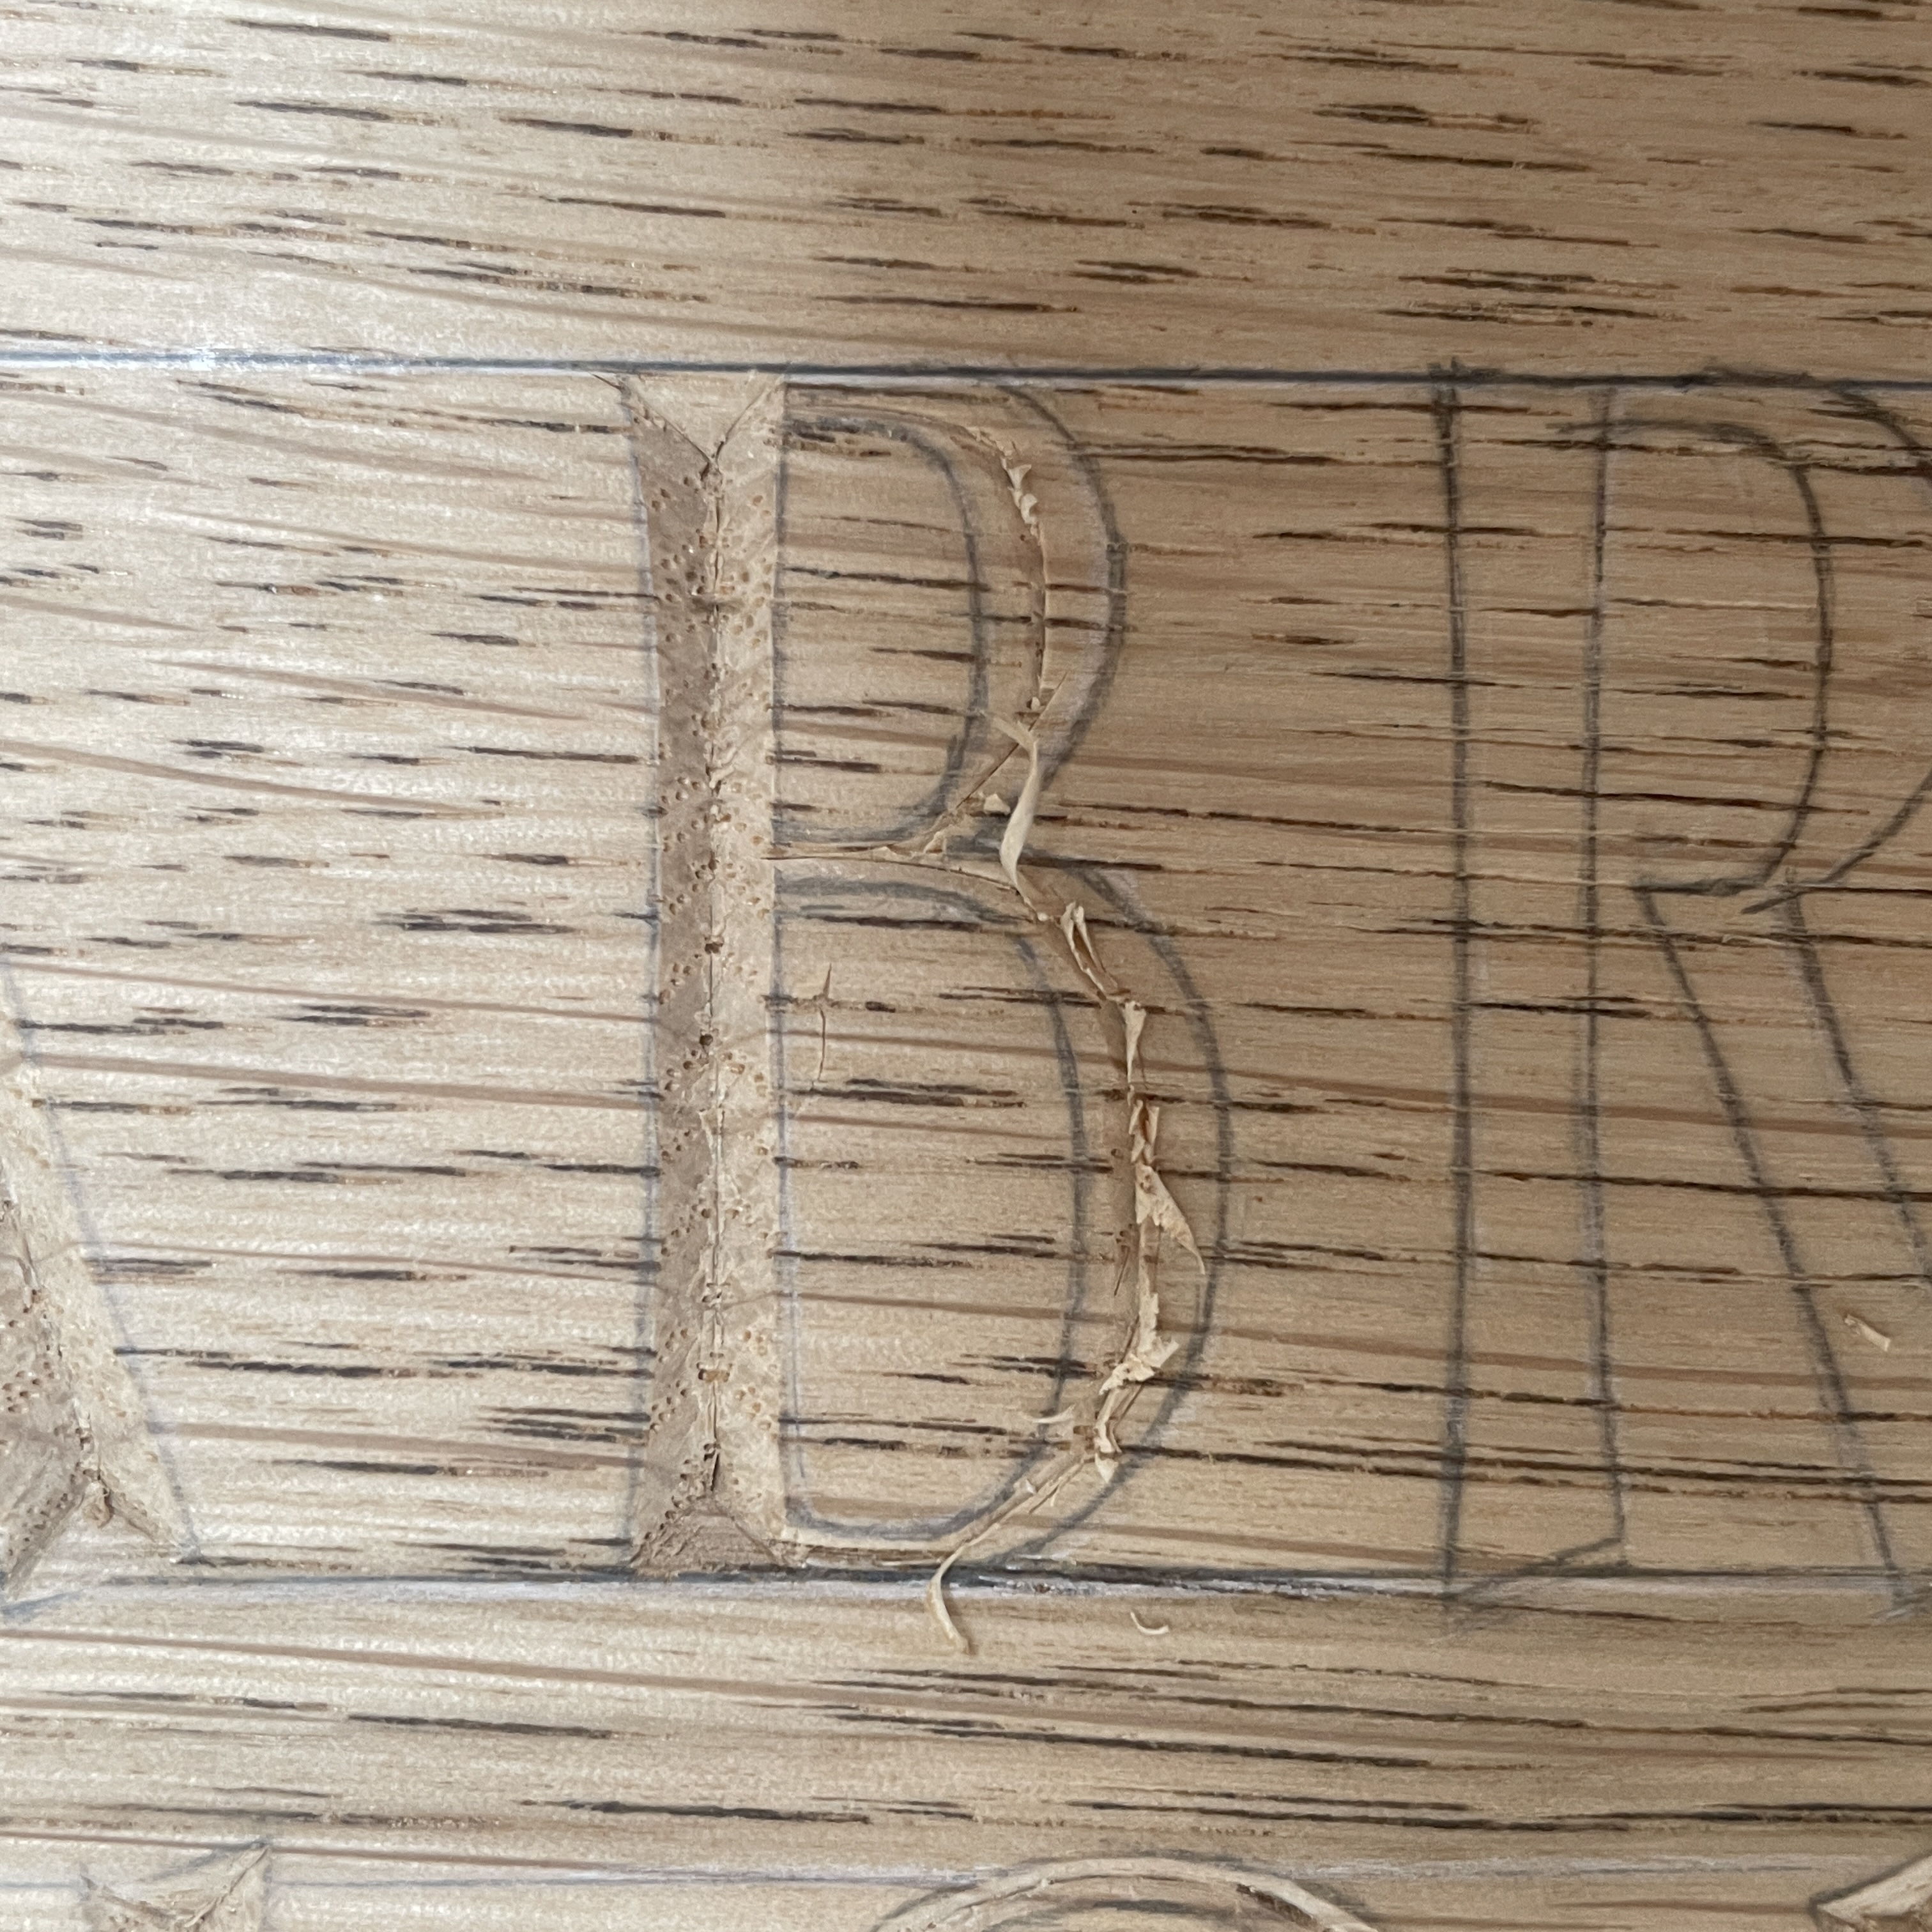
Starting with a central cut I then used a mixture of chopping into the wood with a mallet, to remove most of it, and then a sliding cut to carefully flatten bumps and achieve the right depth, figs. 24-25. Charlotte showed me that by sliding the flat chisel along the central v-cut at the end can achieve a clean cut. At the end it was also necessary to use a skew chisel to get into the corners that were cut a little deeper.
I’ve drilled a hole on the back for fixing and may cut a slight bevel on the edges to finish it.
